Category Archives: Work

Coconut Harvest and Other Island Scenes

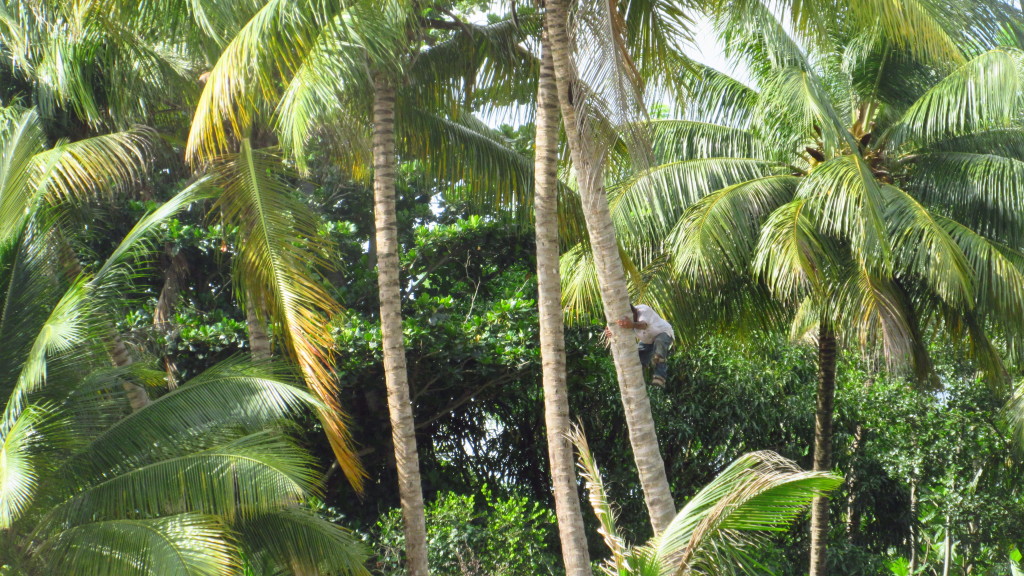
Climbing Coconut tree
Climbing a coconut palm

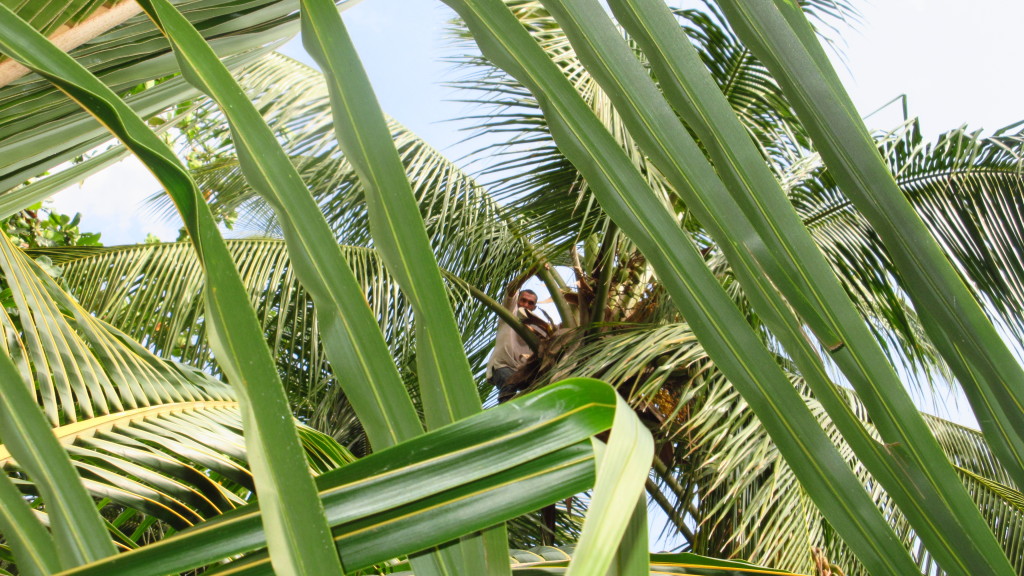
When we are out and about we often see things that we call “Island Scenes,” you know, scenes that you would never see if you didn’t live on a tropical island. Palm trees, especially coconut palms, to me are one of the quintessentially tropical markers. And as we were walking down a beach one day we came upon two men who were harvesting coconuts from tall 50 foot swaying palm trees.  One of them climbed up using his spikes and the other one caught the heavy bundle of coconuts that descended from a rope.

Man in the trees
Hola from on high!

These coconuts are mainly used for their coconut water, but of course can be used for any number of preparations from coconut oil, toasted coconut, coconut milk, even piña coladas! This is a great service for the beaches because a coconut that falls from that height could easily kill an unwitting person below. Win/win! Here’s a video of them at their work:

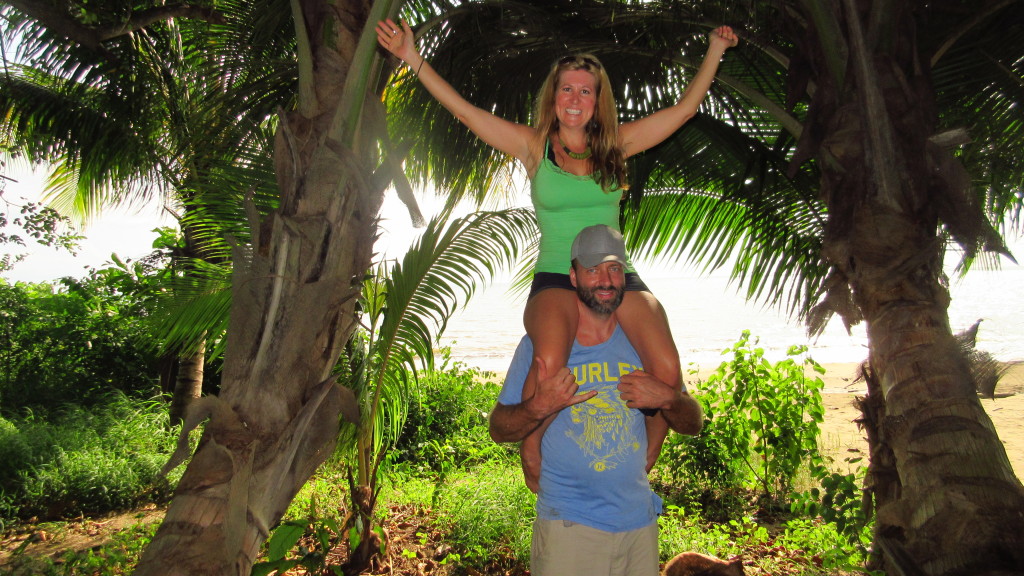
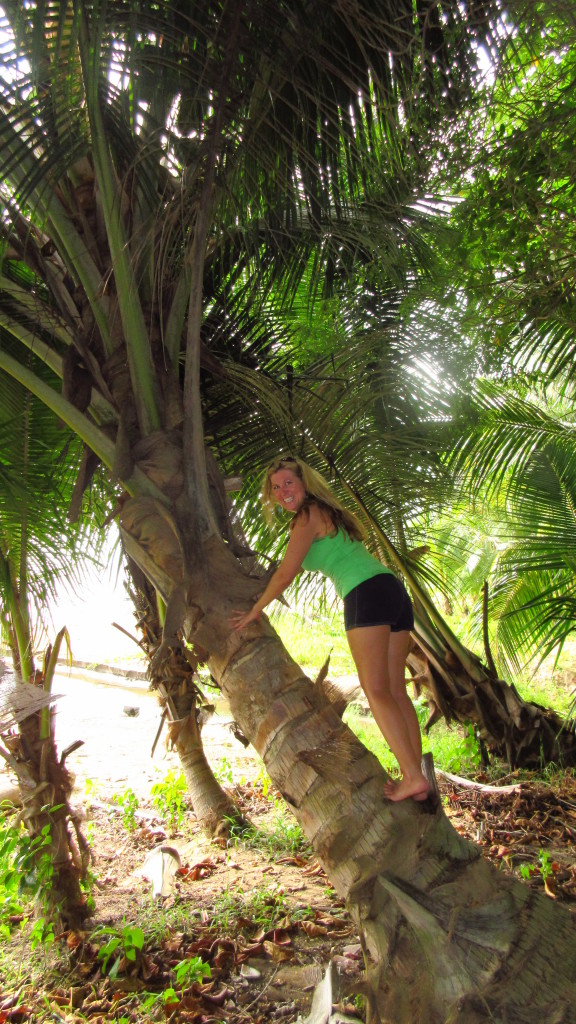
We hung out for a while nearby with a friend and enjoyed the sunset. I tried my monkey best to climb a coconut palm, but without the spikes I couldn’t get too far 🙂

Cassie in Coconut Tree
My coconut tree climb is not nearly as impressive!

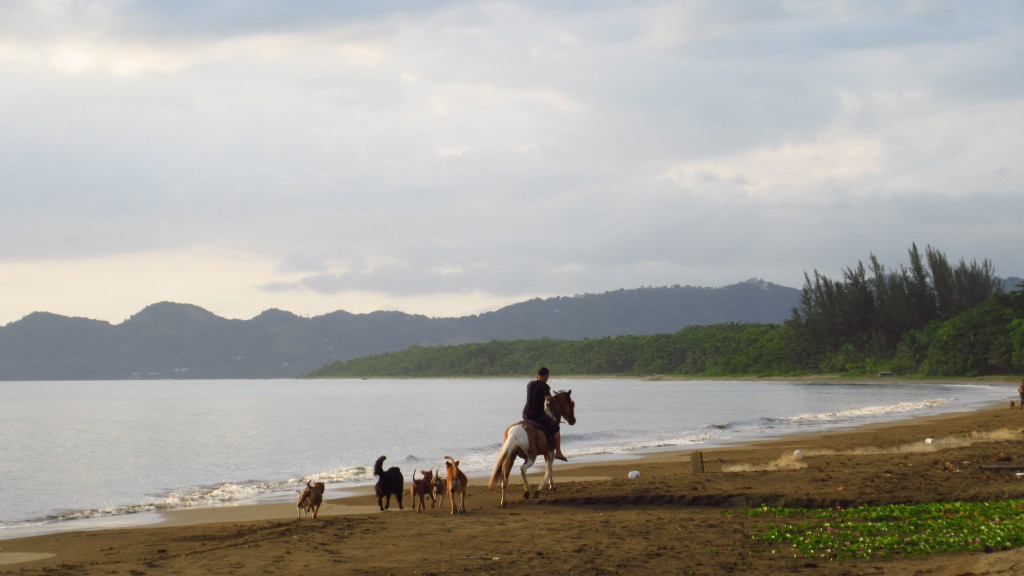
Dogs and Horse on Beach
Horse riding and a pack of dogs on the beach

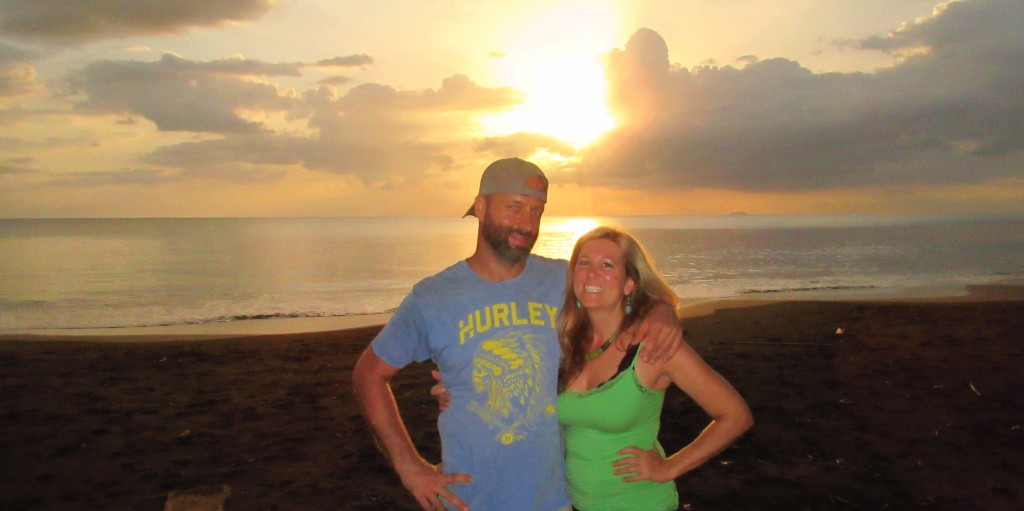
Cassie and Britton at Sunset Nice
Classic sunset shot

We also watched another traditional method of living off the land and water when we saw a man setting up the fishing net at the edge of the sea as the tiny ripples lapped softly against the sand. I’m not exactly sure what he was fishing for, perhaps sardines as we often see them when we enter the water. This is the kind of economic activity that has been going on for hundreds of years and that you probably won’t hear much about on the news or through the government: a direct connection to nature and your livelihood.

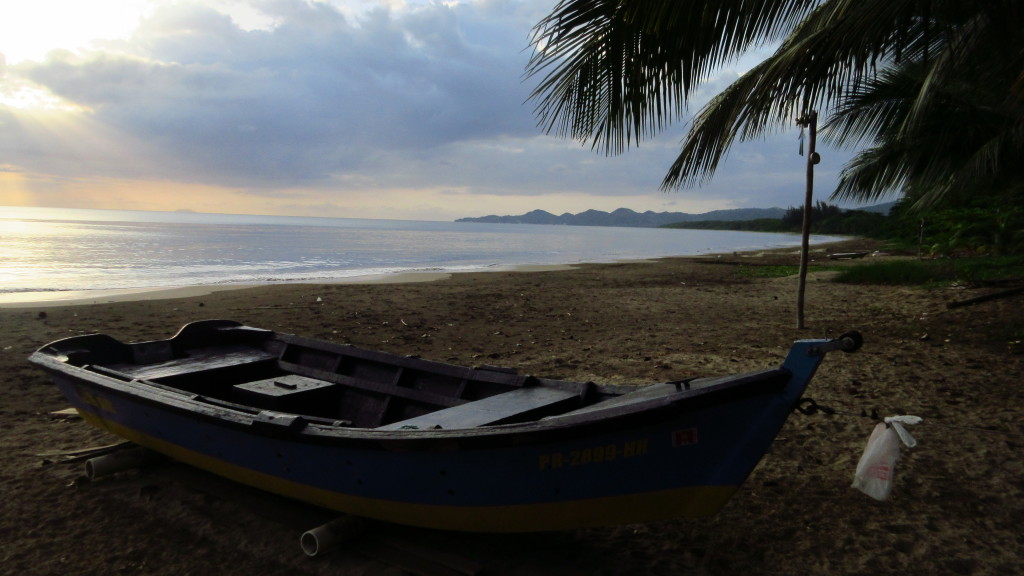
Boat and Beach
Boat at sunset

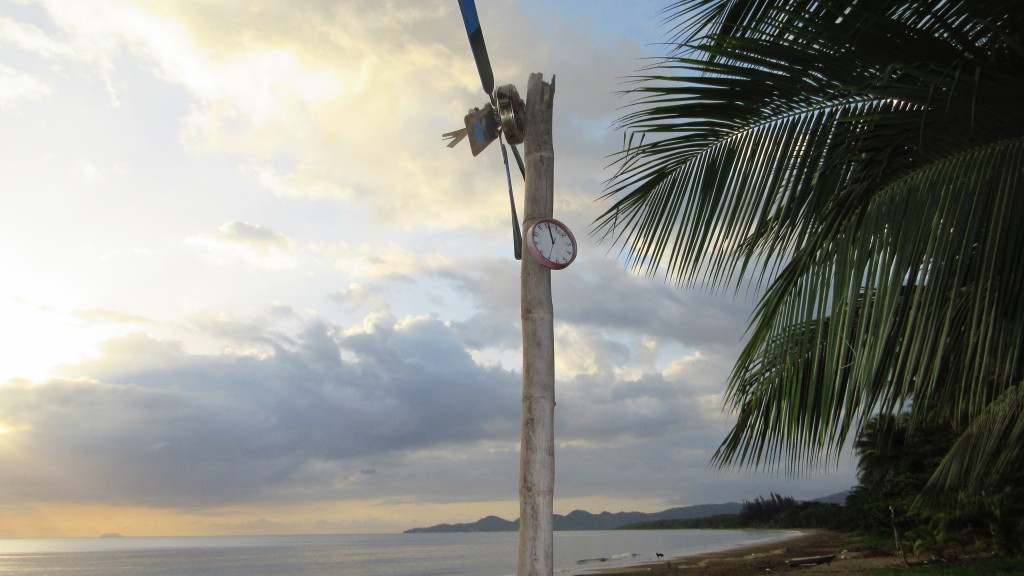
Island Time literally
A ceiling fan and a clock on a bamboo pole. Is this where island time came from? haha

Cassie and Britton Monkey and Horse
Yeehaw!

What do you think of this post?
  • WOW (0)
  • Awesome (6)
  • Interesting (1)
  • Useful (0)
  • Bummer (1)
  • Whoa (0)

Construct It: Cabin Floors and Walls

I figured it was maybe time to do a little construction update.  One thing nice about doing things at your own pace is that you can take a step back when you start to feel overwhelmed or don’t have an answer to a “how to” and want to take some time to research.  A lot of building this house has required research because I’ve never done it before.  Like what screws to use for drywall and WHY?  What screws to use for cement board and WHY?  How do you construct a shower basin in a wood framed house?

The company that delivered the drywall delivered screws too.  They were black phosphate coated drywall screws BUT they were fine thread.  When I asked about it they claimed of course “It’s fine to use them in wood!” which isn’t really true.  Wood screws use a coarse thread for holding power.  Fine threads are used for metal studs.  Just an example of how a small thing can turn into a small ordeal when you are ready to start a project in the morning.

Using what are considered the “correct” fasteners might not matter to some people, especially if the fasteners are difficult to locate.  I have been called “Mañoso” (picky) a few times which is accurate I guess.
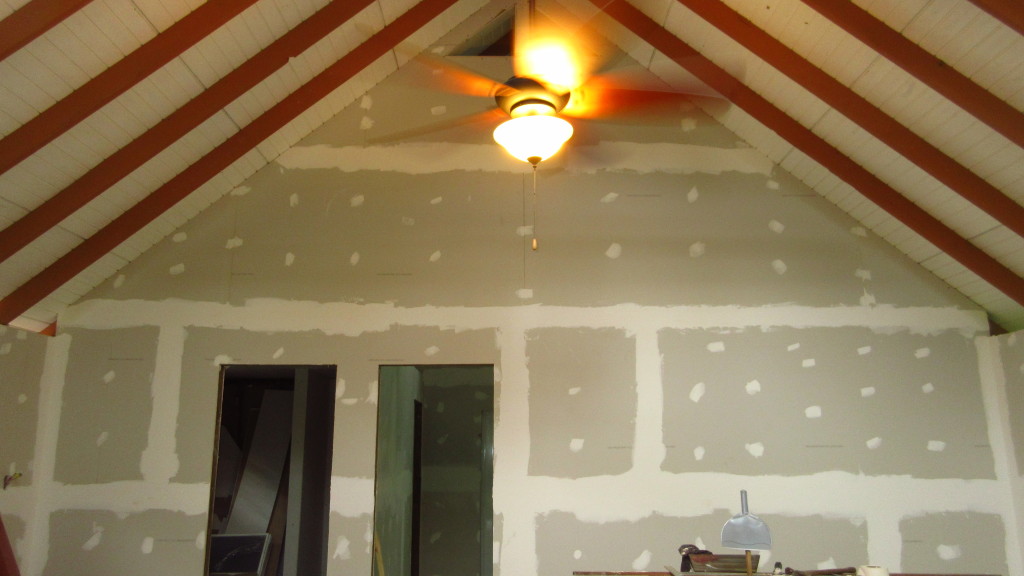
Drywall
Mud, Tape and Ready for Primer/Paint

This past week have been getting the inside ready for paint and flooring.  Since we decided to go with tile, we needed to prep the sub floor.  We got 24 4×8 sheets of 3/4″ thick cement board.  Those weigh 136 pounds each!  It took a whole day just for us to move them over to the house.  It was actually easiest for one person to carry an entire sheet on their back than it was for two people to awkwardly try to move one.  So there was a lot of resting in between trips but we got it done.

While I do a lot of the research myself it is tremendously useful to have Waldemar help with each step. He propels us forward so much more than we can do alone. I really appreciate his help. He brings skills, experience as well as lots of energy and motivation when I just don’t have a whole a lot.
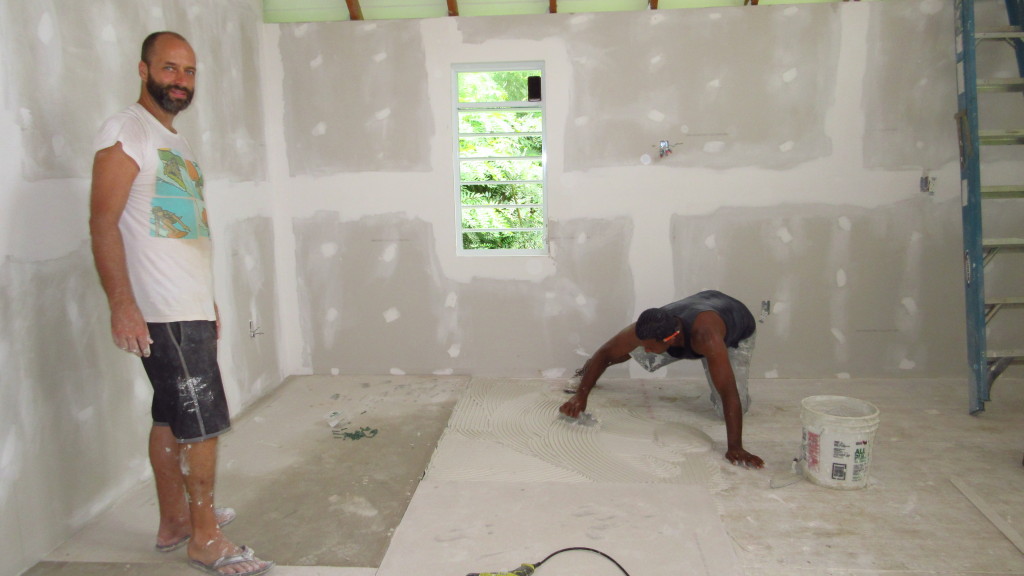
Britton and Waldemar floors
Installing Cement Board

We then cut and installed the cement boards (generically called plycem here).  Those things were ridiculously heavy.  The floors however are SOLID and we shouldn’t have any problems with tiles popping or cracking.  Under the cement boards we used thinset to fill any space between the 3/4″ inch plywood.  There are a few write ups about this online.  The professionals who sold me the cement board told me I didn’t need to use thinset, but again for me it comes down to the “why” and the write ups did a good job of convincing me that it should be done.
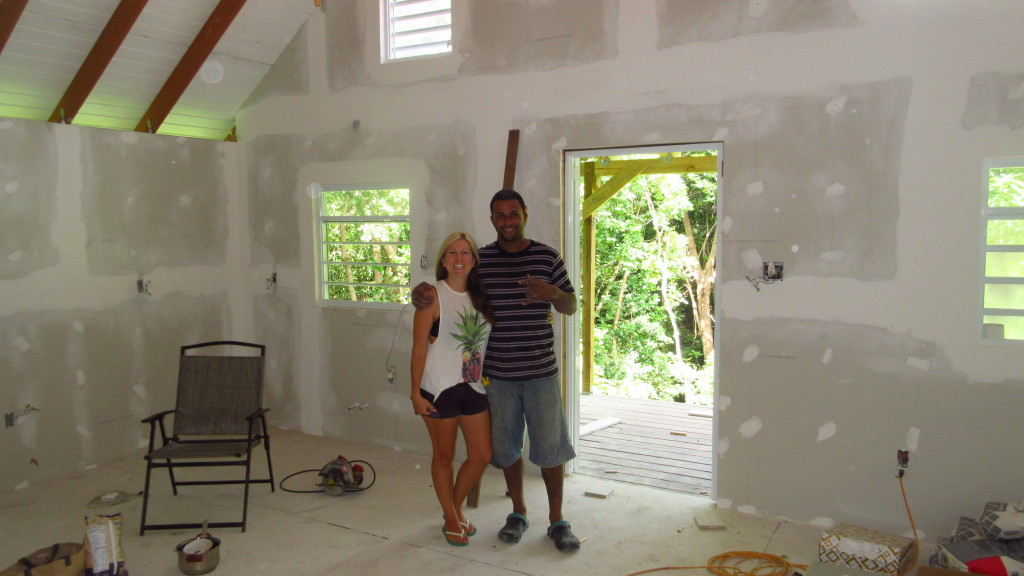
Waldemar and Cassie 2
Cassie brings over lunch for us and helps where she can

Our tile is on order and should be here in a week or so.  We wanted to get a natural feel instead of using ceramic printed tiles and went with a red clay tile almost like terracotta.  Again, Mañoso but what can you do?  If you want something, sometimes you have to wait.
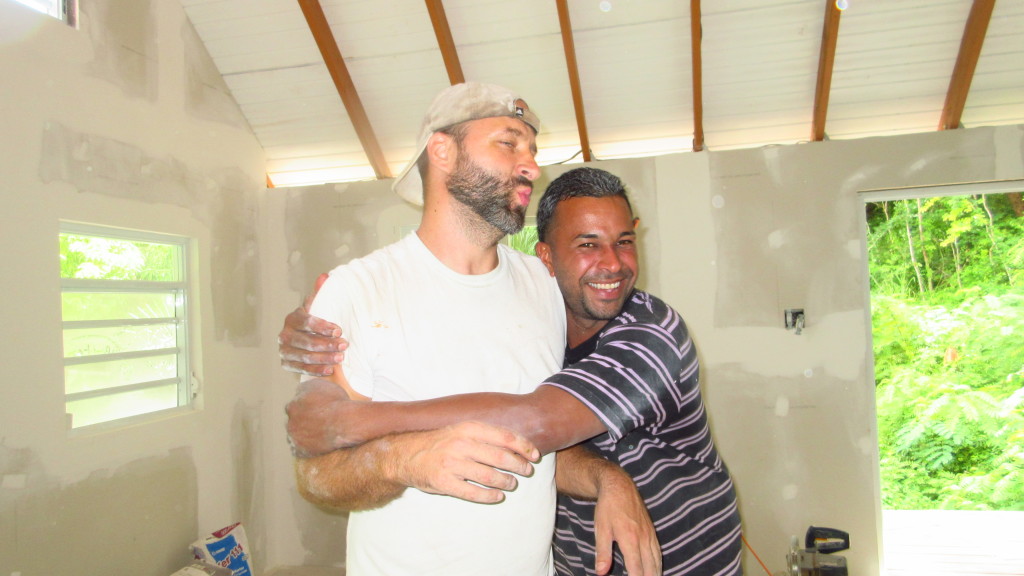
Waldermar and Britton
¿Tu quiereme? Waldemar and I work together a lot and have gotten to know each other well, even with the language barrier.

We also used cement board for the shower stall.  Over top of the cement board I used aqua defense, it is a paintable rubber membrane that adheres well to thinset when dry so you can tile over it.  The paintable membrane will keep any moisture from seeping past the grout/tiles and cement board into the wood below.  One thing I have learned is that cement is porous and should be sealed if you want to keep water out.  There is also a 3 piece drain.
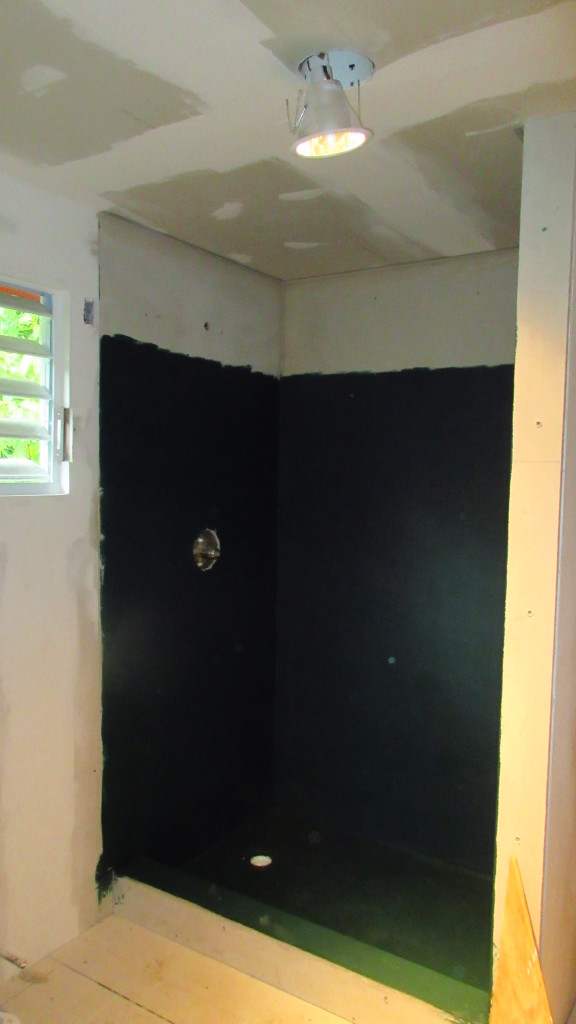
Blue bathroom
Green Water-proof Membrane

Soon we should receive some tiles.  Until then we will be painting the walls.
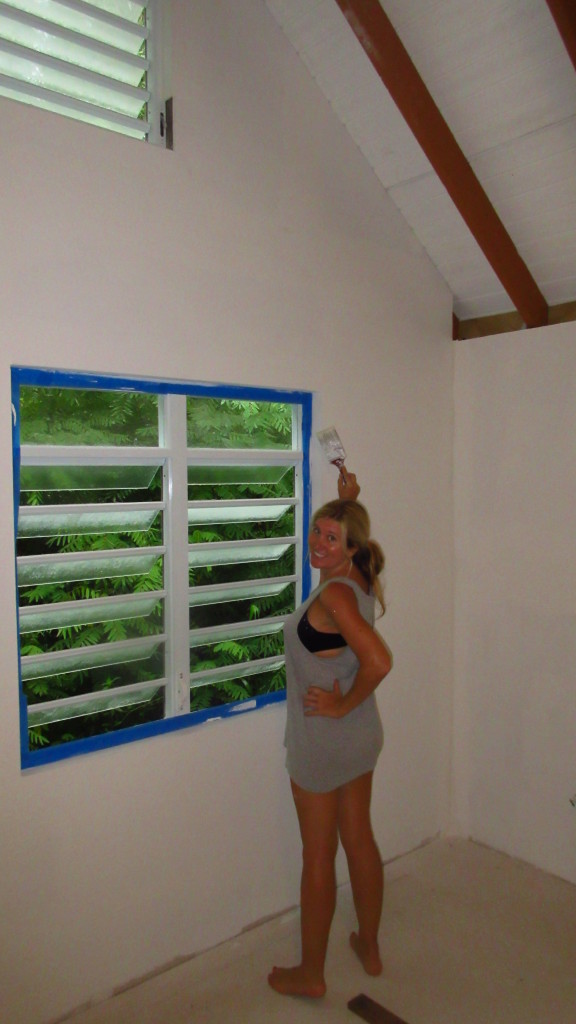
Cassie Painting
Cassie Priming the Drywall for Paint

So as you can see, we haven’t JUST been chinchorreando and having fun…We are making really good progress on the cabin too. Now that we can see the walls and floors taking shape we are super stoked to move in!
What do you think of this post?
  • WOW (2)
  • Awesome (15)
  • Interesting (1)
  • Useful (1)
  • Bummer (0)
  • Whoa (0)

Cabin Drywall Installation

The drywall installation is really going well at the cabin. It has been quite the job for just Britton and Waldemar to do alone, but we’re gettin’ ‘er done. Before we got started we needed to fill any little cavities or crevices that a bee or bat could enter in the walls. We were thinking of using insulation but were having a hard time finding any. Since we won’t have air conditioning or heating at the cabin it wasn’t actually needed for the purpose of keeping in heat or cold, but rather just for keeping the critters out. So we went around and filled each little crevice, crack and hole with expanding foam.

Filling with foam
Filling crevices with foam

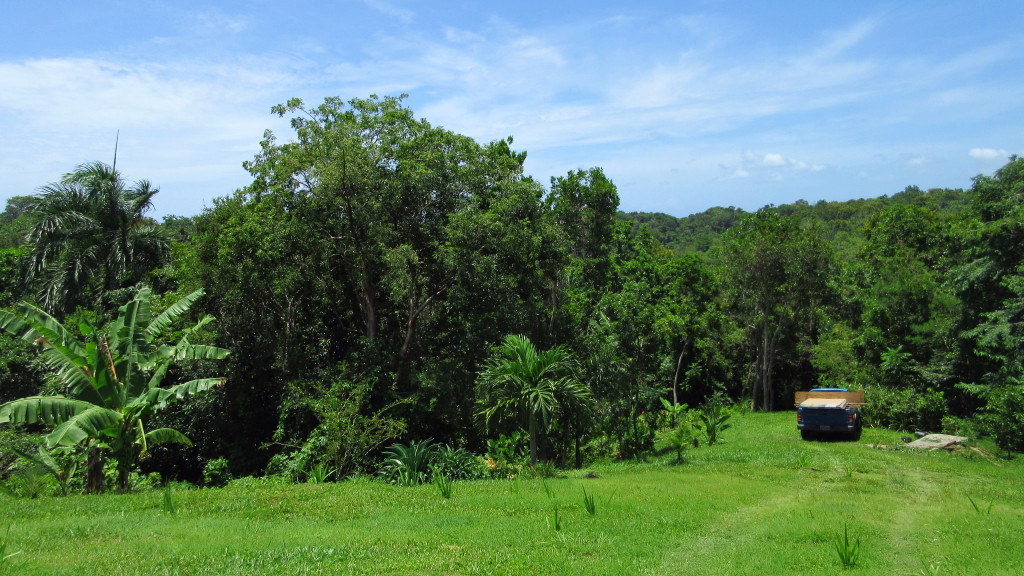
The next task was to order and then move over the drywall. We can drive the truck about half-way to the cabin. It is definitely a good thing we have 4 wheel drive. In Puerto Rico there is often an opportunity or need to use it. Here at our finca we drive on our grass at least 3 or 4 times a week.

Truck halfwayTruck halfway down loaded with drywall

Waldermar and Britton on bridge

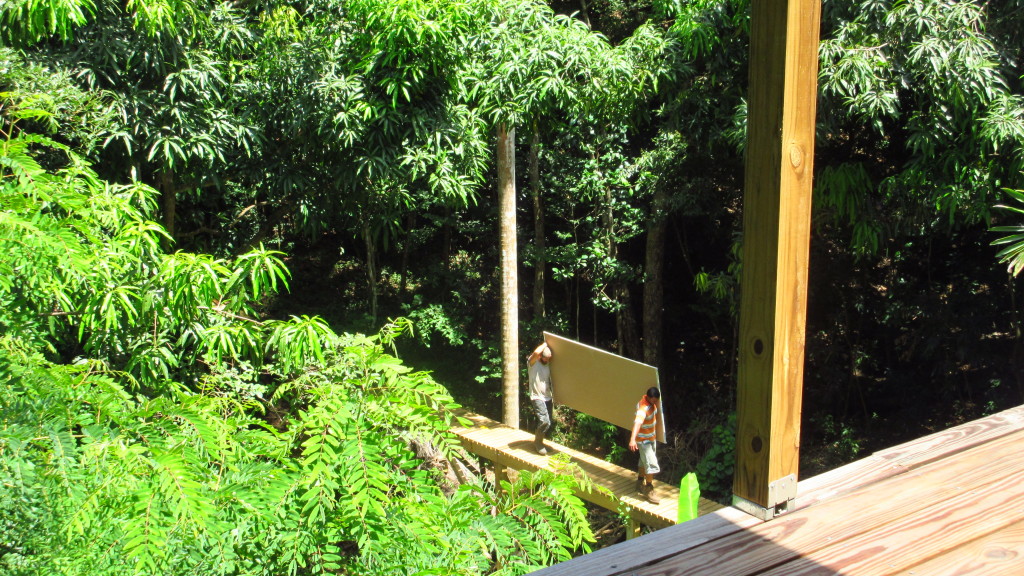
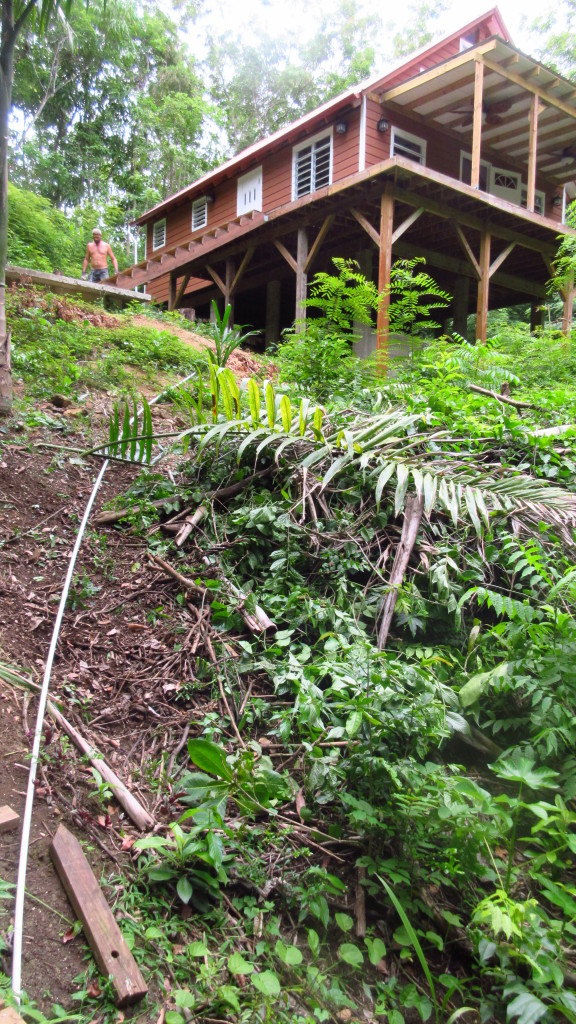
Next, Britton and Waldemar carried over each 2-pack of drywall. That means 30 trips up and down through the jungle from the truck and back, through the tropical gardens, across the sky bridge, up the curving stairs, onto the deck and into the house. That took all of one day.

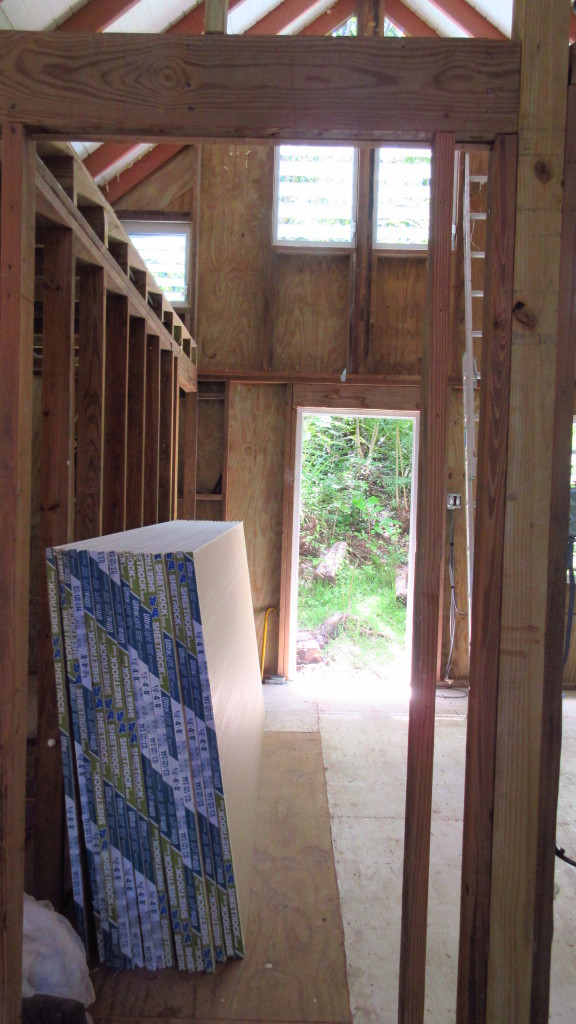
Stacked drywall
Just a portion of the drywall

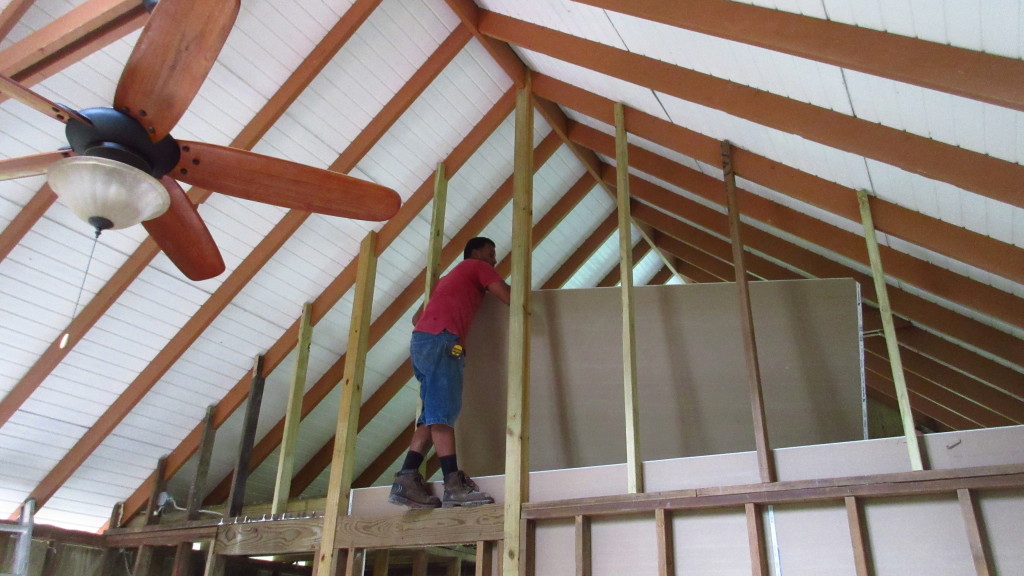
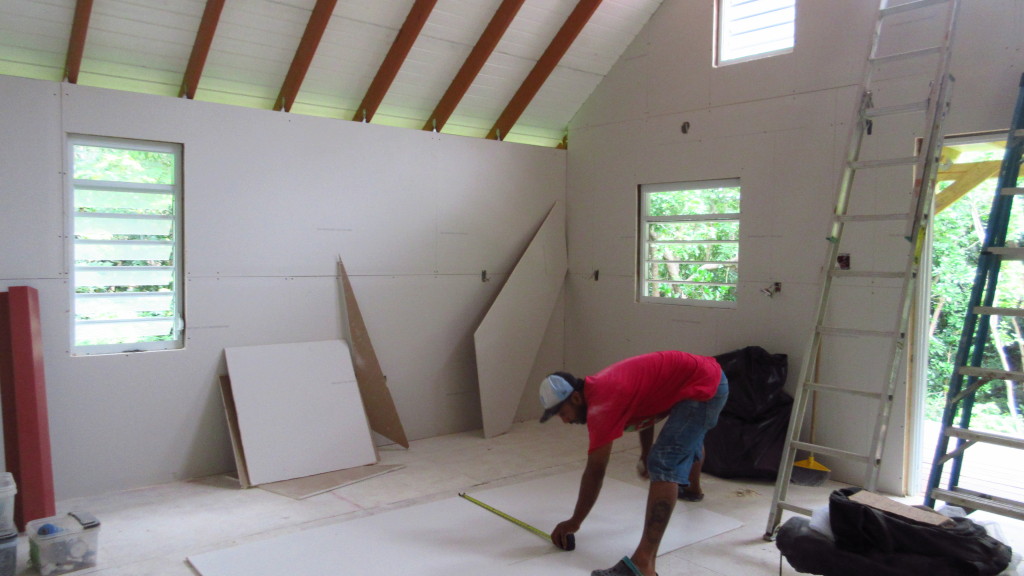
Waldemar hanging drywall

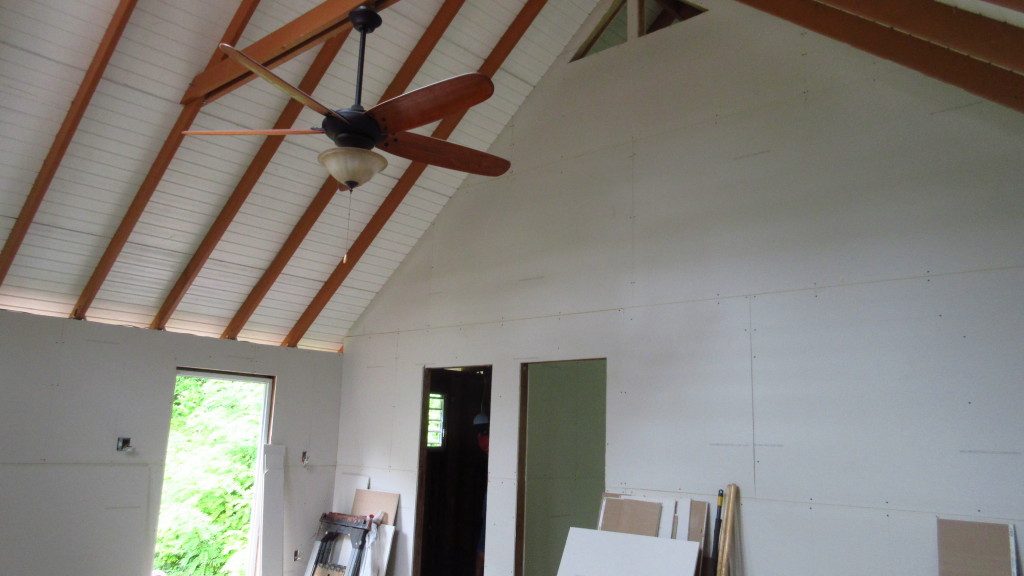
Next was the actual install. This is where you could really start to see the house take shape and what the rooms will really look like. It made the house feel a little smaller but much brighter.

Drywall LivingLiving room

Drywall kitchen
Kitchen

Nothing is ever as simple or easy as you would like. The order came with the wrong screws and we ran out of tape. So that meant more trips back to Mayaguez. We bought a lot of the materials at a drywall place, but we also made many a stop at Home Depot.

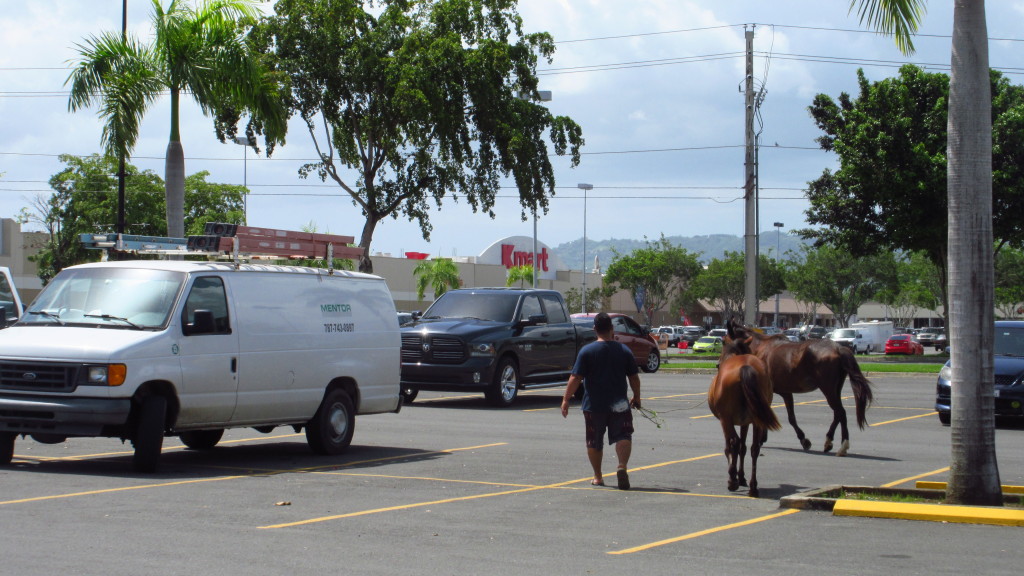
Horses in parking lotYou never know where you will see horses around here. In the Home Depot parking lot

We are getting closer and closer. They are now mudding and taping and then we will paint the walls. After that comes the subfloor! Though there is always something to think about, things are coming together beautifully.

Ginger flower
When we’re not working on the house, we have to keep up with the gardening! This is a new white torch ginger

What do you think of this post?
  • WOW (2)
  • Awesome (11)
  • Interesting (1)
  • Useful (0)
  • Bummer (0)
  • Whoa (0)

Cabin Update: Electric and Water

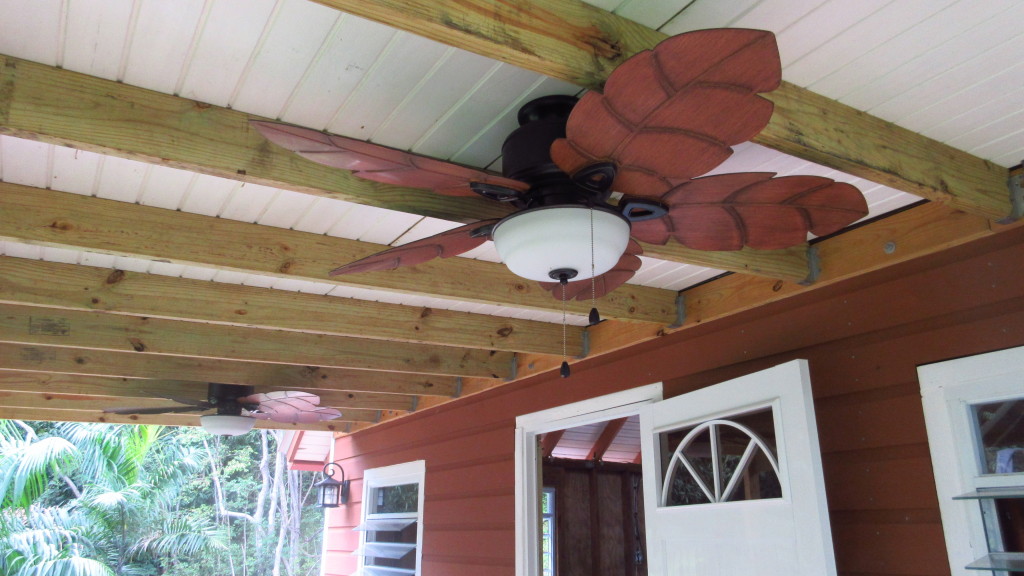
Agua y luz. Water and electricity. When you move into a house, this is what makes it a house and not just a shed or storage area. We recently finished up the electricity installation including the fans and it really makes it feel like home when you can just turn on the lights at night, the fans when it gets hot, or turn on a little music.

Fans at the cabin
Outdoor fans for the front deck

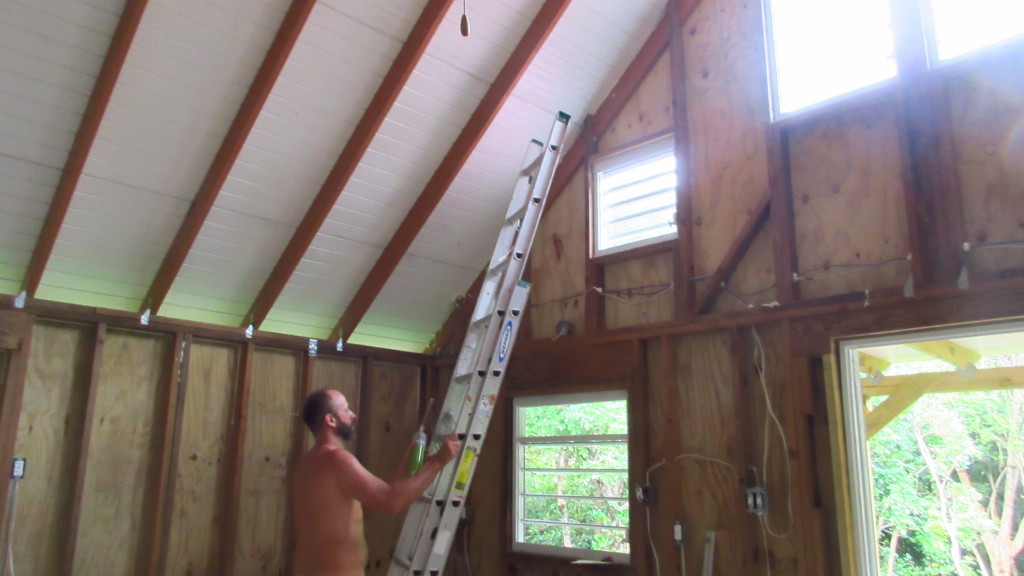
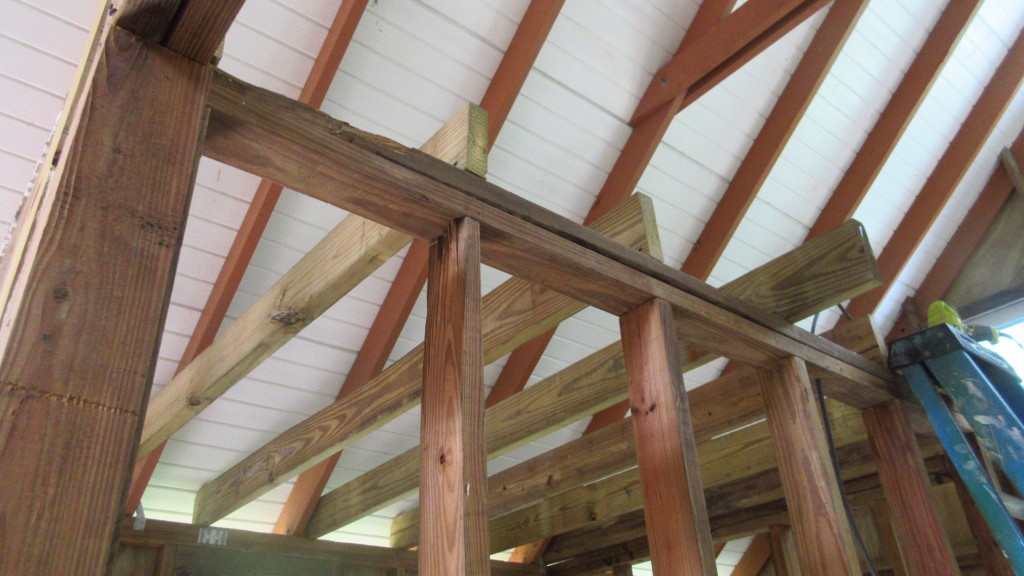
Britton also framed in the last bit of the wall and the bathroom loft area. We are in the home stretch!

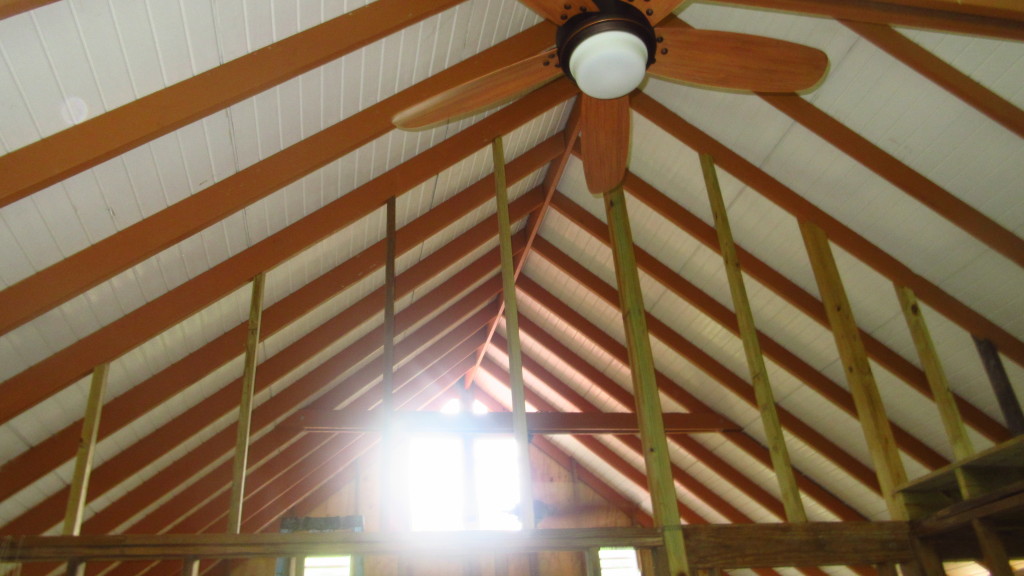
Wall Ceiling and Fan in Cabin
Bedroom fan and framed wall

LoftRafters above the bathroom and closet 

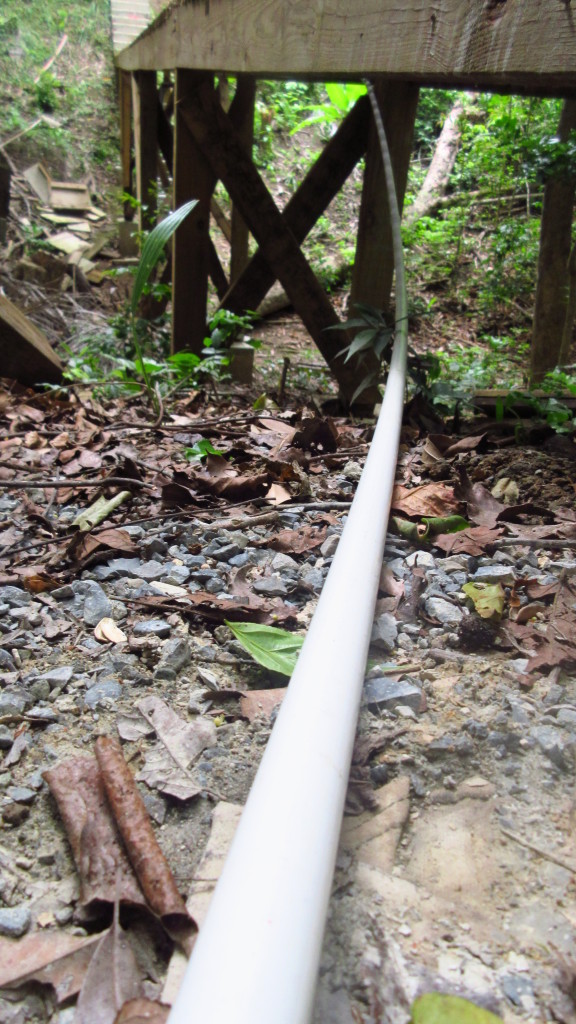
To install water at the cabin, Britton connected about 300 feet of 1/2 inch tubing, buried about half of it, crossed the property, affixed it beneath the sky bridge and then connected it to the cabin.

Waterline under bridge
Waterline where it travels under the bridge

Waterline to the house
Waterline where it connects from the bridge to the cabin

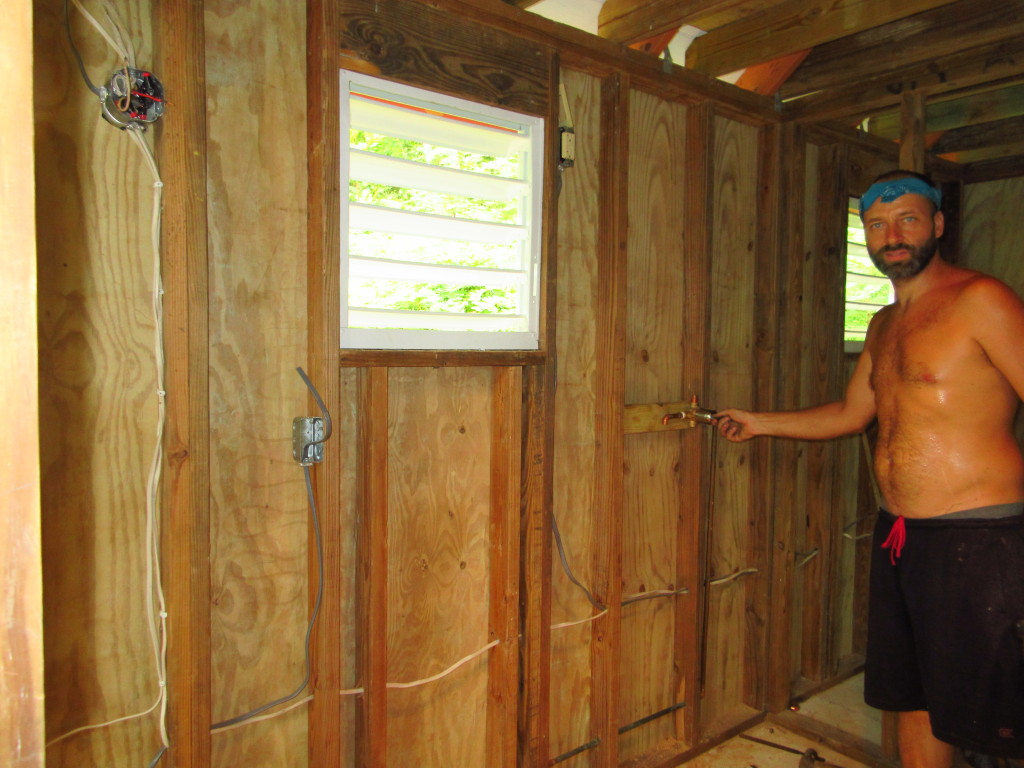
Next up was internal copper water lines which Britton soldered. Thankfully we have plenty of leftover copper pipes that we reused from the old wooden house and so this was fairly inexpensive. Britton has also worked a little with copper piping before and so this went fast. There was one pipe rupture but Britton fixed it pretty quickly.

Water piping inside
Bathroom plumbing and wiring are ready!

You could call this the house that Britton built. Almost everything he did himself or with one other helper. There has not been a moment when he was not working hands on. An amazing feat. It can take a little longer when it’s just you and you’re learning as you go, but he has been a champ. He’s done a great job!

We are now on to the next phase. The skin. Drywall should arrive this upcoming week and Britton and Waldemar will begin installation. It’s all coming together and really starting to feel like a house. I can’t wait to move in!
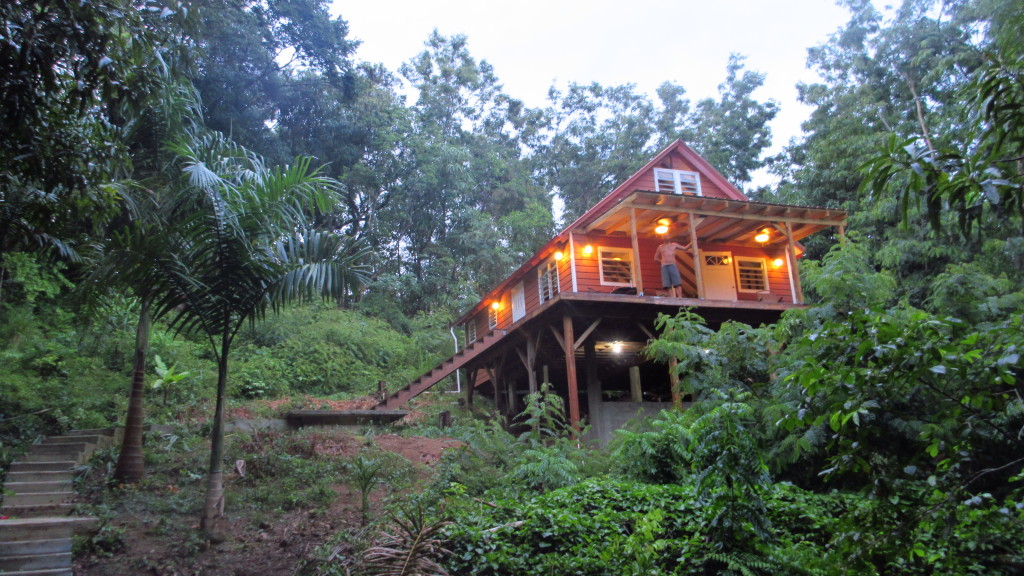
Cabin in the woods
Home sweet cabin! 

What do you think of this post?
  • WOW (5)
  • Awesome (8)
  • Interesting (0)
  • Useful (0)
  • Bummer (0)
  • Whoa (0)