Category Archives: How-To

Drywall Free Interior Walls

I was driving into work today while day dreaming about the house in Rincon.  I was thinking about what to do with the wood house and specifically about what to do about the interior walls.

The wall cavity between the outer siding and the inner panels/drywall seems to make a great place for bees, rats and bats to live.  This is a problem, because while I don’t have anything against any of those things in general, I don’t want them to live with me.

We know we are going to paint the inside of the house white to brighten it up.  The inside has never been painted and is all a natural wood color so it tends to be pretty dark.  I thought…”well who the hell needs drywall?  Or wood paneling?”.  Here in Colorado we need that space to insulate us from the outside which gets pretty darn cold.  The only purpose it really serves in our Rincon house is to cover up the studs and apparently make nice nests for  pests.

It is fairly hard to locate pictures of what I have in mind but I did find a few.  no drywall
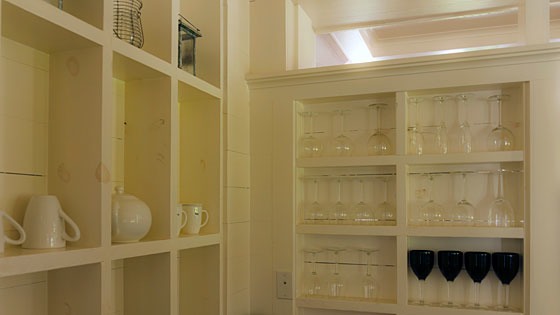
Here is the idea

Basically remove the existing panels and drywall, clean everything out and paint.  Done.   It also provides shelf space.

Now, I am not sure we would do this in every room, but we don’t have to.  Some of the wood paneling can just be painted white and some can removed and the empty cavity painted.

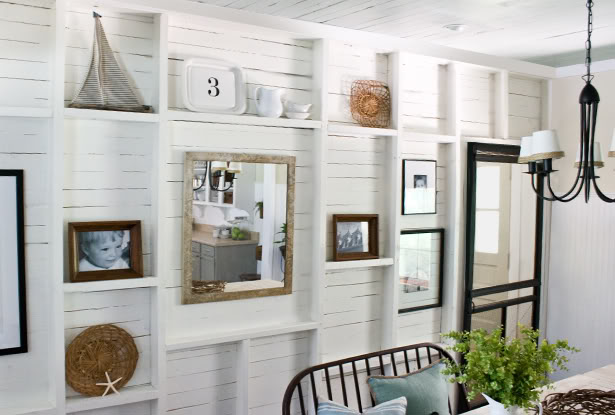
Wall 2
Another example grabbed from Google images.

What do you think of this post?
  • WOW (1)
  • Awesome (5)
  • Interesting (4)
  • Useful (1)
  • Bummer (1)
  • Whoa (1)

New Carpet for our Greeley House

This weekend we had our new carpet installed in our house in Greeley. When we first bought our house in 2003, it was a foreclosure and the carpet was badly stained in the living room. At the time, however, we did not have the money to install new carpet, so we just got it professionally cleaned. It really brightened it up and the dark stains were less noticeable, but it wasn’t perfect. The rest of the house’s carpet was in fine shape as the house had only just been built in 2001 and so the carpet had been new at that time.

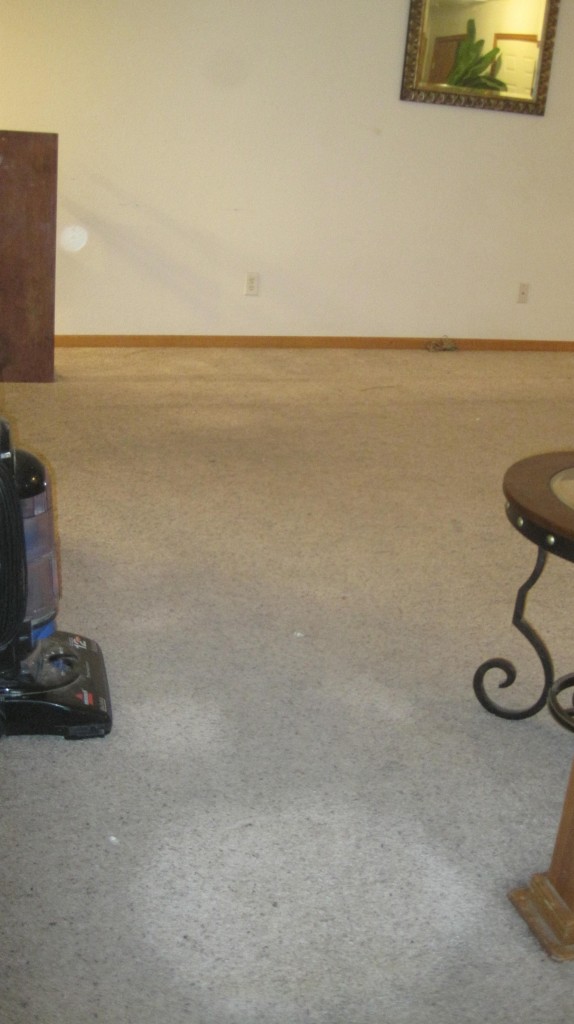
Hallway spot
This was the worst spot in the house. Britton and I had made a small stain worse by trying to clean it with Oxy-clean and it had bleached the carpet

Over the years, the carpet, especially in the living room, only got worse and worse. Old Schnood had had accidents on it, both Callie and Kitty had taken their claws to it and it was the main thoroughfare to the kitchen, basement, and upstairs bedrooms. As you may remember, we had covered it up with a nice new throw rug and that helped a lot, but we still knew the carpet was on its last legs. Since we are moving this year, we want the house to be ready to rent and figured that now was as good a time as ever and we’d at least get to enjoy it a little first too.

So this weekend we moved all of our upstairs furniture into the basement, kitchen or bathrooms.

IMG_2787
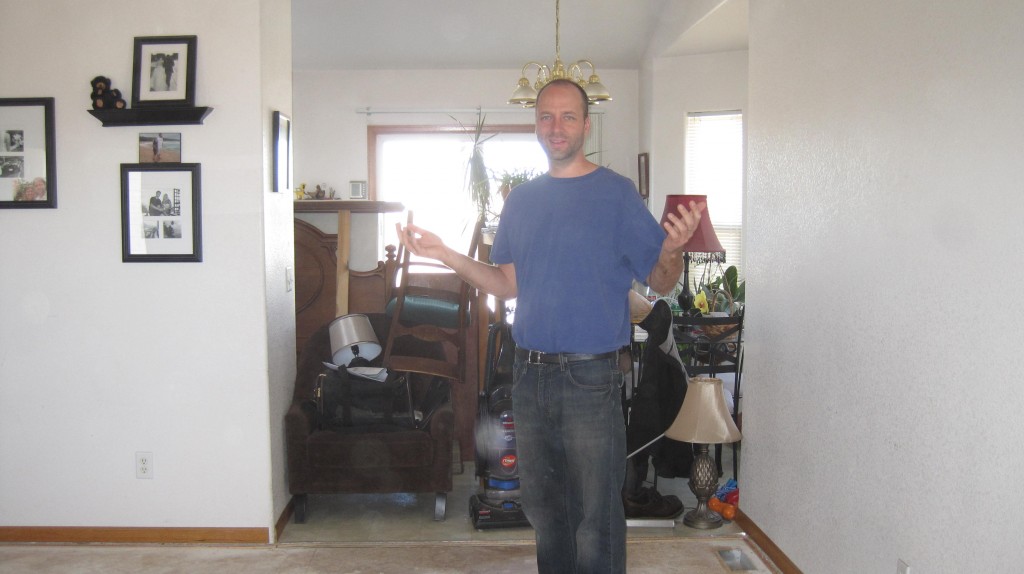
Britton with most of our earthly belongings moved to the kitchen

The carpet installers arrived around 9am on Saturday and got right to work. Britton was also excited to finally fix a squeaky spot in the hallway that always creaked when we walked by. It’s nice not to have that creak but we no longer have our wonderful alarm system anymore either 🙂

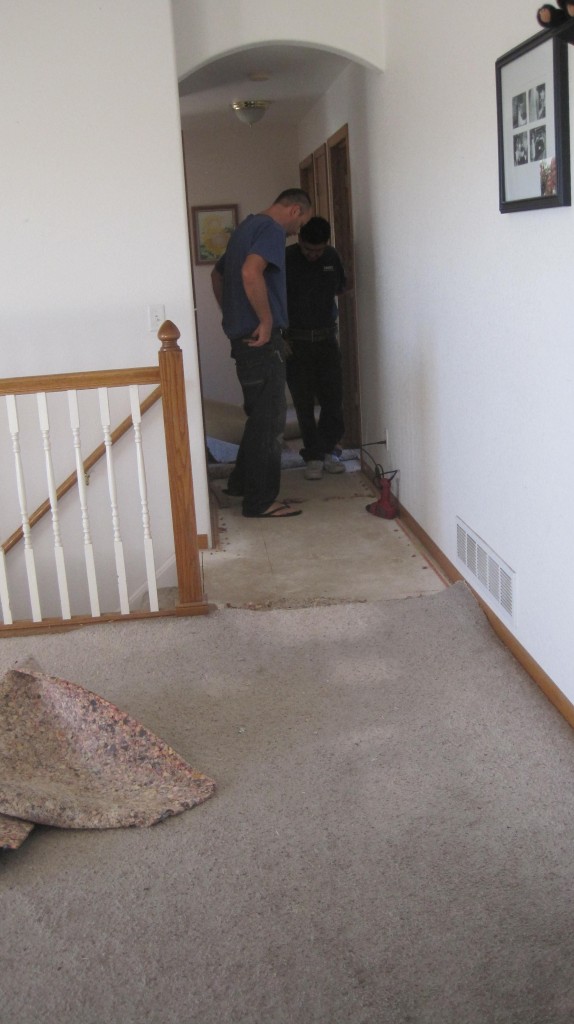
Britton and squeaky spot
Britton and the carpet installer fixing the creak in the hall

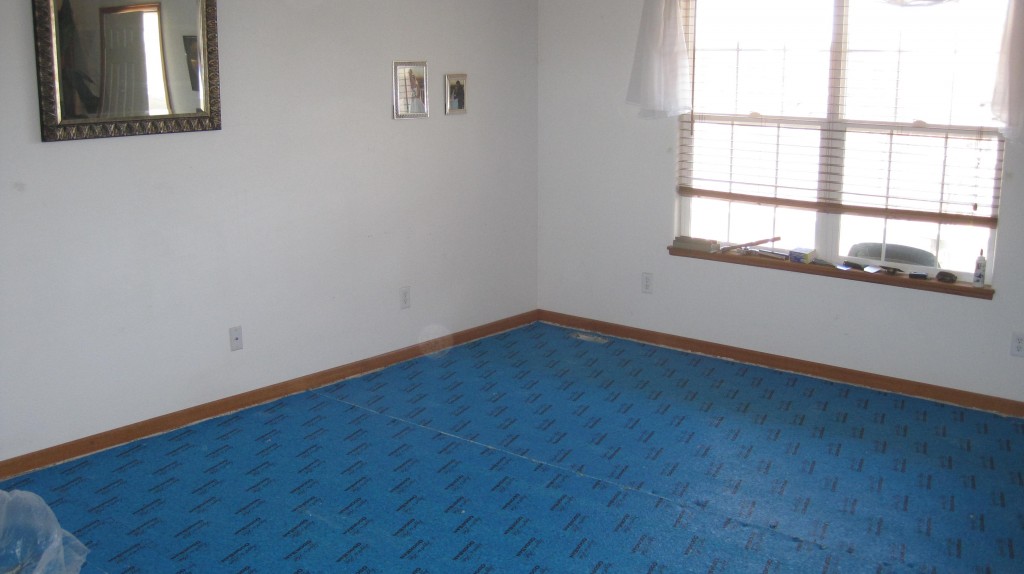
Living room with blue carpet pad
It looked really weird with just the blue pad installed

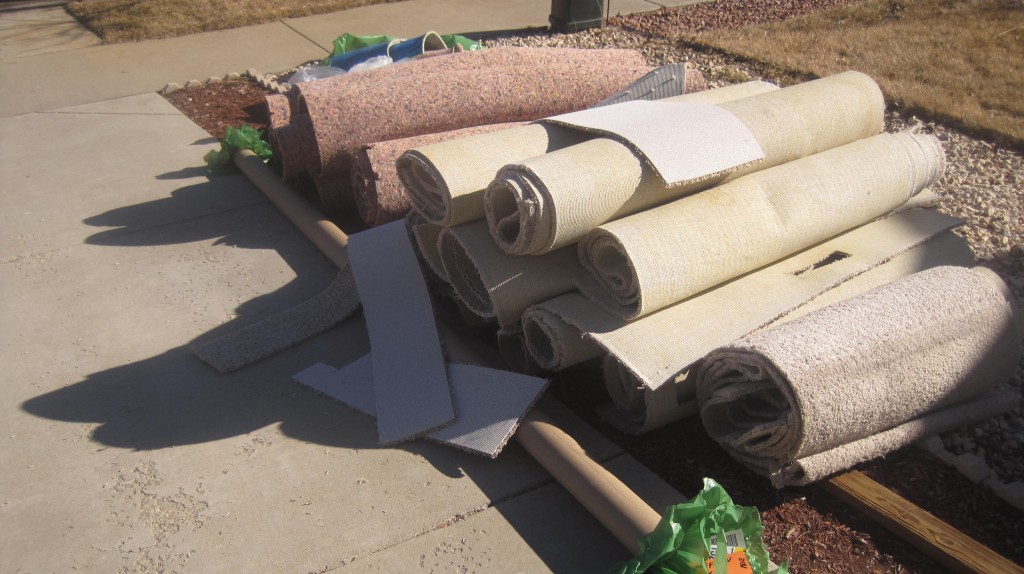
Hauled out carpet
The “used” carpet

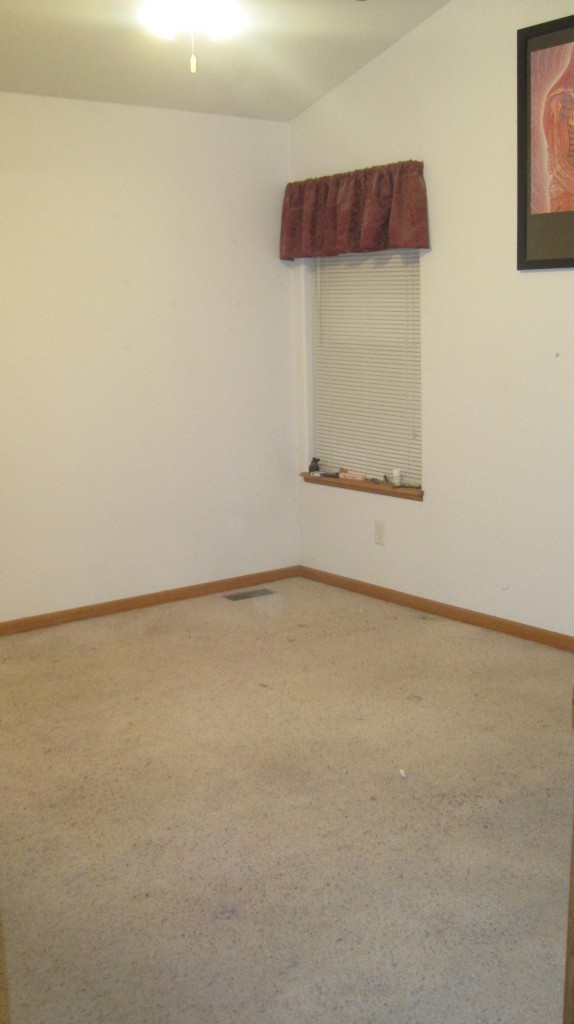
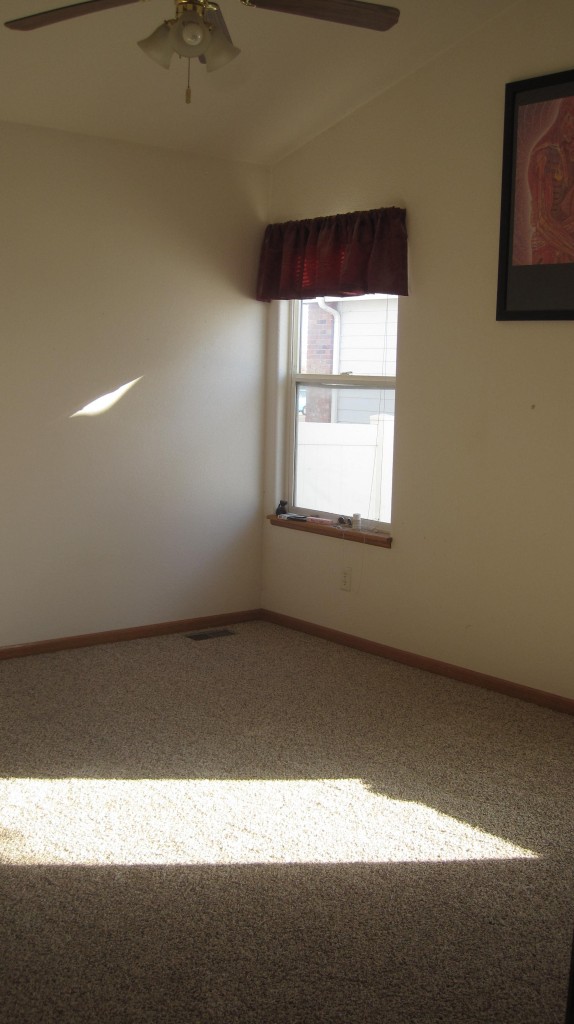
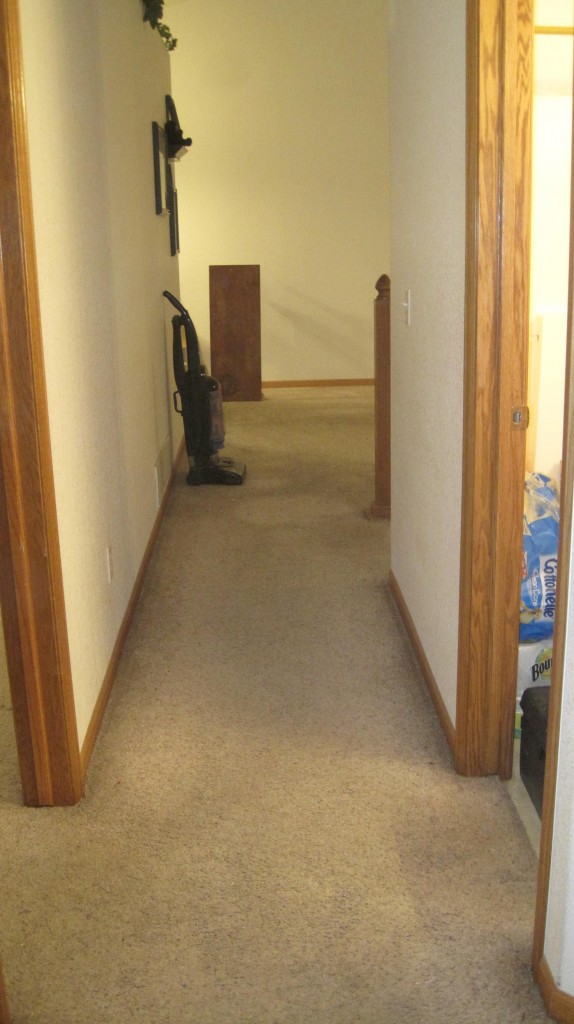
Here are some before and afters. It looks even better in person and feels good under bare feet. We love it!

Bedroom before
Bedroom before

bedroom after
Bedroom after

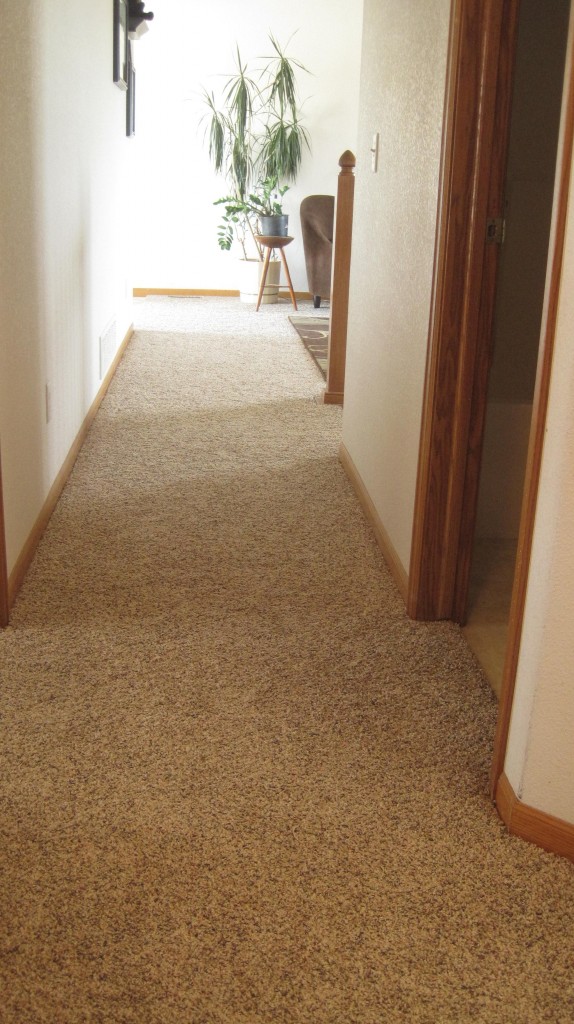
Hallway before
Hallway before

Hallway after
Hallway after

It’s amazing what a little surface detailing -and money- can do. We’ve seen it before in our (other) rentals, but it’s so true: paint and flooring can make a place feel new again.

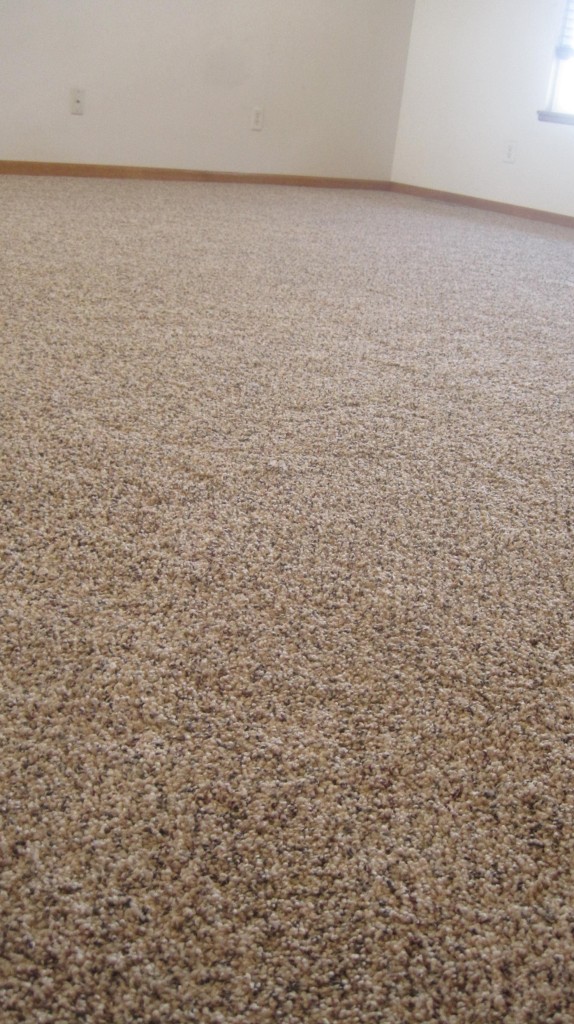
Carpet close up
Close up of the new carpet (living room)


What do you think of this post?
  • WOW (0)
  • Awesome (4)
  • Interesting (1)
  • Useful (0)
  • Bummer (0)
  • Whoa (0)

Roof Project Update

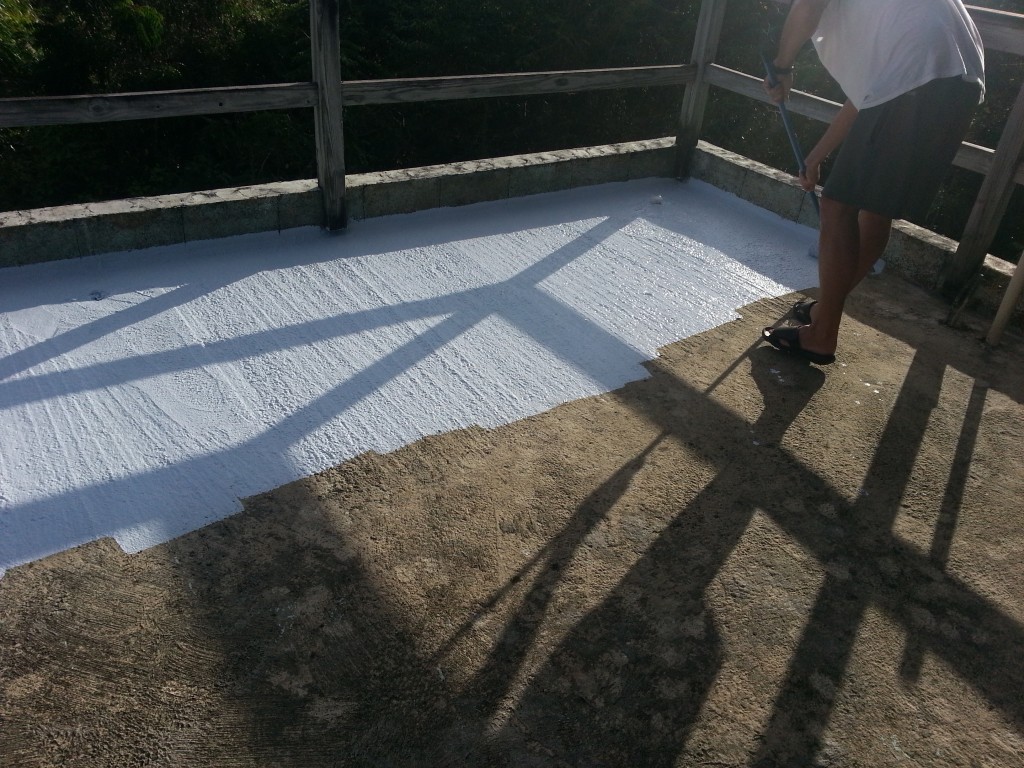
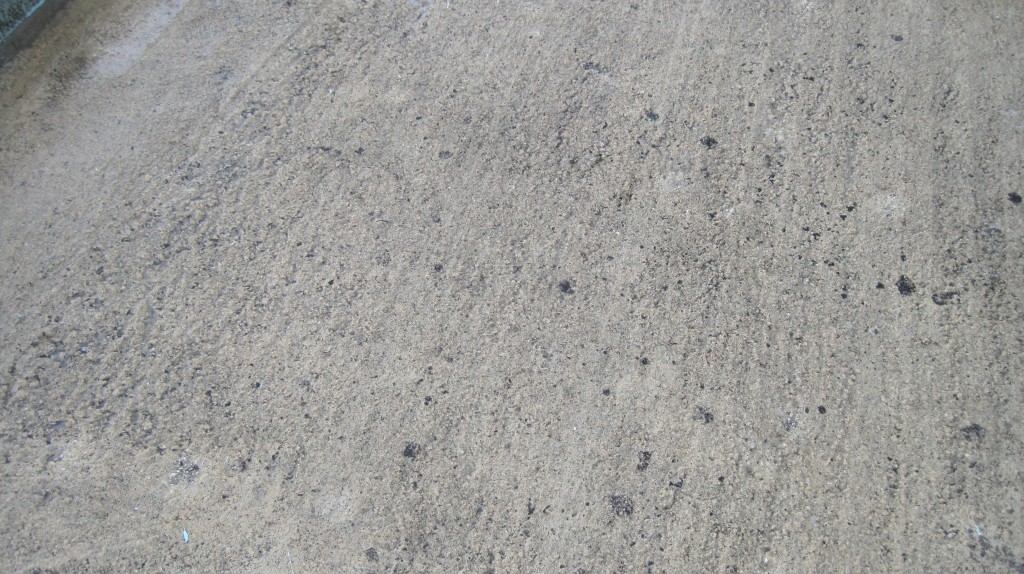
Well today was a bit more laid back, but we still got quite a bit accomplished with the roof.  We would have liked to have let the concrete dry longer before putting on the sealant, but since we are on such a tight schedule we didn’t really have much choice.  It was totally dry on the surface, but I just don’t know how far water sinks into the concrete.   We did our best and I think it will be fine.

roof in progress
Crossco 5500 going on
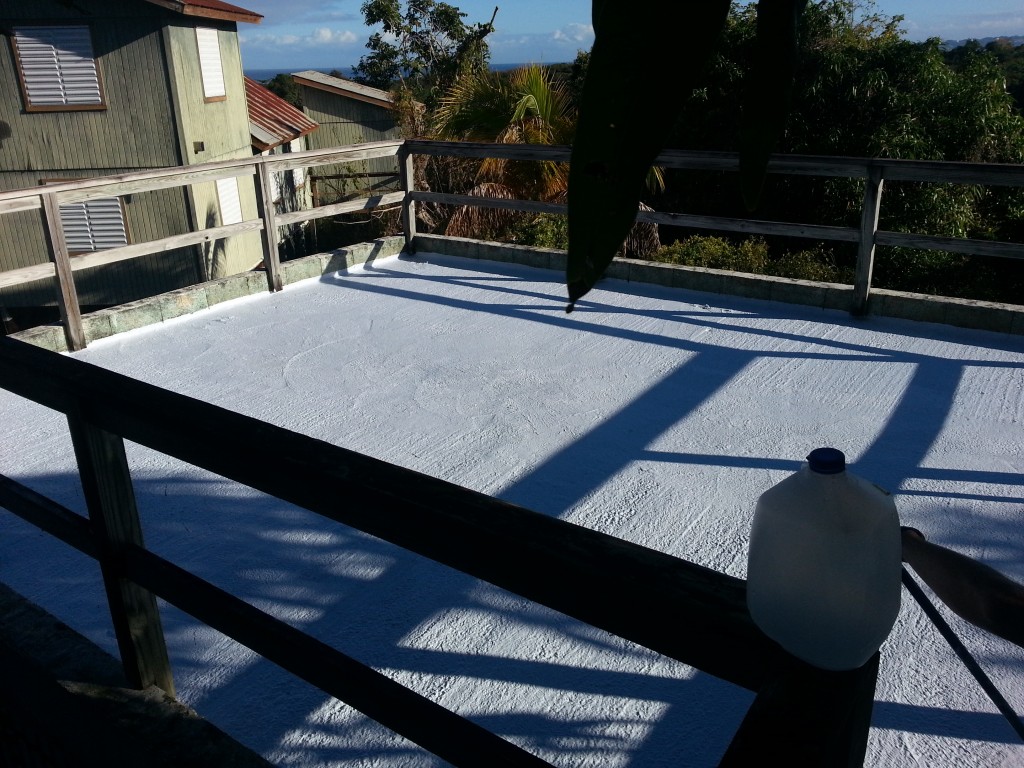
roofdone
Finishing up

We still have another coat to put on in the morning before we head back to the airport, but this looks pretty much like the end result will look.

Of course once we finished a stray cat got up on the roof and pooped.   Right on the nice clean white finished surface..lol.

Just having working drains will make a huge difference, but having the acrylic elastomeric coating should keep the cement from getting moisture, which means I can then paint the inside ceiling without having the paint peel.  A project before a project!

The moss/alge on the roof that was there before we started looks to have gone up the sides pretty far.  I think the roof was most likely a pretty nice pond after rain storms.


What do you think of this post?
  • WOW (0)
  • Awesome (0)
  • Interesting (3)
  • Useful (0)
  • Bummer (0)
  • Whoa (0)

Kicking Butt and Cleaning Up at the PR property

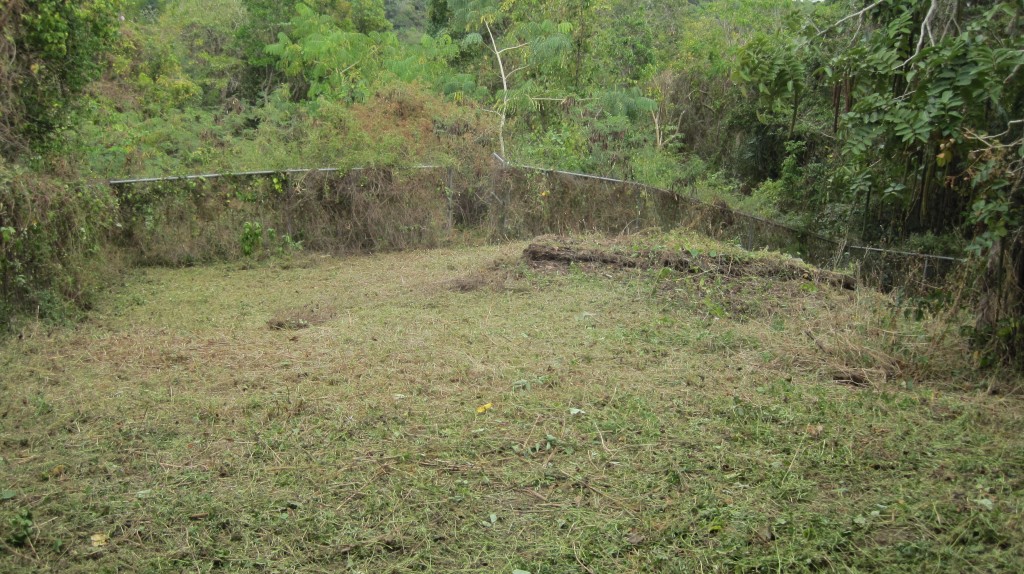
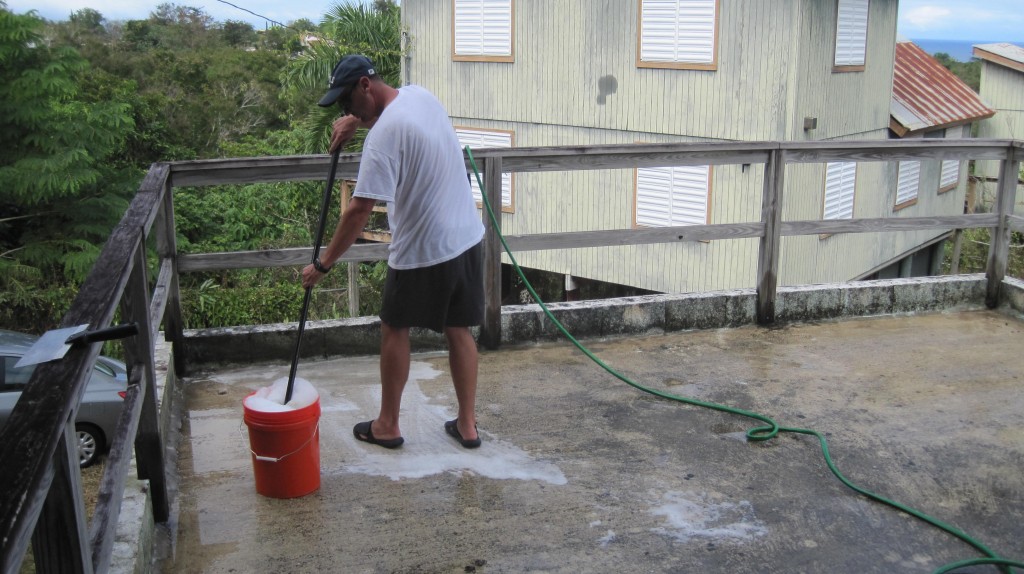
Well…It has been the most productive time I have had at the property in Rincon so far (but we’ve had some fun too).   We got the yard mowed with the modded trimmer.  I spent my morning finishing up the backyard trimming.  Then Matt and I moved on to cleaning the roof and prepping it for cross coat sealant.

Very productive day and my arms are very sore.  So we went to the beach and are now just hanging out on the roof of the cabana.  Which we decided may need a view improvement by way of chainsaw (more on that later…hopefully).

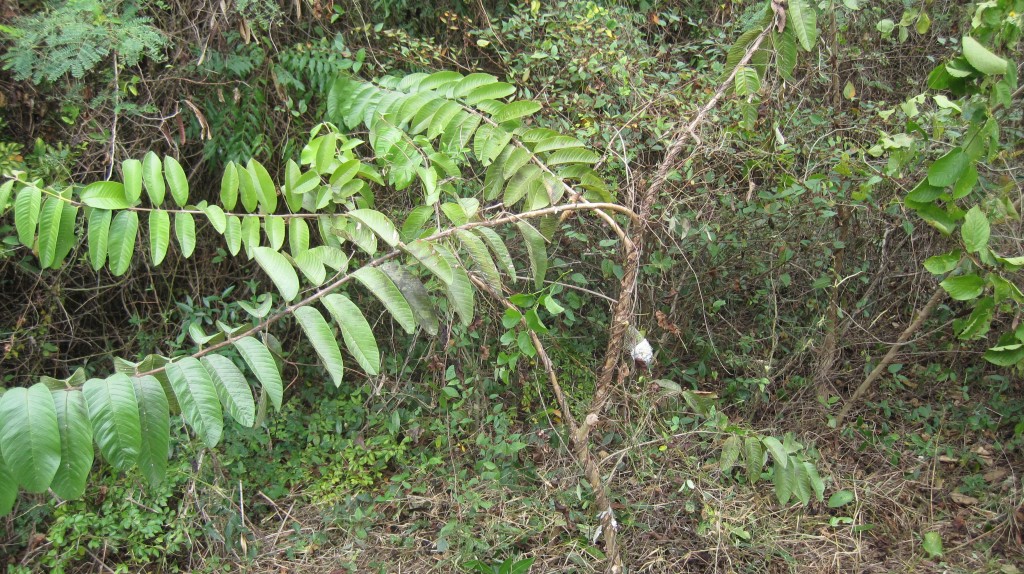
I also checked on a Pineapple Mango tree we planted a while ago as well as a Corazon tree.  Pics below.

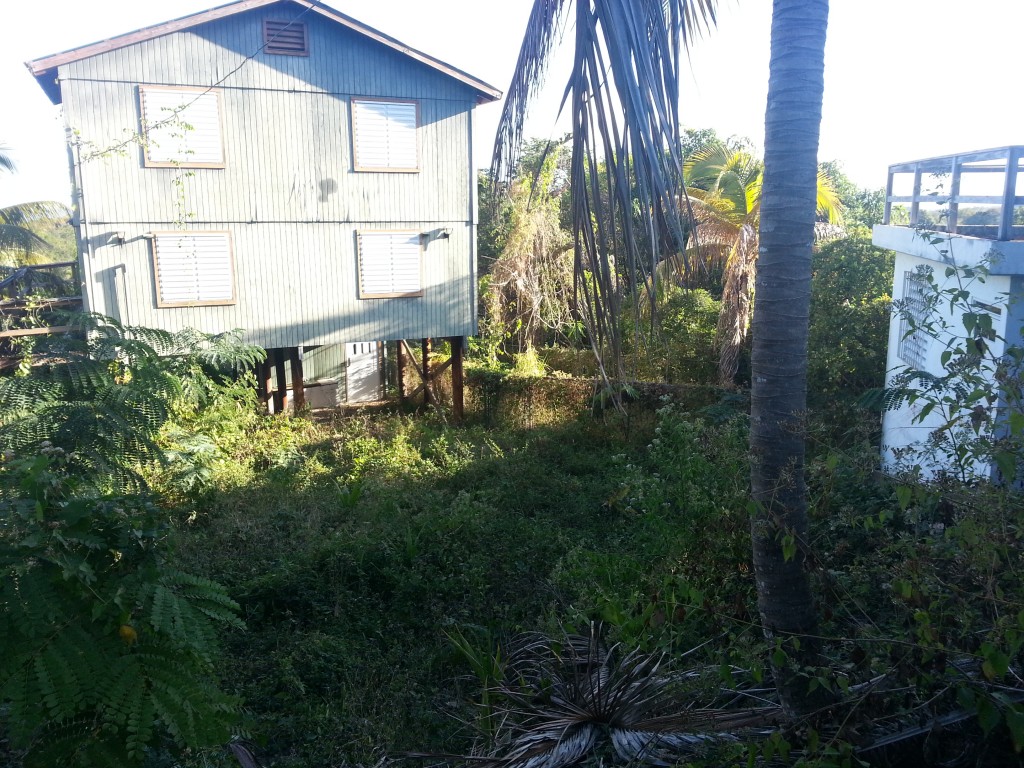
Tall yard
Lots of Growth Since the Last Visit

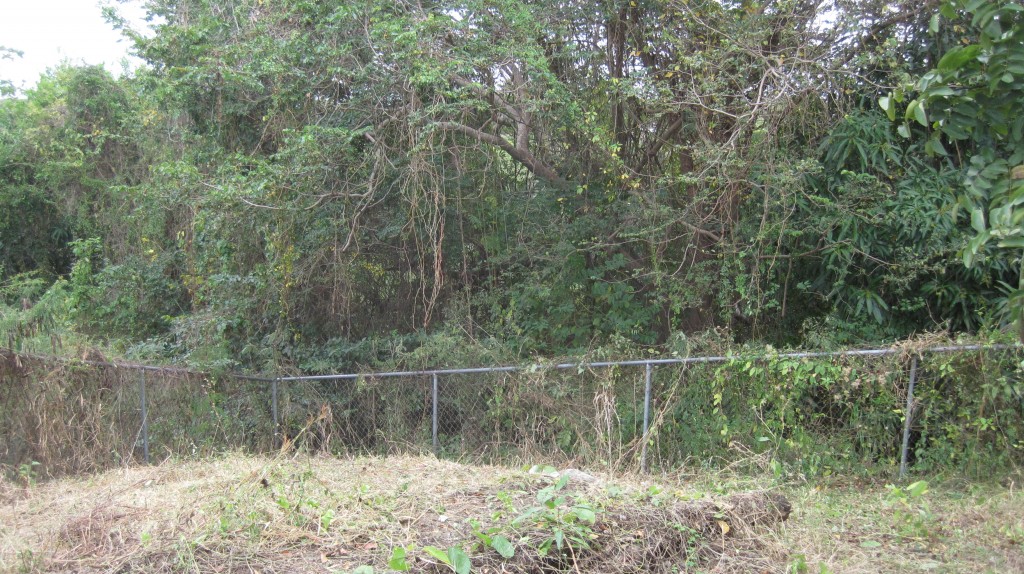
Yard Mowed
Mowing to the fence line (backyard)

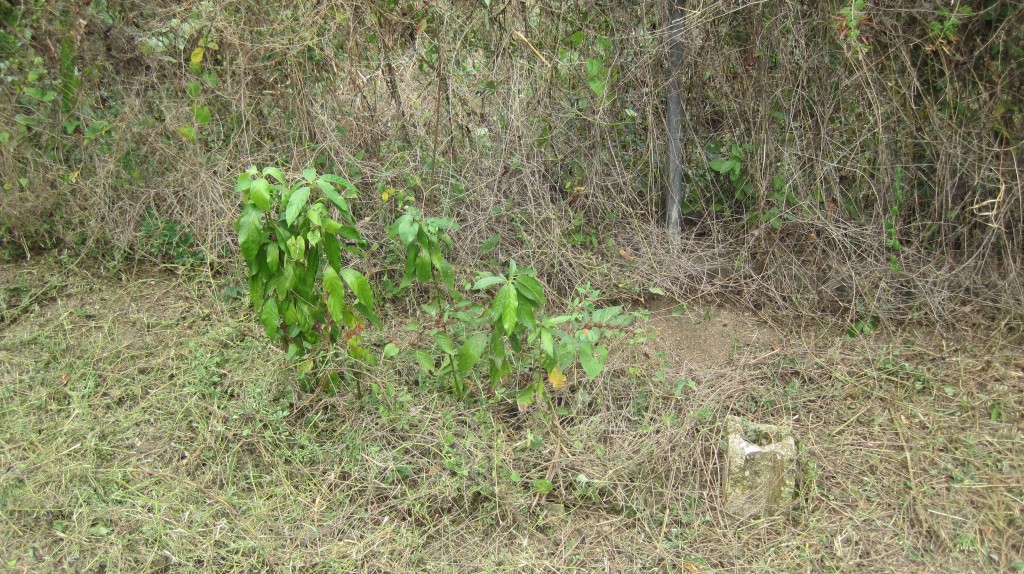
We planted about 10 Mexicola Avocado seeds last visit.  And three of them sprouted while we were away!
avacado
Avocado trees were marked by a cinder block so we could find them after a year away

corezone
Corazon Tree, it is doing very good and way bigger than when we planted it!!

backyard mowed
Mowed Lawn (backyard). Still lots of vines on the fence.

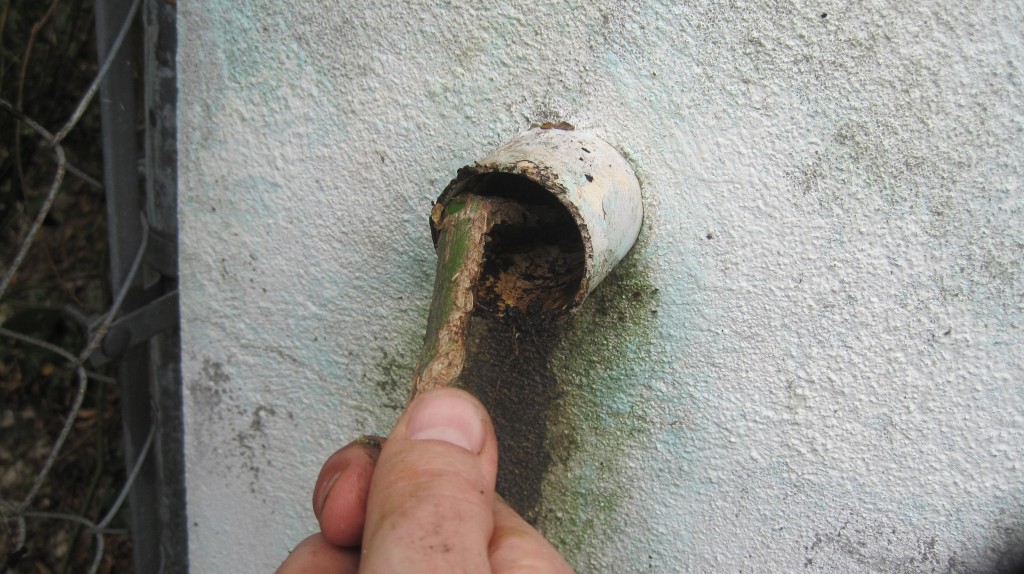
The next step was to start on the roof.  Matt started early so I don’t have a before picture but the alge was about 1/4 inch thick!!  It was basically green /black when we started and now it is white.  There were a few plugged drains and on one of them I used a vine as a snake to clear the clog!  LOL

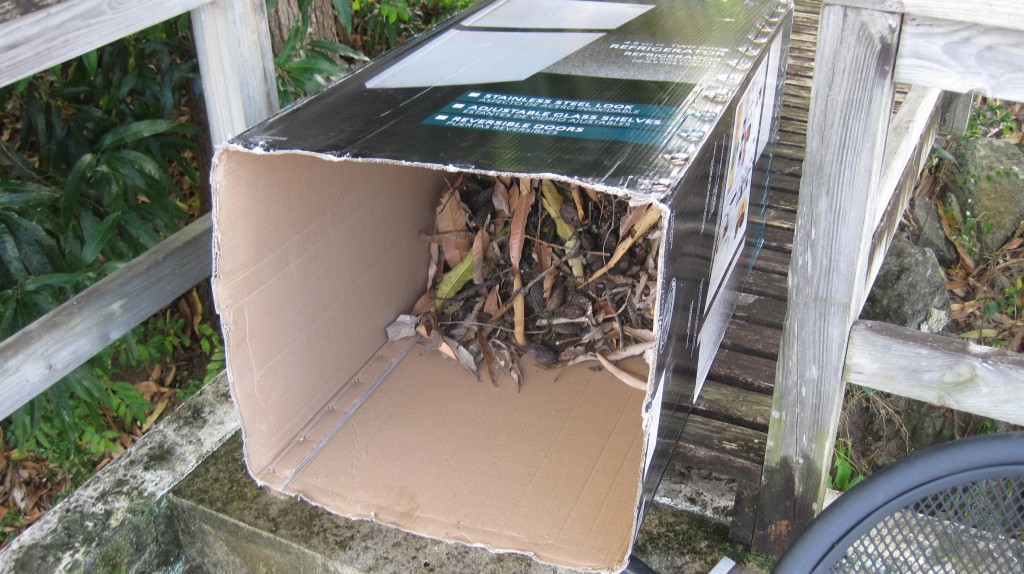
Big Dustpan
Worlds largest dust pan

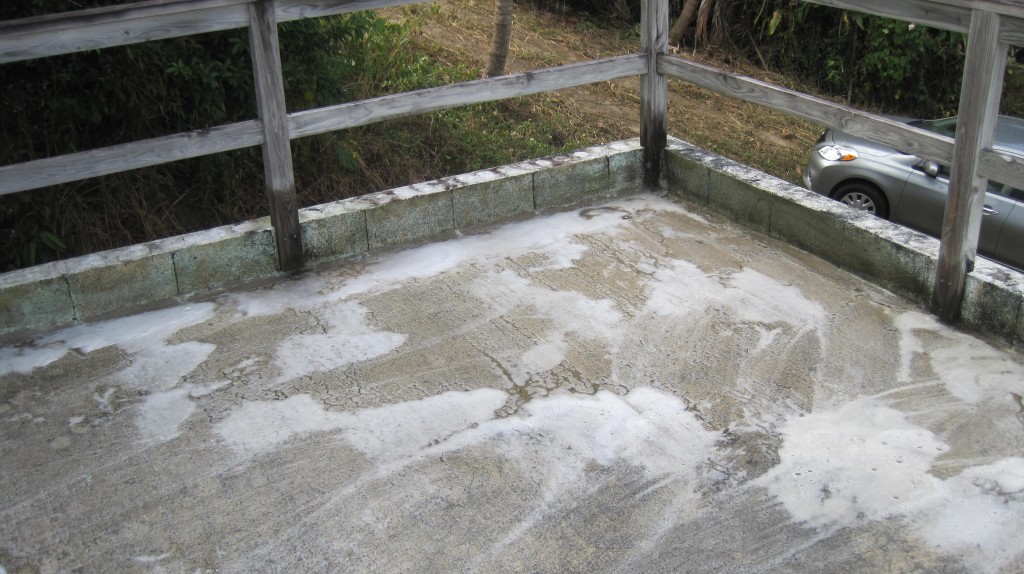
bubbles on roof
Scrubbing Bubbles

Mat scrubbing 2
Matt Scrubbing

clean
Super clean results! Almost ready for the sealant

Matt was looking for something to clear the drain.  He mentioned that we should Macgyver it.  So I used some jungle resources to make a sewer snake and put it up the drain.

Vine
Jungle Macgyver

There has been so much going on it is hard to post it all!  Here is a picture of how the yard looked from the front before we started.  There was quite a bit of growth.


What do you think of this post?
  • WOW (0)
  • Awesome (4)
  • Interesting (4)
  • Useful (0)
  • Bummer (0)
  • Whoa (0)