Category Archives: Construction

Trail Blazing

When we first arrived at our property, we hadn’t even walked the whole perimeter. When we finally did, we took a machete and a spider stick and just hacked our way along. We got lost multiple times. We looked for flattish spots to place our feet and eventually as we walked it over and over again, a few trails became apparent. This was true trail blazing. Since then, our trails have become more and more refined.
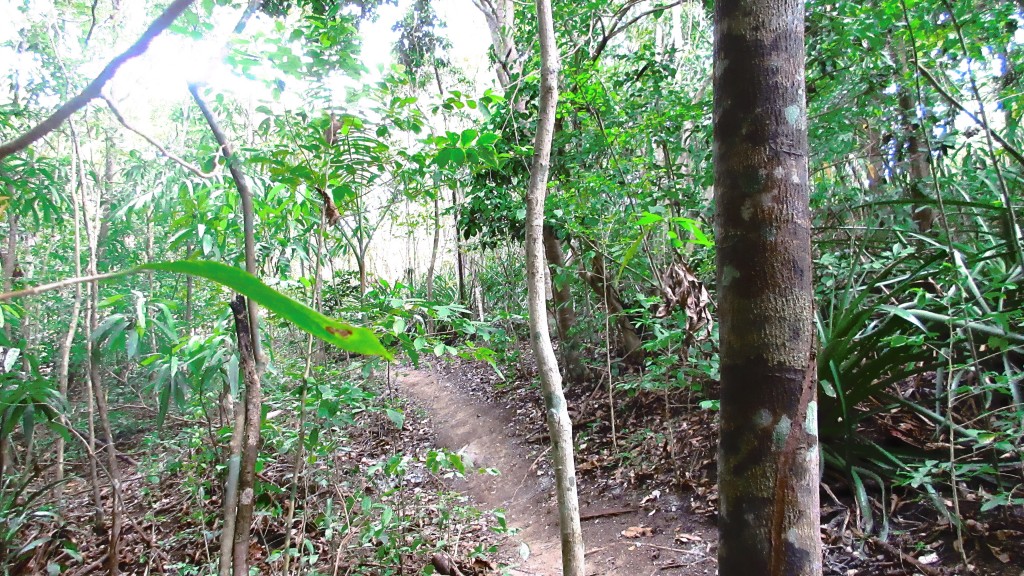
Trail to the cabinOne of the more “raw” unworked trails

Most people would probably say that we should have built trails (or better yet, a road!) BEFORE we got started on the cabin in the woods. And that would make sense. But, we took the old wooden house down before we had selected the site of the cabin. So therefore we had basically set the timer on using the wood since it was sitting outside on the ground. However, since the shell of the house is basically done we are doing some of the trail building and access-work now, in between major projects on the house.
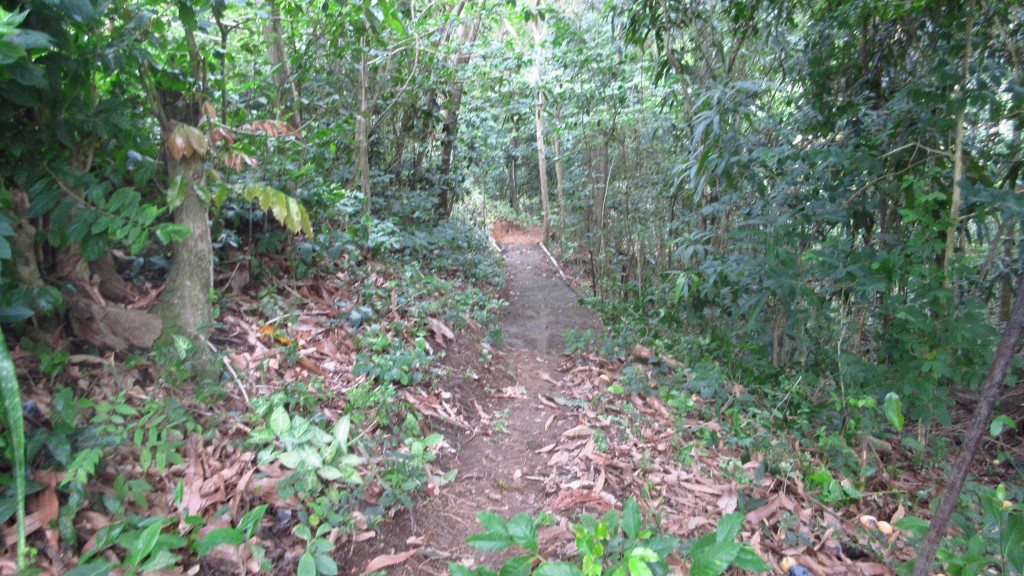
Working on trails
Single track path as it has been for a while that turns into the wider, flatter, more accessible trail

Building trails is important because most of the property has a slope to it and when it gets wet it can become super sketchy to walk on. Britton and I are used to slipping, sliding and occasionally falling, but if we bring over people who aren’t, well, results vary wildly. Plus, when we live in the cabin and need to walk there in the rain with groceries or whatever, we’re going to want to make it as pleasant and easy as possible.
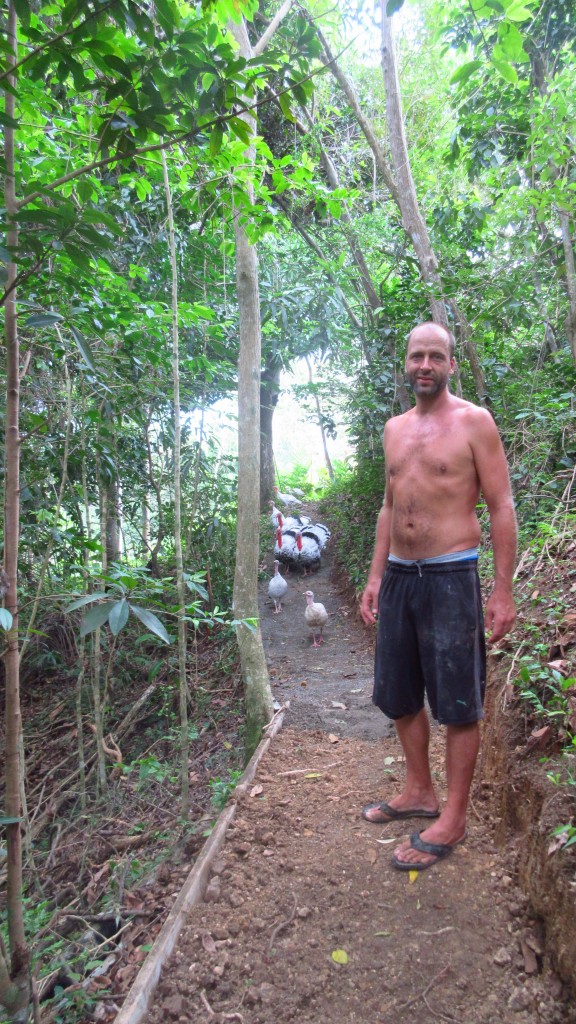
Britton turkey trail
Britton standing on the newly flattened area and turkeys on the graveled area

Here’s how to build a trail, or at least how we do it:

First, we bring over some of the wood that remains from the deck of the old wood house. Wood that is not structurally as great as the stuff we used to build the cabin but that will work for outdoor projects like this. They are about 12 ft long 2x8s. Then we stake them with some cut rebar. Next, we dig out the side of the hill a bit and flatten it to the wood.
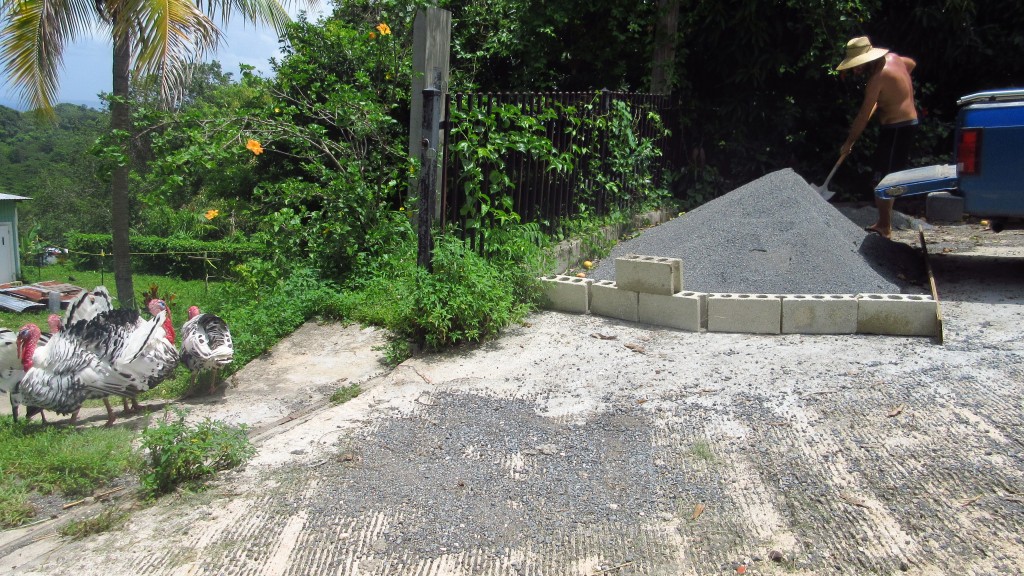
Turkey and pile of rocks
Britton loads the arenon into the truck and brings it to the halfway point where he then wheelbarrows it over to the trail

And finally, we bring over some sand/gravel to pour over top. In the future we may concrete it, but probably just put pavers to keep it rustic.
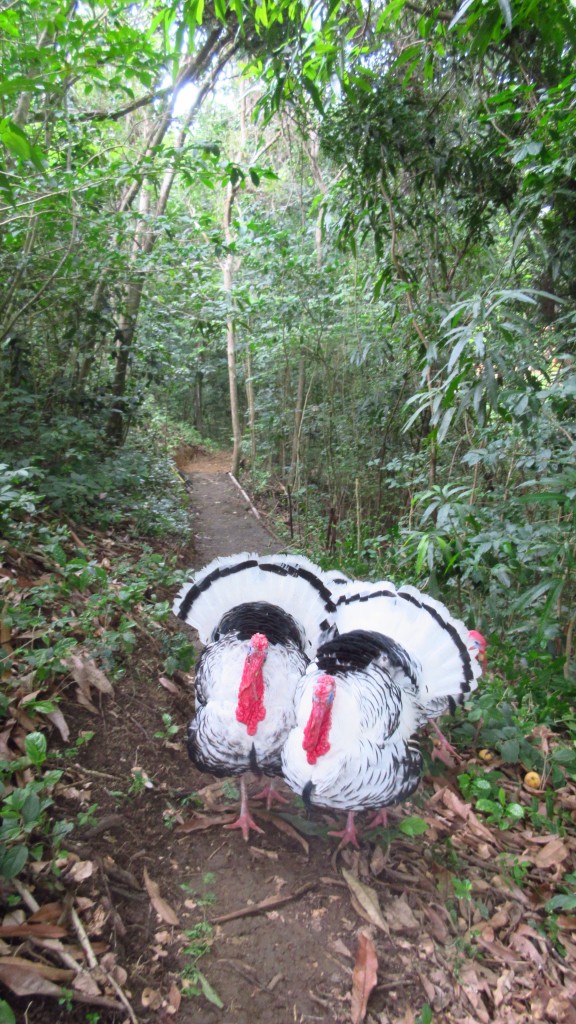
Turkey trail
Turkeys are enjoying it so they can walk side by side

There are other parts of the trail that dip down with a more obvious incline and so we also have also learned how to make steps.
Garden copy
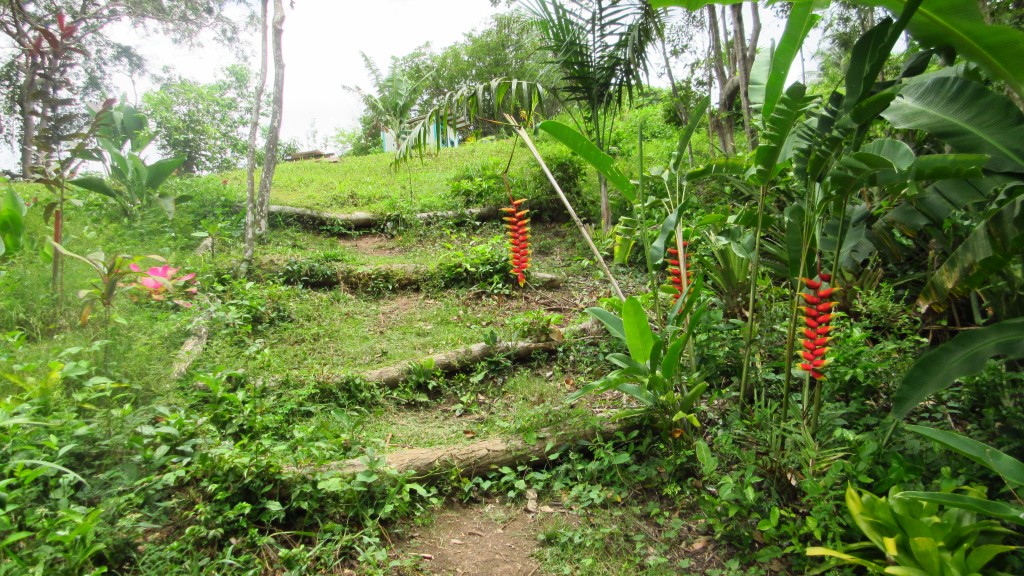
First steps we built. Need a little more work

Steps are basically the same idea except you want to keep the rise pretty standard at around 7-8 inches and the landing on the steps should be flat. Some of our first steps we are going to have to re-do a little because they slope downward and/or are too steep. They can be made with fallen wood, boards or cinder blocks.
Working it
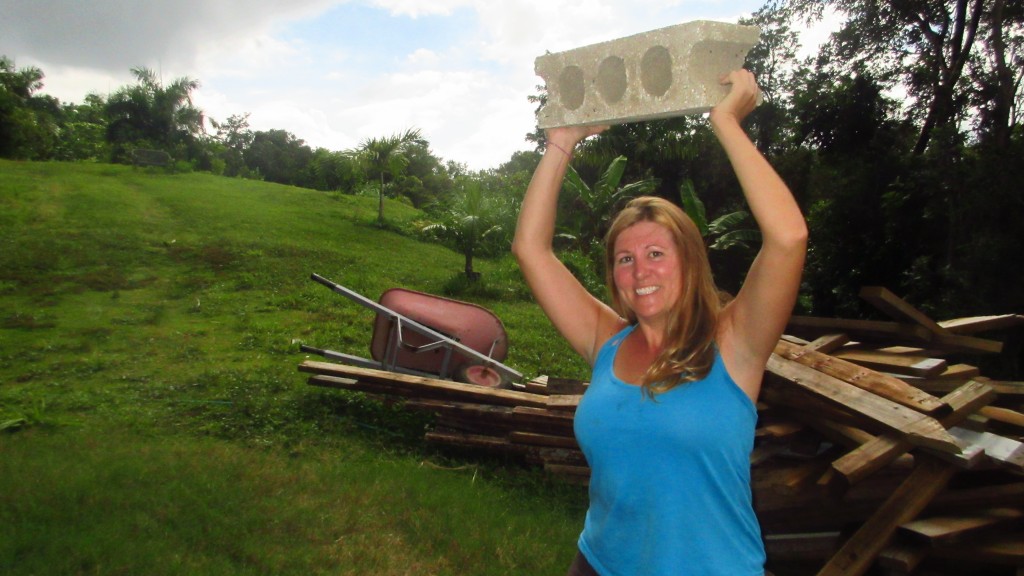
Moving cinder blocks for steps (with more wood to move!)

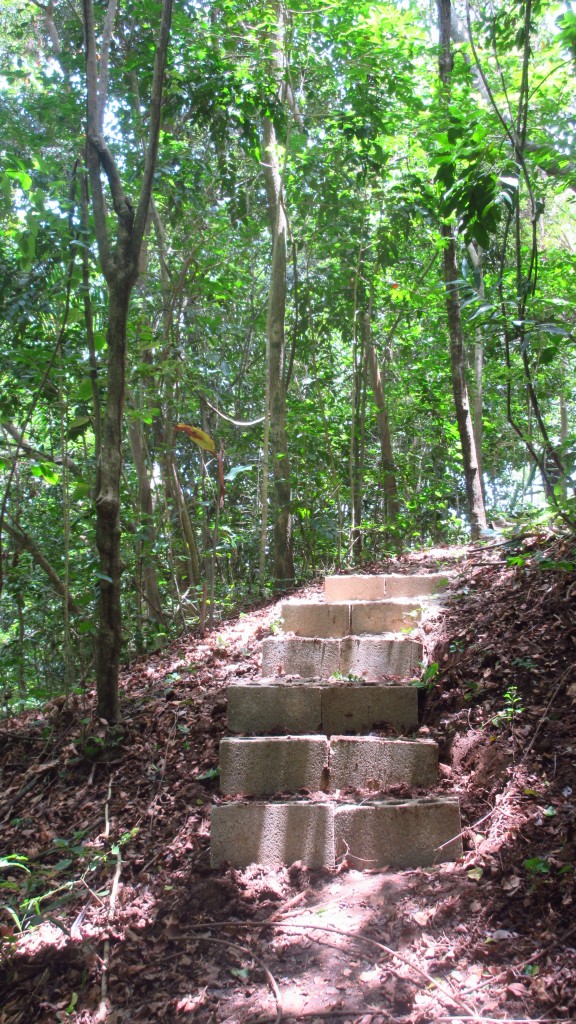
To make cinder block steps, just place them where you need (they are naturally about the right height for a step), place the rebar in the holes to stabilize them so they won’t move. Then just back fill the top and inside the holes. Concrete them if so desired!

Cinder block steps
Cinder block steps

And, eventually, the biggest part of the trail/access to the cabin will be a bridge. It is actually not necessary since the quebrada rarely has any water in it, but it would cut out a lot of the up and down walking and we wouldn’t have to make as many stairs. And if it DOES rain enough to have flowing water we wouldn’t be without access (or have to wade through muddy water). We had been considering a huge suspension bridge that would be about 100 feet across the whole property, but now we are thinking of just a smaller 20 -30 foot span down below that could either be of wood or wire suspension. We are thinking of doing this once the exterior of the house is completely finished (with siding/windows/doors) but before we start on the interior.

Once the trail to the cabin is complete there are always lots of other trails to build throughout the gardens and jungle. And we love that we’ll probably never truly be finished.

Hibiscus and banana
Red hibiscus with banana along one trail

What do you think of this post?
  • WOW (4)
  • Awesome (8)
  • Interesting (2)
  • Useful (0)
  • Bummer (0)
  • Whoa (0)

Solar Power…or Not?

The cabin is coming together nicely. We have been chugging through some of the tasks that we can tackle on our own like the tar paper, hurricane clips, lag bolts, collar ties, the stairway and making new trails.

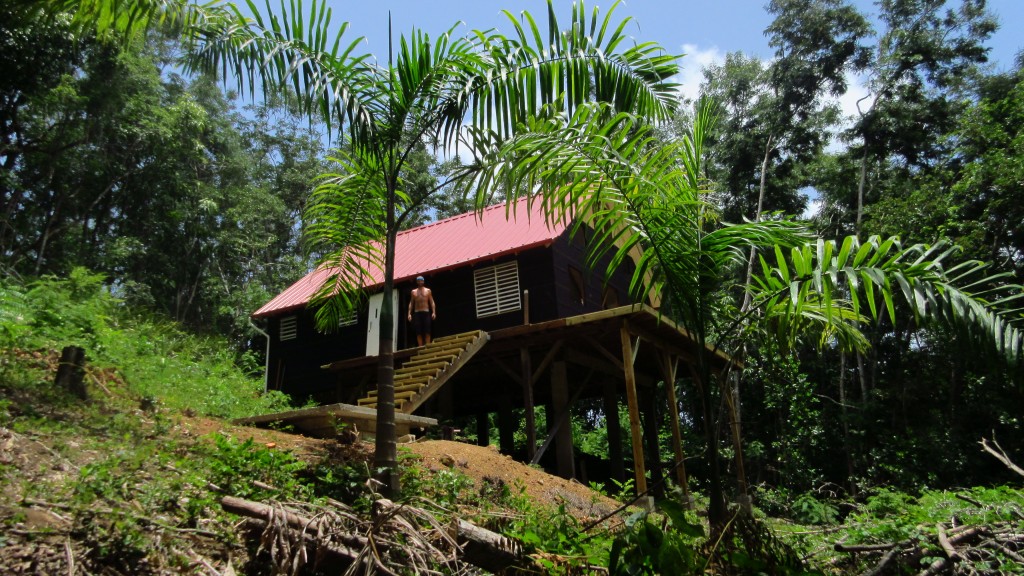
Cool cabin
Cabin Currently with stairs and tar paper

We are always thinking and planning two or three steps out, however. We are trying to decide what to do for siding and windows and doors. But the big question that has been on our mind is should we go with solar energy or regular grid-tie energy.

When we first started building the cabin we thought solar was our only option since the cabin is so far from any road and tucked up in the jungle. Then we talked with the electrician who built our pedestal and moved the electricity from the old wood house to our cabana and he said he could do it. And all underground too! No unsightly wires hanging in the trees. So this gave us a second option. We have done some research online and visited some solar stores in Puerto Rico as well. But we are still having a hard time making a decision.

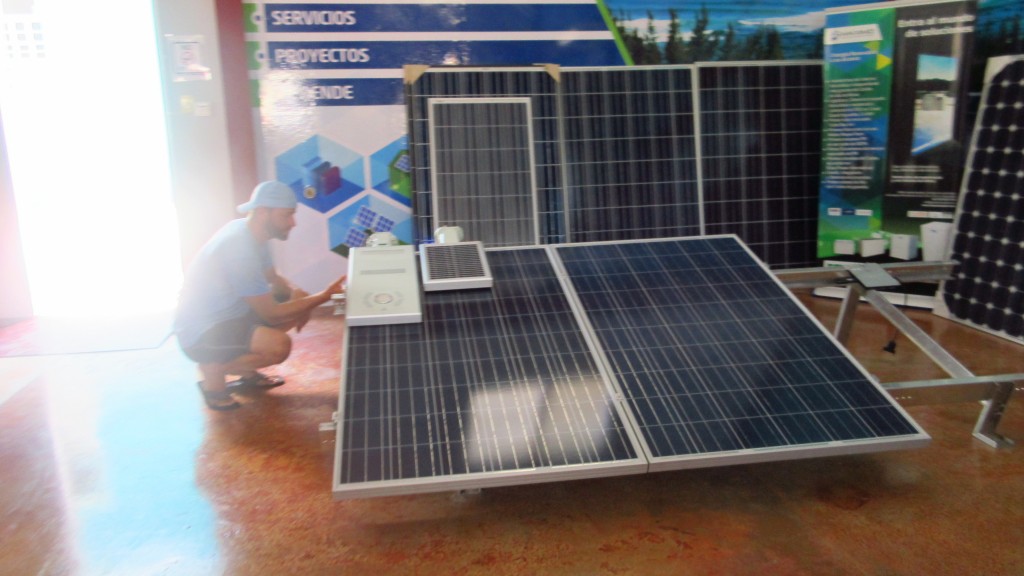
Solar panels
Britton checking out some solar panels in Puerto Rico

Each option has its pros and cons and they sort of cancel each other out.

Here are the pros for each option as we see them:

Pros for Regular Electric:
Cheaper to set up (at least half the cost)!
Can use as much electricity as needed without worry of running out
More familiarity
Easier to connect for expansion/building other things
Done by professional -one stop shopping and less hassle for us
Not as many parts to understand/fix if they break
No load on the roof for the panels
Aesthetics (no panels showing)

Pros for Solar:
Not dependent on the expensive energy of Puerto Rico which is currently around 30 cents KW -one of the highest costs in the U.S. and abroad
Make us more conscientious about energy usage if we only had so much
Off-grid living at its finest
Latest technology
Eco-conscious/green
Learning opportunity
Could be used in other applications as well
Never have to worry about power outages when everyone else loses power

We were actually just about set to do solar, but then we saw the price tag and how little energy it would actually generate. From Maximo Solar in Aguadilla we got a quote for about $6000 for 1.5 KW/day (assuming 5.5 hours of sunlight). This included pretty much everything including the batteries, inverter, panels, charge controller, and wires. But it did not include the mounting hardware or the battery rack and it did not include installation (which would mean a big learning curve for us).

The most energy efficient fridges use about 1 KW a day and all the other appliances (lights, fans, laptop, point-of-us water heaters, etc) would probably fall under the rest, but we would need to be very energy conscientious. This isn’t necessarily a bad thing, but leaves little wiggle room for a long stint of cloudy days though Rincon is sunnier than many other places on the island. We found other systems online that are slightly less costly, but the shipping to Puerto Rico is outrageous (a rant for another day!).

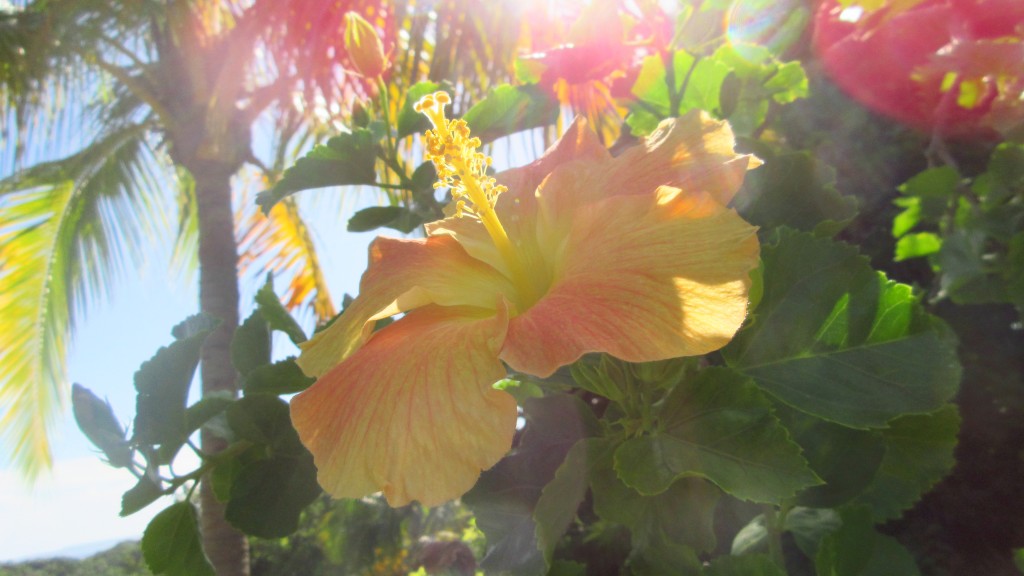
Hibiscus palm sun kissed
We could all learn more from plants: the ultimate solar energy converters

So we are still sort of weighing the pros and cons and thought we’d put it out there to see if there were any other perspectives we were missing. One of our friends said to do whatever it takes to get solar in order to get out from under AEE’s (the Puerto Rico Electric Company) thumb. But we really haven’t had that much of a problem with them. It’s a tough call. Hmmm. What do you think?

What do you think of this post?
  • WOW (3)
  • Awesome (0)
  • Interesting (10)
  • Useful (0)
  • Bummer (0)
  • Whoa (0)

Cabin Deck and Stairs

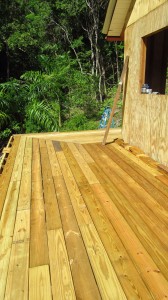
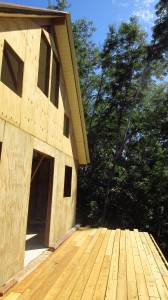
Lately, Britton and I have been working solo on the cabin deck. We try to hire out only the work that we truly need help with. Otherwise, it’s just us! With setting the deck boards it was pretty smooth sailing until we got to the corner. Because the front deck is 8 foot and the side deck is only 5, we had to recalculate in order to make a nice transition. After a few tries, it finally all came together and I think it turned out great.  We were able to use up all the rest of the extra lumber from the old house!

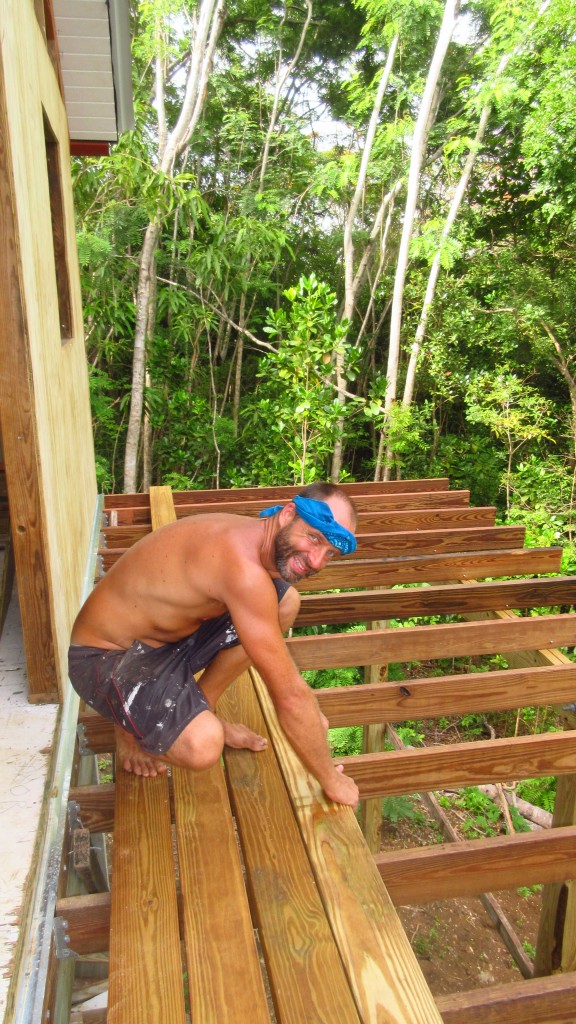
Britton beginning deck
Britton starting the deck boards

Deck looking south Deck looking north
Front deck looking both ways

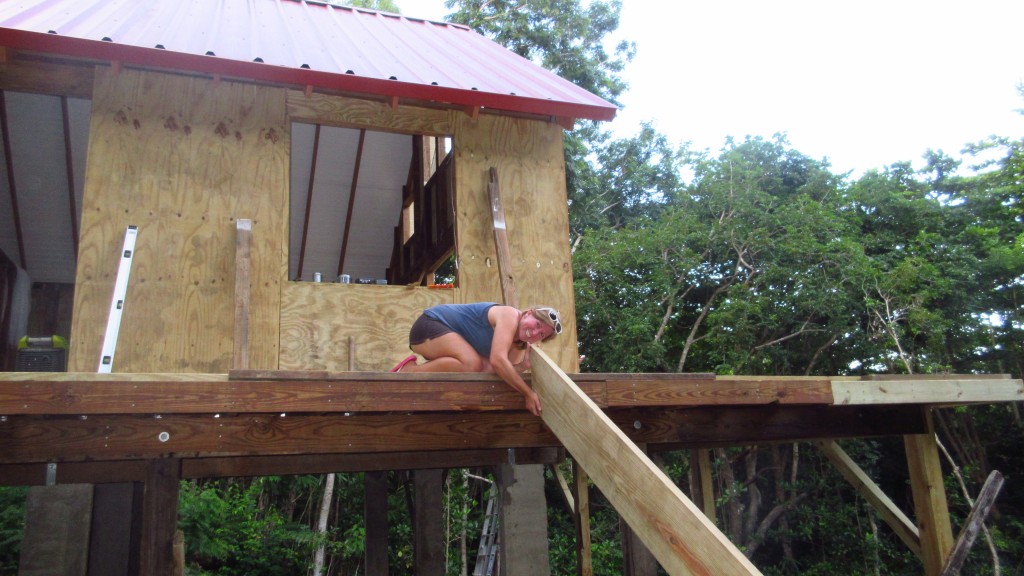
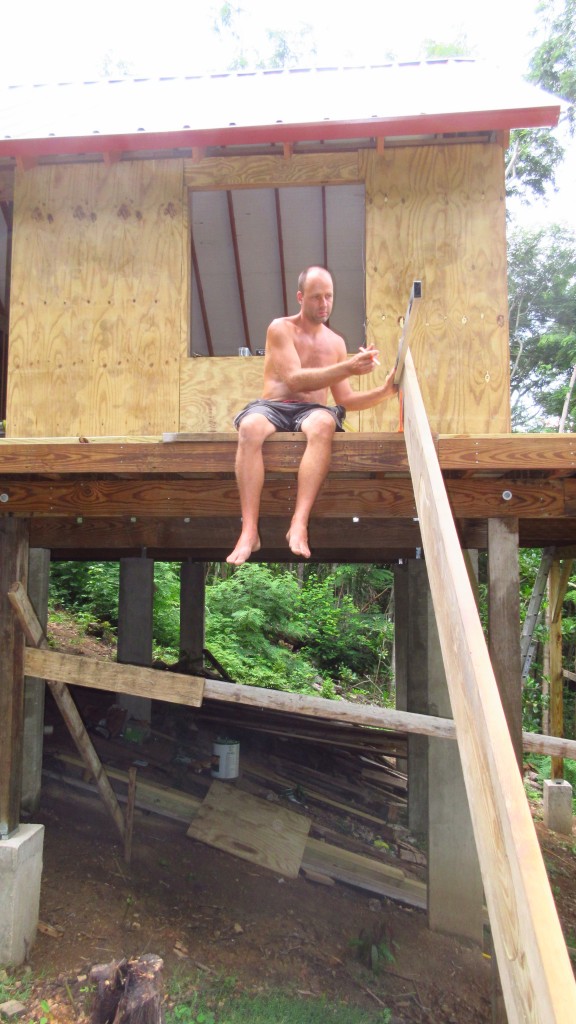
The next challenge is in the stairs. We have just started with the stringers and they are a little difficult because of the placement. They can’t just land anywhere, they have to meet at the concrete. So we had to do a lot of measurements in order to make the right cuts. These are some seriously large boards and took both of us to move it on and off the (new) deck multiple times.

Cassie and stair
Holding up the stair board against the front of the deck 

Britton working on stairs
Measure twice, cut once as they say (but that would be too easy right?)

We are looking forward to having stairs both for access and as an extra brace for the house. Multi-purpose! We have also been working on lots of landscaping and maintenance and have added a few things to our garden (more on that to come). The animals are doing great as well. All in all things are coming along slowly but surely.

Cabin with deck
Cabin with paneling and deck

What do you think of this post?
  • WOW (2)
  • Awesome (9)
  • Interesting (0)
  • Useful (0)
  • Bummer (0)
  • Whoa (0)

Back to Work: Decking and Framing Triangles

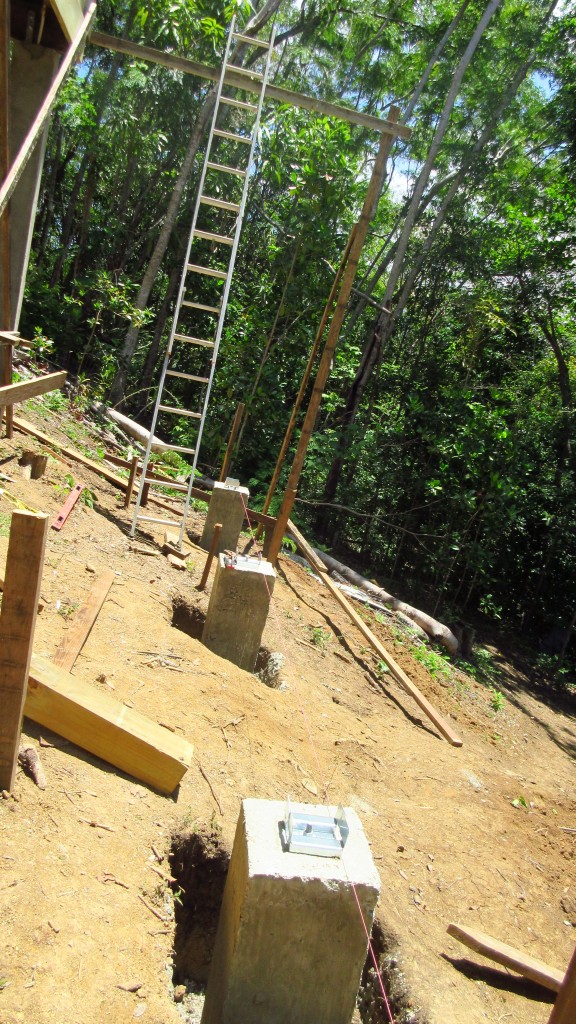
We had taken about 3 weeks off from working on the cabin, but we are back to work at a nice even pace now that the roof is on (and therefore everything is protected from the summer afternoon rains). Currently, we are on the deck and finishing the framing. Before the break, the guys worked on mini-columns to hold the 6×6 posts for the deck.

Mini colums
Mini-columns for the posts

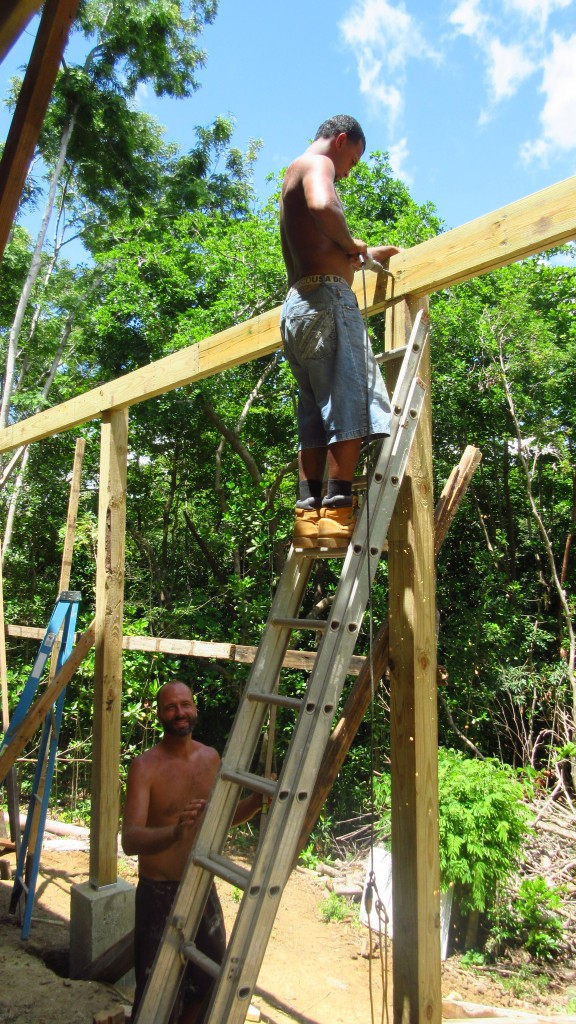
Once they were cured, they set the posts in place and then installed the headers and ledgers.

Deck beams
Installing the headers to the posts

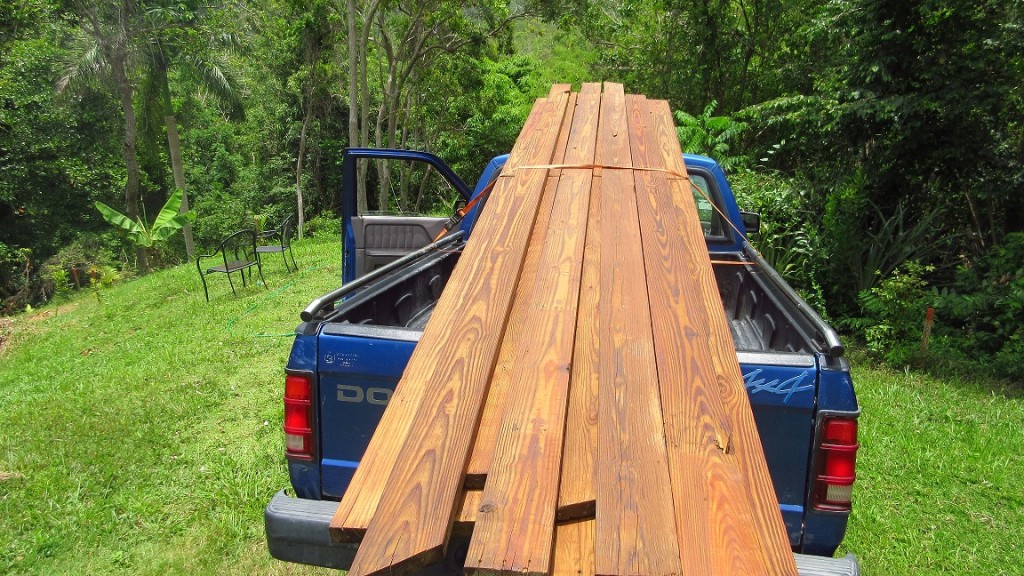
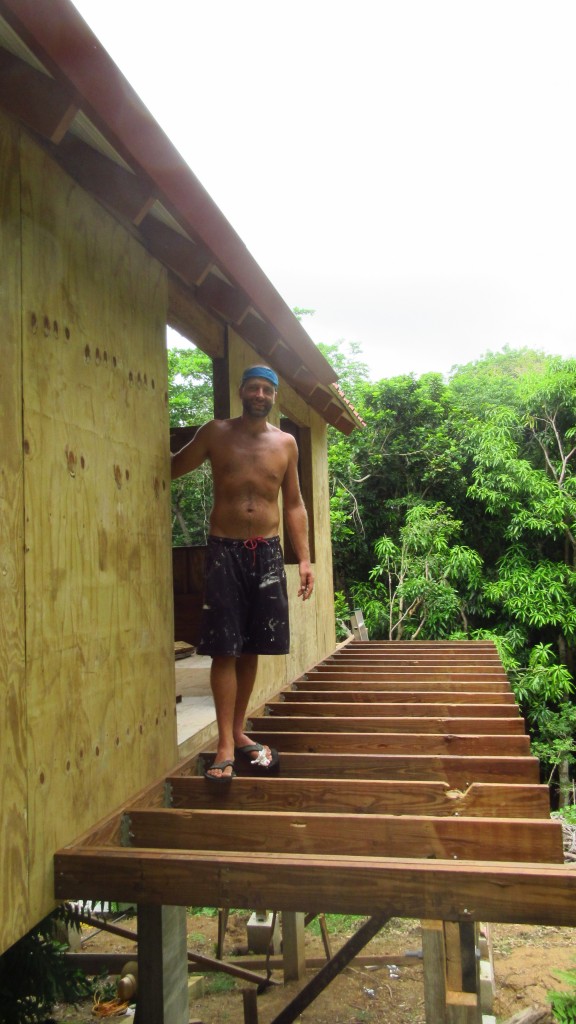
Next up, we needed to sand and waterproof the boards and then Britton worked alone to set all of the beams.

Sanding Boards(small)
We should have just used water proofer on the beams inside the house as these turned out great!

Britton Deck
Britton working on the Joists

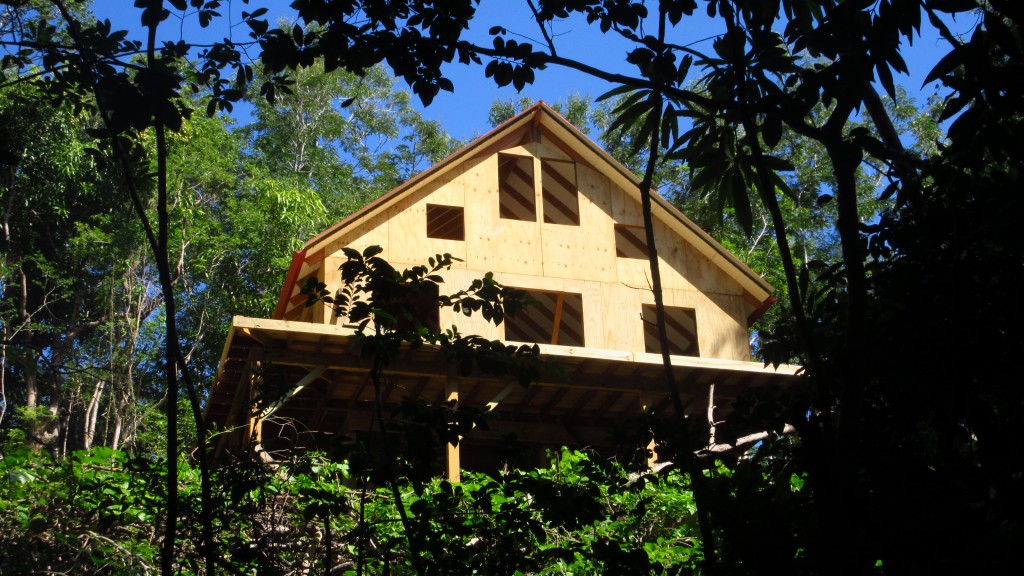
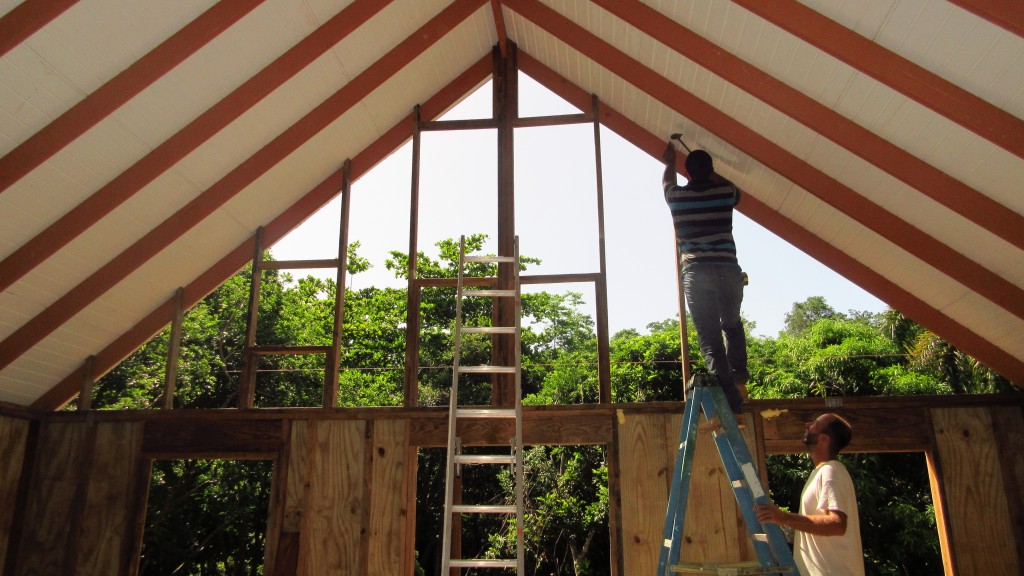
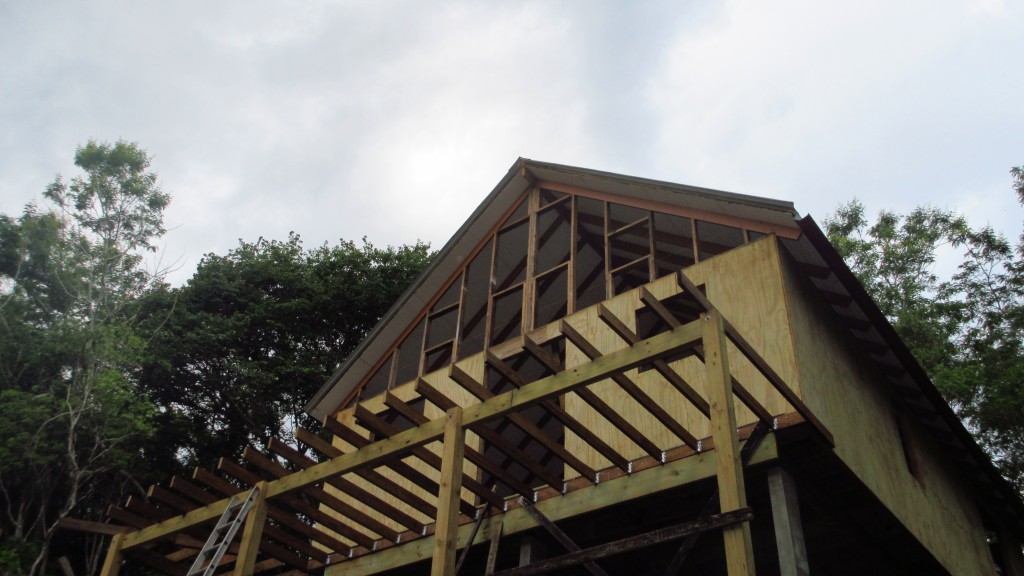
We need to get more boards for the top of the deck and they need to dry out from being treated before using a waterproofer. So in the meantime, Britton and Waldemar worked on framing the triangles. We wanted to make sure the house has plenty of airflow and light, unlike the previous wooden house.

Framing triangles
Framing the windows of the triangles

Looking up at house
Framed!

We are nearing the point where the shell of the house will be completed and then we get to do the fun stuff like connect it to electricity, water, the bathroom, kitchen and finishing work. Building even a small house like this takes many, many little steps, but we are getting closer every day!

What do you think of this post?
  • WOW (2)
  • Awesome (8)
  • Interesting (1)
  • Useful (0)
  • Bummer (0)
  • Whoa (0)