Category Archives: Construction

Chicken Nesting Boxes and Turkey First Aid

We have gotten back to the business of the property. We had three weeks of guests visiting which was great. We took some time away from our projects to hang out with them, but now we are back into the swing of things again. It’s fun to spend time with friends and take a break from all the landscaping and design planning and it helped to reinvigorate our interest in our newest projects.

The most recent one we completed was to build a nesting box with three chambers. The chickens are now about 16-17 weeks old and while they usually don’t start laying until about 20-25 weeks, we did have a Leghorn in Greeley who started laying little pullet eggs around 16 weeks, so we wanted to be prepared. We are so excited to finally start eating our own fresh eggs again!

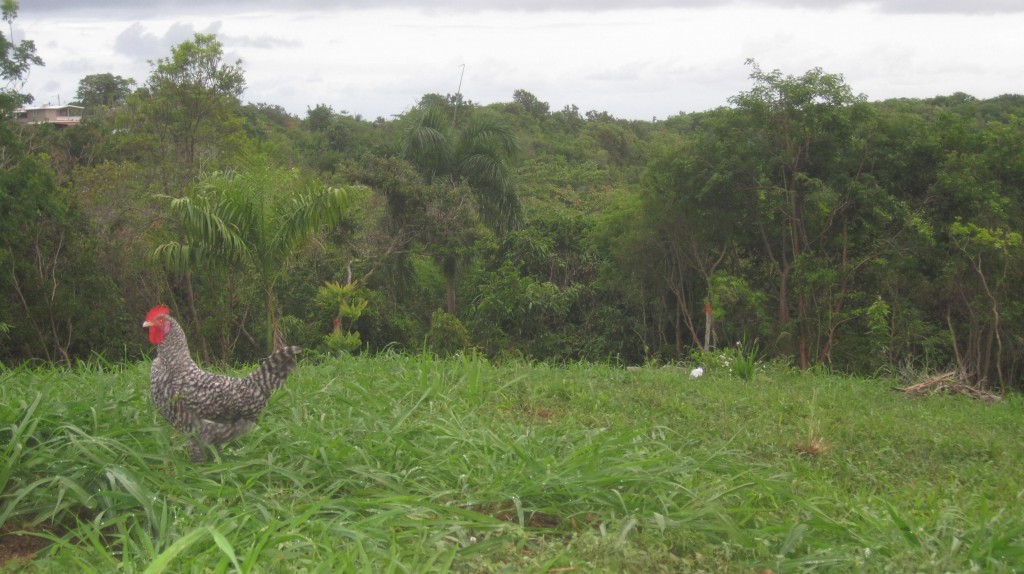
Rooster

The roosters are crowing and the hens will soon be laying

The first thing we did was to scope out where we would like to have the boxes. When we originally built the coop we were thinking of having the boxes inside the coop itself. After talking with a few people about it, we decided that it would be better if we had them on the outside where we could reach in and take the eggs out without disturbing all the birds inside and it would keep things cleaner as well.

We thought about putting them on the northern side of the coop, but then switched to the southern side where I would more easily be able to reach the boxes and the eggs without a step stool.

Then we drew up some plans and scavenged through the remaining wood from the deck bathroom. We had to pick up a few small parts from the store but otherwise we were able to repurpose most everything.

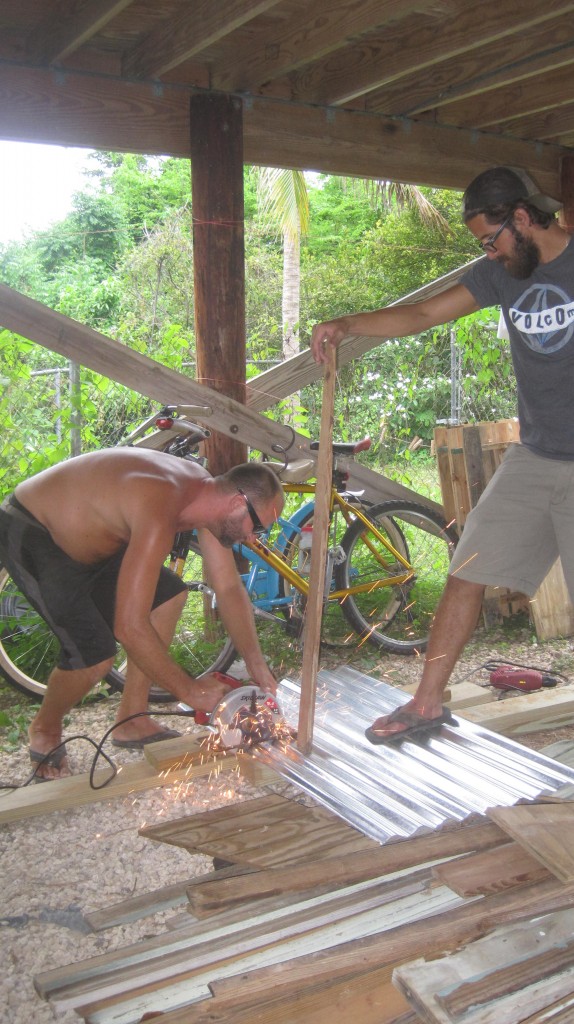
Nesting boxes (2)

Our friend Anthony stopped by and helped with some of the roofing design and helped out when we needed to cut the metal!

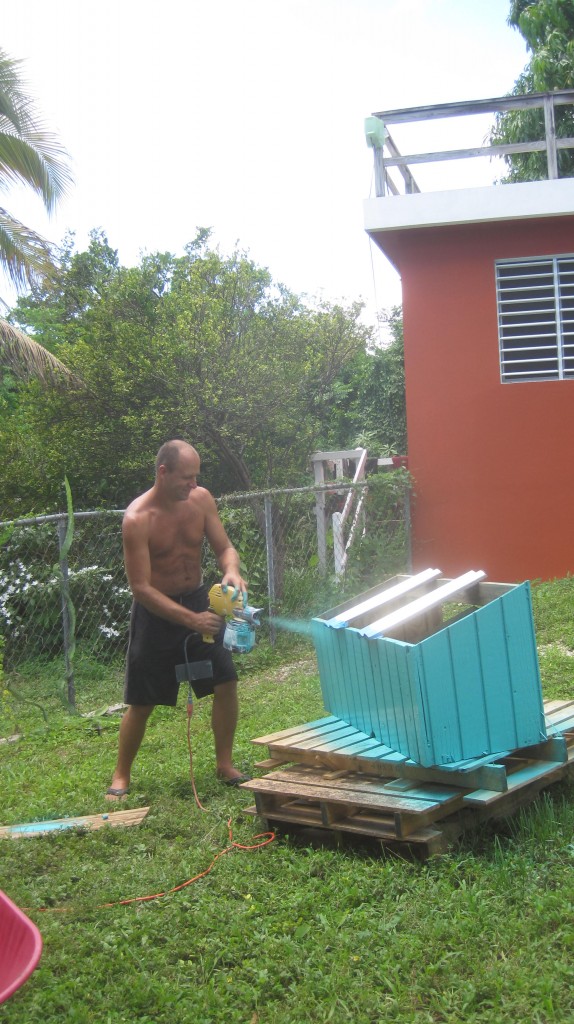
Paint nesting boxes

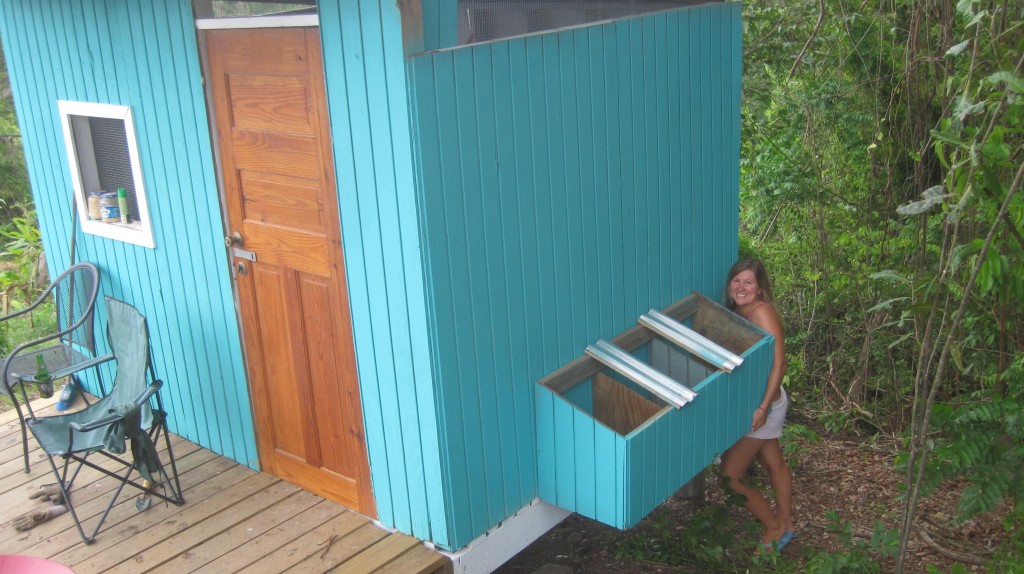
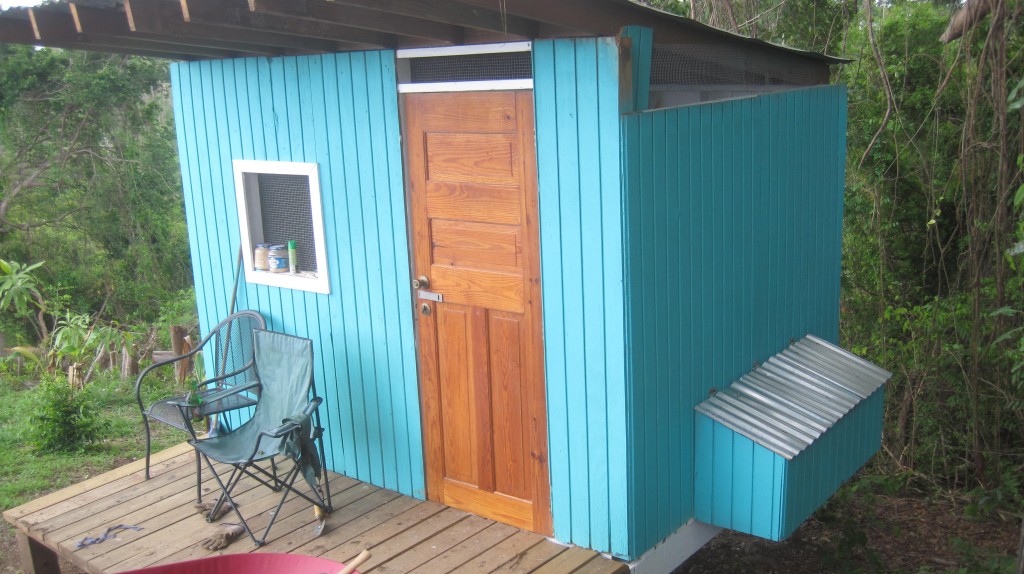
Our final steps were to paint it to match the coop and then to install it to the coop. I held it up as Britton screwed it solidly in place.

Nesting Boxes Cassie 1

We still need to cut holes into the walls from the inside and add locks to the boxes, but I think it turned out really well!
nesting boxes (5)
New addition to the coop! The egg dispenser!

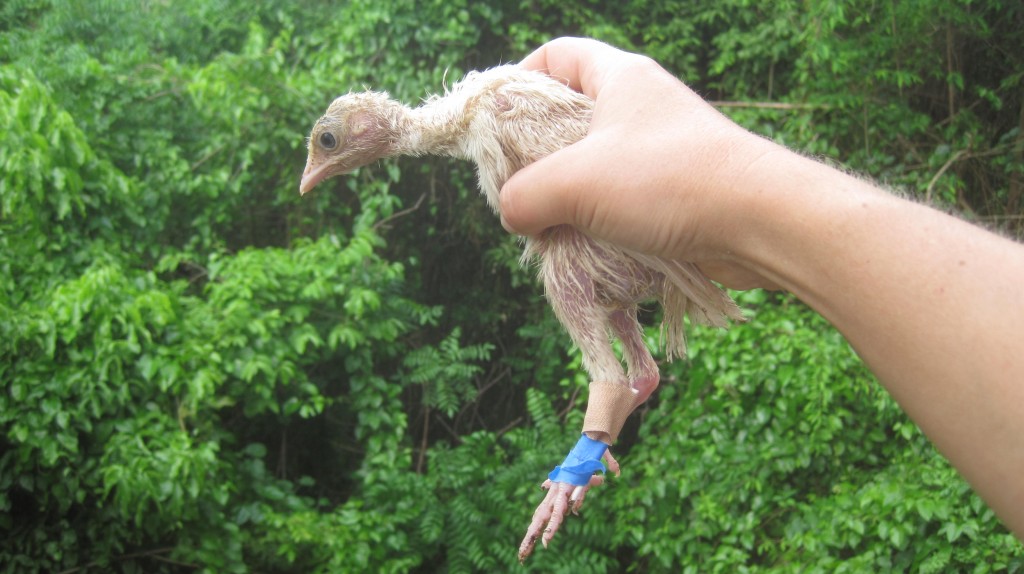
We also recently had a turkey baby with a mysterious problem. Something happened in the middle of the night as they were huddled in the plastic tub. The turkey apparently fell into the water dish and then couldn’t stand up. By the time morning came and we found it, the poor turkey was in a sad state.

broken turkey 1
Sad looking turkey baby

At first we just tried warming her up which helped stop the shivering, but still she couldn’t stand. Then I noticed that the knee joint was all swollen and researched that the Achilles can slip. All the sites said that I could gently push the tendon back over the hump of the bone. I was a little nervous of hurting her, but it worked!

Unfortunately, the moment she put any pressure on it again such as standing, it would pop right off and she would drop back to the ground.  So I tried bandaging it with tape, a piece of Q-tip and Bandaids, but it wouldn’t stay where I set it. Finally after a long search, we found that self-adhering athletic wrap would work to hold the joint in place. And while she still has a slight limp and some swelling, it seems to be working and she can walk again!

Need some veterinary medicine and coop mods? No problem. Just another couple skills in our new island life tool box.

What do you think of this post?
  • WOW (0)
  • Awesome (3)
  • Interesting (0)
  • Useful (1)
  • Bummer (1)
  • Whoa (0)

Repurposed: A Bathroom Turned Chicken Coop

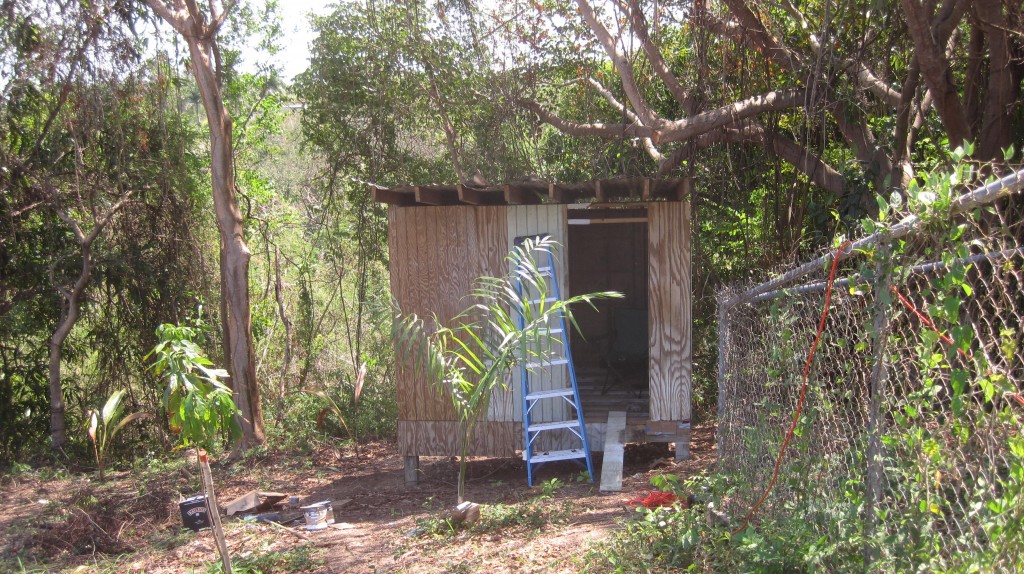
We are nearly completed on the chicken coop and it has come along beautifully! It started its life as an ugly vermin-infested bathroom on top of an old worn out deck and now has been repurposed as a chicken coop. 95% of the materials we used to build this coop came from that old bathroom. The only things we bought to make it were some paint (around $30), some nails (around $30) and some hardware wire (around $20). We also decided to purchase a paint sprayer (about $100) that we plan on using in future house projects but we could have done it by hand.

Unpainted front viewAfter we put on the siding
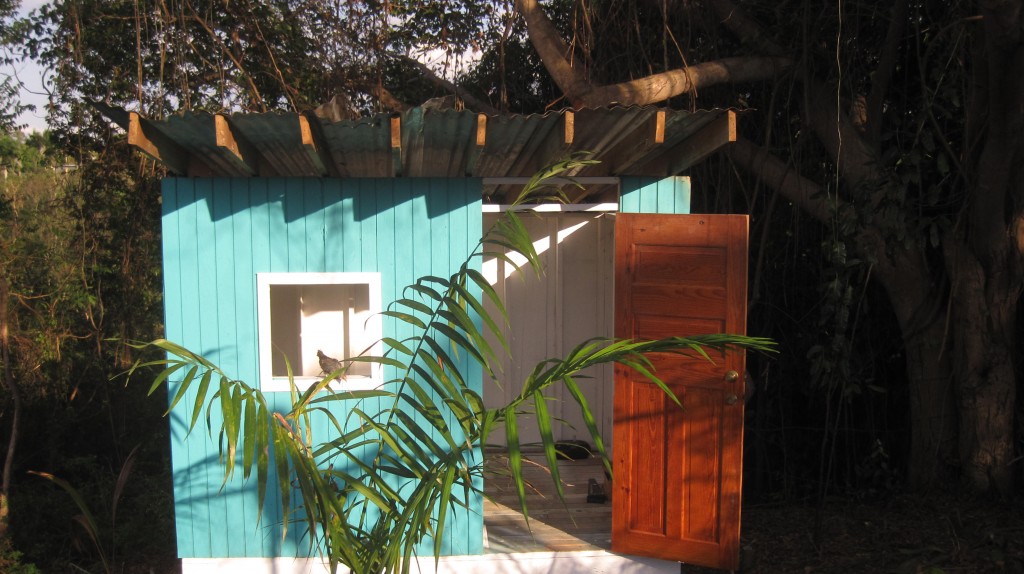
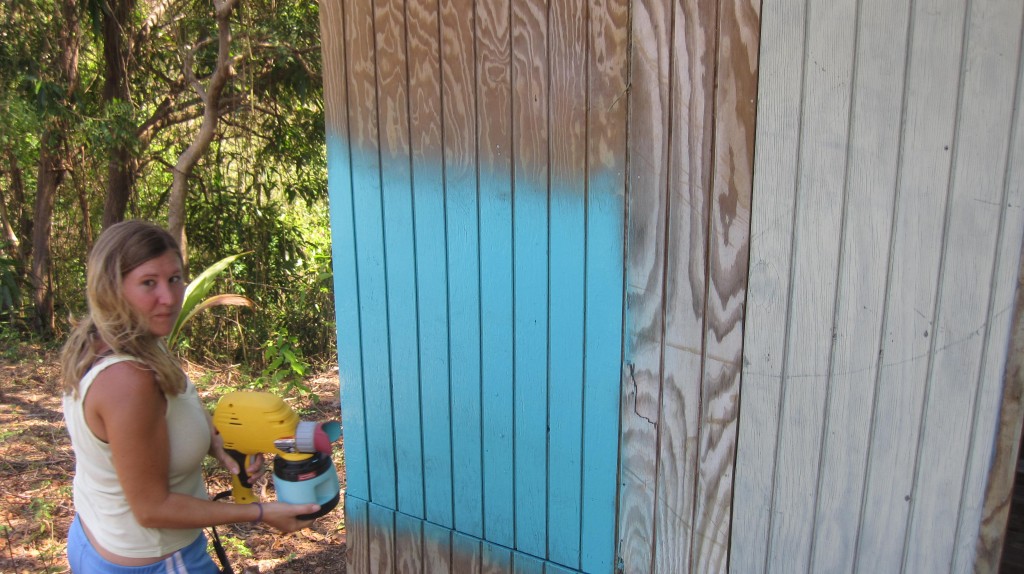
We didn’t necessarily have to paint it, but I’ve always thought that it takes so little to make it just a little more finished looking. Most of a makeover is the façade, but it makes such a striking difference! A chicken coop doesn’t have to be ugly! And since we will be going into it every day to collect eggs and check on chickens why not enjoy the experience? The paint sprayer made it so easy too. We finished painting the exterior in about 20 minutes compared with the 3+ hours it probably would have taken us using rollers and brushes.

Pretty coop After painting the inside and outside, hanging the door and painting the trim (with a chicken in the window)

I normally don’t like all the power tools (like the chainsaw), but I actually really enjoyed painting with this sprayer. Britton had to actually ask so that he could use it too!

Painting with sprayer

We chose a color called Cozumel, but I think it should have been called Calypso as it is nearly the same color as the Calypso Bar in Rincón! Because we had saved some time in painting the exterior and we were having so much fun with the sprayer we decided to paint the trim and inside with our leftover white paint from when we painted the cabana. It really brightened it up!

Walls unpaintedInside coop
Interior Before and After

Chicken nipples BK 1
!Gringo Loco!

Since we had a little extra time we decided to bring a few of the chickens to check out the work in progress and have a little fun!

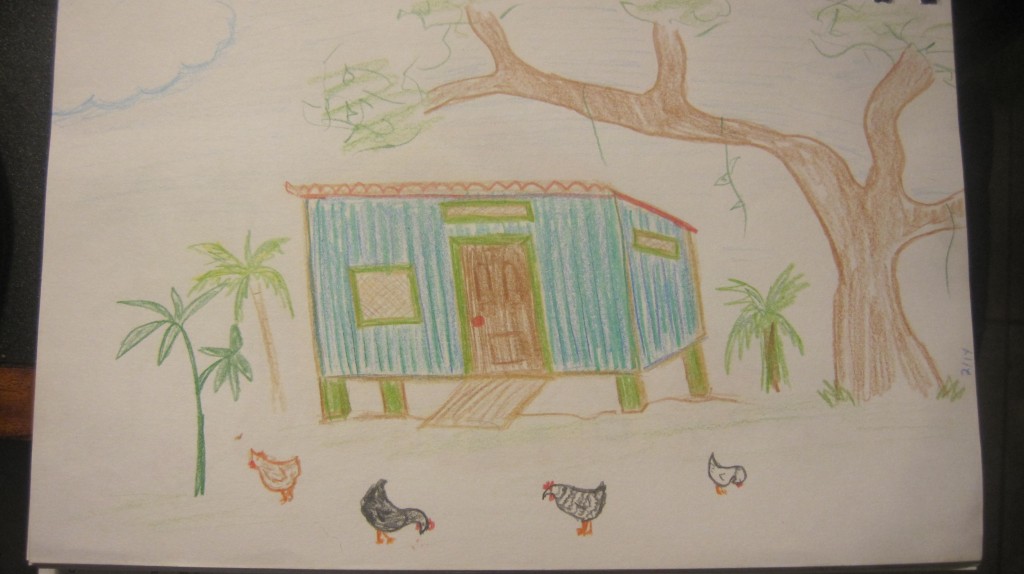
We still have a little work to do like secure it with the wire and we are also thinking of building a porch onto the coop so we can watch the funny little birds run around. Overall, though, it has become very close to the vision we had conceived of when I drew this design months ago!

Coop plans
Manifesting reality!

What do you think of this post?
  • WOW (2)
  • Awesome (4)
  • Interesting (0)
  • Useful (0)
  • Bummer (0)
  • Whoa (0)

How Do You Get Chicks to Stop Pecking Each Other?

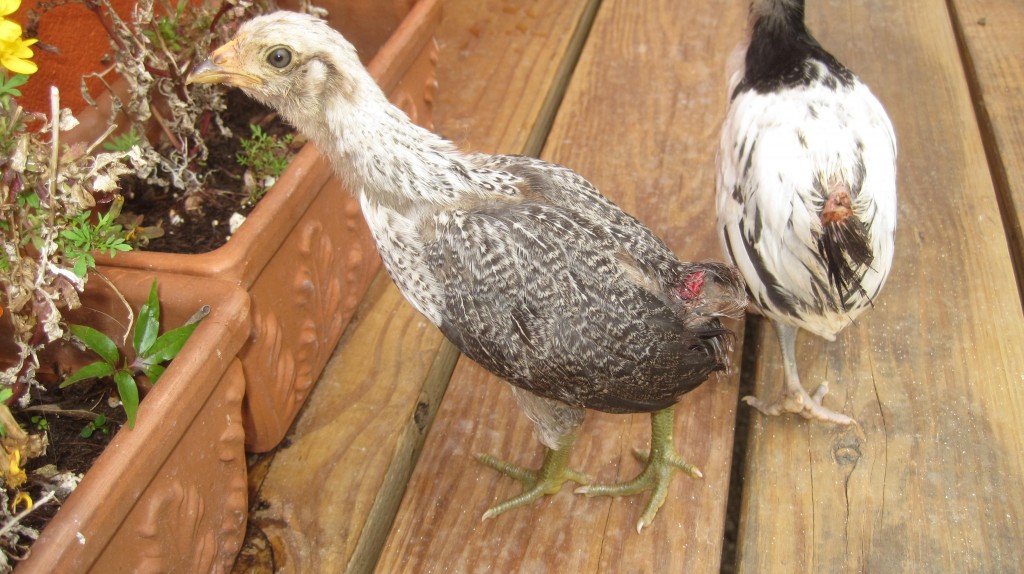
This was the question we have been asking ourselves for the past few days. The chicks have developed a pretty nasty habit of occasionally pecking each other (usually the rear and tail) sometimes to the point of bleeding. Once they see the color red they keep pecking and pecking. In Colorado we never had any problem. We only had three chicks at a time and used a red heat lamp because they say the red color of the lamp camouflages the red in the blood.

We knew we wouldn’t need a heat lamp for long here in Puerto Rico and we didn’t see one at the local agro, so we figured they would be fine for a couple of weeks with a regular heat lamp. It could have been the lighting or just the sheer number of them, but we started to see the occasional peck here and there until just this week we saw some gruesome pecked sores and knew we had to make some changes.

vicious chicks
Ouch!

Raising this many chicks in a brand new environment has been quite a learning experience. I am glad we had some basic knowledge of chickens from before in Greeley, but these differences (number of birds and new place) have presented new challenges we never had before. When we saw the first major pecking incidence on a chick we thought it was an isolated event so we just brought her and another chick buddy (they will chirp loudly if they are alone) into the house with us (in a cardboard box) until she began to heal.

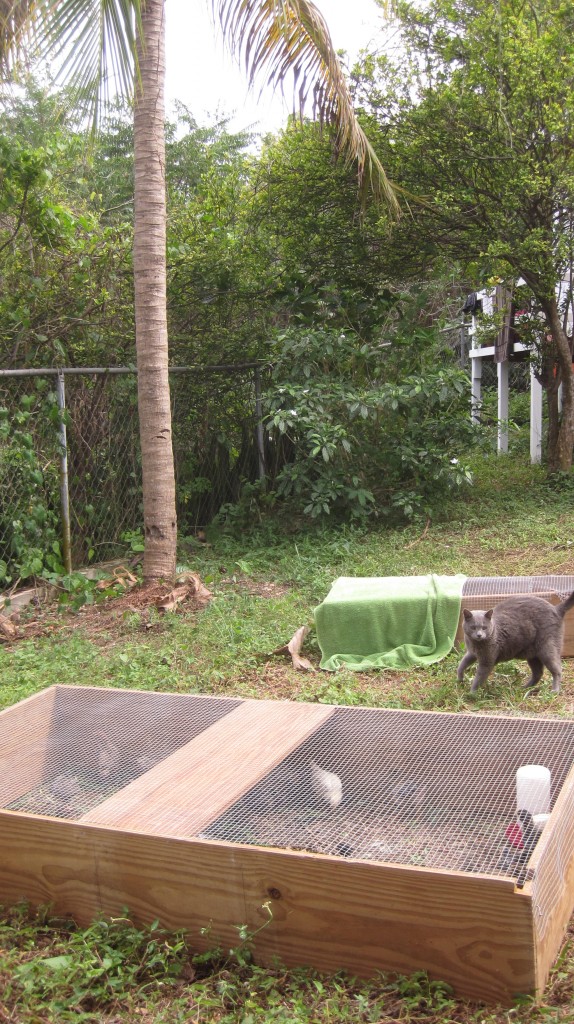
Big Chicken Tractor
The two tractors

By then they were also needing new bedding/litter much more frequently in the bathtub and were outgrowing it, so we decided to build them the chicken tractor. They quickly outgrew the first one, so we built another one and then we moved the two sick bay patients into the smaller tractor. This worked for a while until we saw more of the pecking going on. We tried throwing them kitchen scraps (they love lettuce!) and that kept them busy and occupied for a while, but the pecking continued. A bullied bird in an enclosure can’t really escape the peckers and so the pecking continues. When we saw these gruesome peckings I knew we had to do something else.

IMG_5387
Three chicks hanging out under a flower bush

So today we opened the flood gates and let them out to roam in the chainlink fenced yard near the cabana. We were nervous because they are only 5 weeks old and are still very vulnerable to predators like the hawks and they are still small enough to get through the fence links, but we had to do something. It’s that balance between freedom and security. Too much time in a cage (total security) will drive a bird (or person!) crazy with boredom enough to peck each other, but not enough (total freedom) and they are vulnerable to becoming hawk bait.

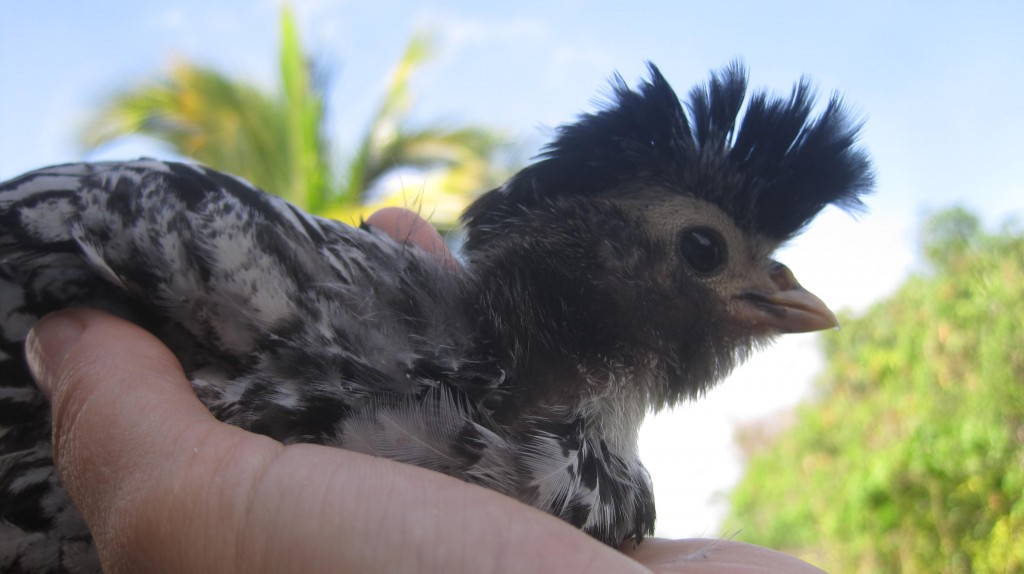
Mohawk Chick
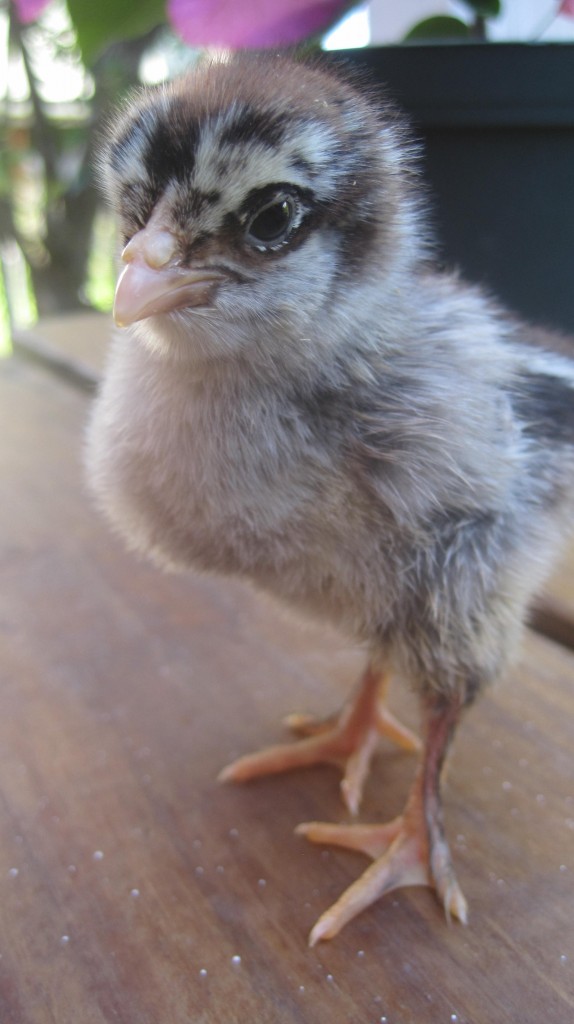
Our little black and white Mohawk chick is doing well. Chicken aficionados: Guess what breed she is

The good thing is that chickens like to stay near to where their shelter, food and water is located which means that while they are really hard to catch if they don’t want you to, they will stay relatively close by. Because they are near us and the house they also have some relative protection as well. As evening closed in, the chicks started to huddle together and we easily placed them into the chicken tractor to sleep.

This whole experience has also put a fire under us to get the chicken coop finished ASAP so that we can move them into there in the evenings instead of the tractor. It’s coming along nicely and will probably be finished tomorrow or the next day and painted soon after. Britton has done a great job on it and built the whole thing himself with only a little assistance from me.

Coop base IMG_5406

CoopProgression of a coop

We continue to learn new lessons as we put this new life of ours together here in Puerto Rico. And life is ever the great teacher- for the lessons will never end as long as you are growing as a person. I just hope that not too many tail feathers were lost in the process of learning this one! 🙂

What do you think of this post?
  • WOW (1)
  • Awesome (2)
  • Interesting (3)
  • Useful (1)
  • Bummer (0)
  • Whoa (0)

Chirping Motivation

Exotic Chick
The free exotic chick is a feathered leg breed

Now that we are hosting the Future Egg-Layers of America (or at least a few in Rincón, Puerto Rico) with us in a plastic tub in our 300 sq. foot cabana along with Kitty we are starting to max out space and feel the chirping motivation to start on the chicken coop. Everyone gets along fine in the cabana including Kitty because he is used to us having chicks in the house from when we had them in Greeley.

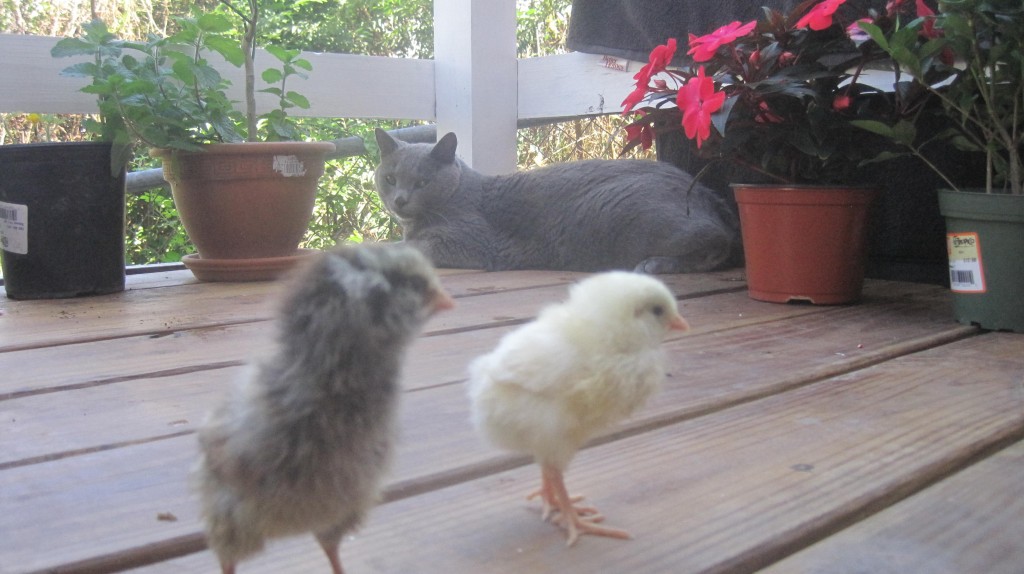
Chicks and Kitty
Kitty is more jealous than hungry, though he looks to be plotting something here

The plan is to move them from the cabana into the bath tub that was left over from the bathroom take-down in about 2 weeks and then at about 2 months into the coop. When they are full-sized chickens (around 4-6 months) we will then let them free range and use the coop as a night shelter and laying area. Area for coop
Kitty and the area we have chosen for the coop

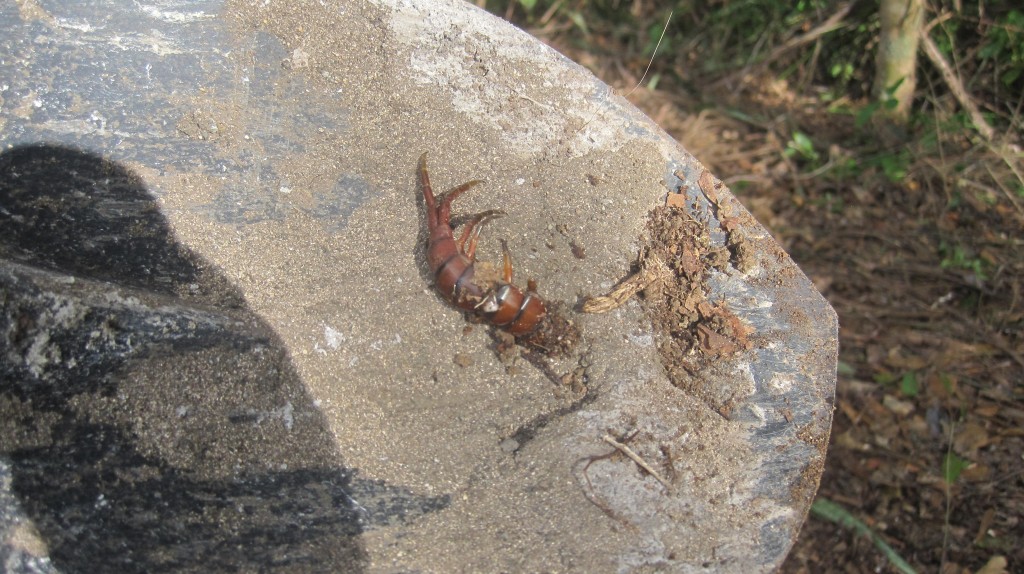
We also plan on growing their supplemental food for when they need a little extra in addition to all the juicy bugs and grasses they will find, like this venomous centipede we found in the area we were clearing for the coop. More motivation for getting them outside and pecking away: fewer of these things! Yeek

Centipede


What do you think of this post?
  • WOW (0)
  • Awesome (0)
  • Interesting (2)
  • Useful (1)
  • Bummer (0)
  • Whoa (0)