Tag Archives: painting

Construct It: Cabin Floors and Walls

I figured it was maybe time to do a little construction update.  One thing nice about doing things at your own pace is that you can take a step back when you start to feel overwhelmed or don’t have an answer to a “how to” and want to take some time to research.  A lot of building this house has required research because I’ve never done it before.  Like what screws to use for drywall and WHY?  What screws to use for cement board and WHY?  How do you construct a shower basin in a wood framed house?

The company that delivered the drywall delivered screws too.  They were black phosphate coated drywall screws BUT they were fine thread.  When I asked about it they claimed of course “It’s fine to use them in wood!” which isn’t really true.  Wood screws use a coarse thread for holding power.  Fine threads are used for metal studs.  Just an example of how a small thing can turn into a small ordeal when you are ready to start a project in the morning.

Using what are considered the “correct” fasteners might not matter to some people, especially if the fasteners are difficult to locate.  I have been called “Mañoso” (picky) a few times which is accurate I guess.
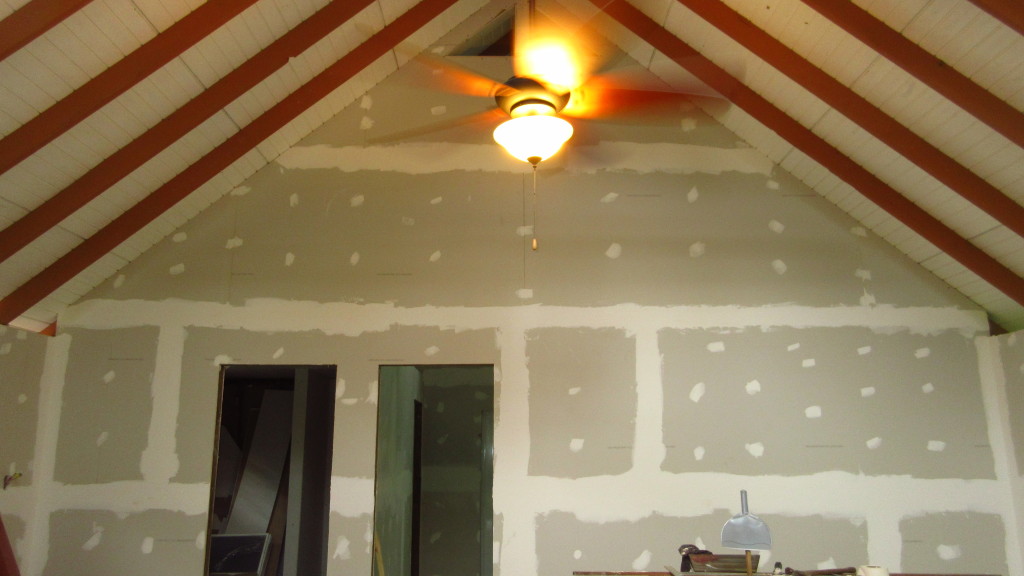
Drywall
Mud, Tape and Ready for Primer/Paint

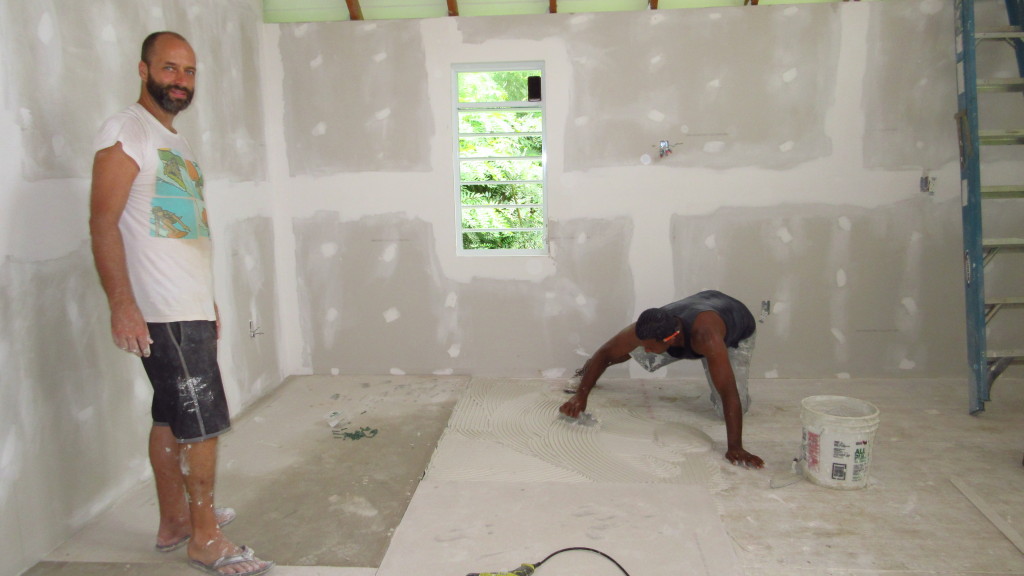
This past week have been getting the inside ready for paint and flooring.  Since we decided to go with tile, we needed to prep the sub floor.  We got 24 4×8 sheets of 3/4″ thick cement board.  Those weigh 136 pounds each!  It took a whole day just for us to move them over to the house.  It was actually easiest for one person to carry an entire sheet on their back than it was for two people to awkwardly try to move one.  So there was a lot of resting in between trips but we got it done.

While I do a lot of the research myself it is tremendously useful to have Waldemar help with each step. He propels us forward so much more than we can do alone. I really appreciate his help. He brings skills, experience as well as lots of energy and motivation when I just don’t have a whole a lot.

Britton and Waldemar floors
Installing Cement Board

We then cut and installed the cement boards (generically called plycem here).  Those things were ridiculously heavy.  The floors however are SOLID and we shouldn’t have any problems with tiles popping or cracking.  Under the cement boards we used thinset to fill any space between the 3/4″ inch plywood.  There are a few write ups about this online.  The professionals who sold me the cement board told me I didn’t need to use thinset, but again for me it comes down to the “why” and the write ups did a good job of convincing me that it should be done.
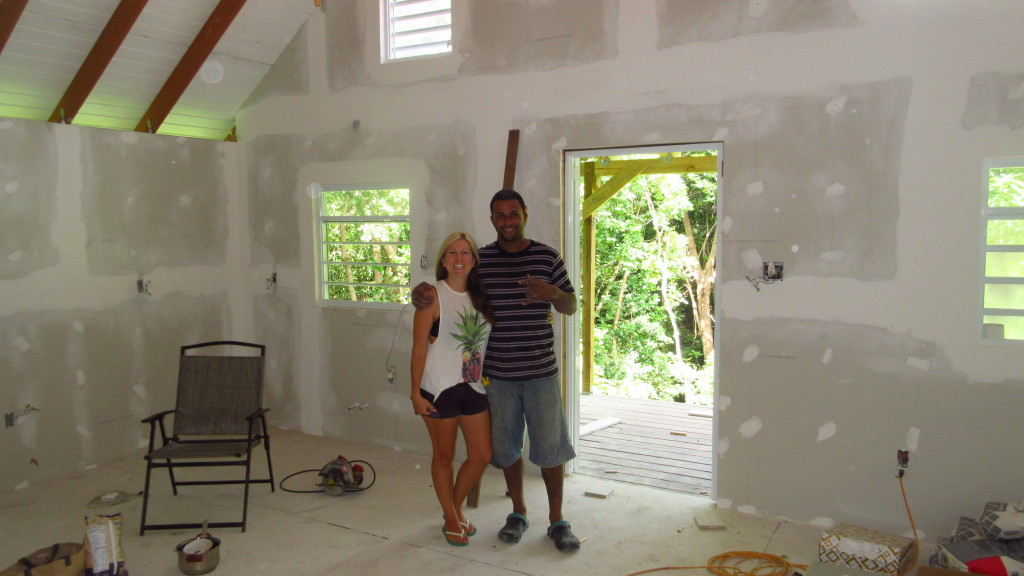
Waldemar and Cassie 2
Cassie brings over lunch for us and helps where she can

Our tile is on order and should be here in a week or so.  We wanted to get a natural feel instead of using ceramic printed tiles and went with a red clay tile almost like terracotta.  Again, Mañoso but what can you do?  If you want something, sometimes you have to wait.
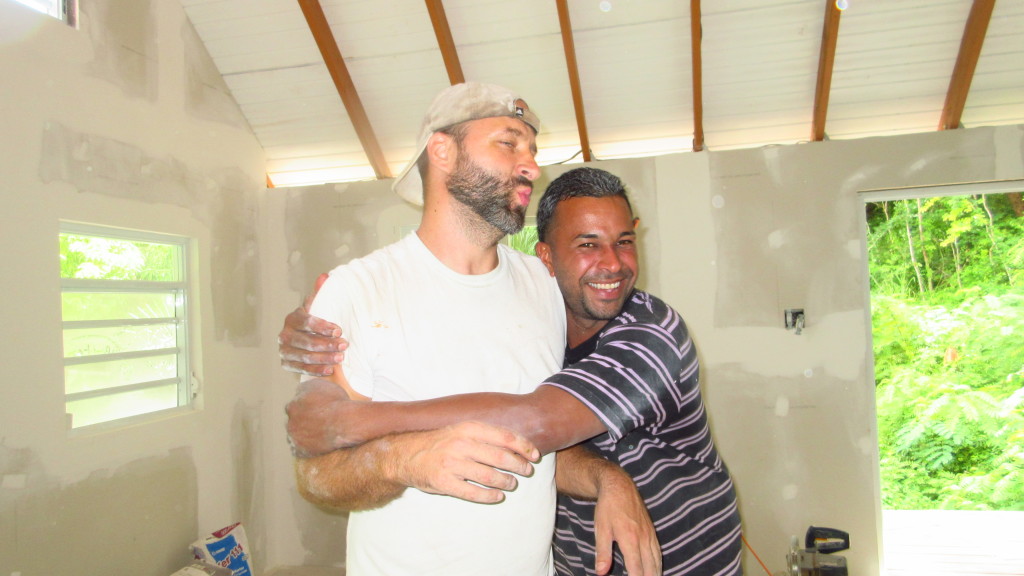
Waldermar and Britton
¿Tu quiereme? Waldemar and I work together a lot and have gotten to know each other well, even with the language barrier.

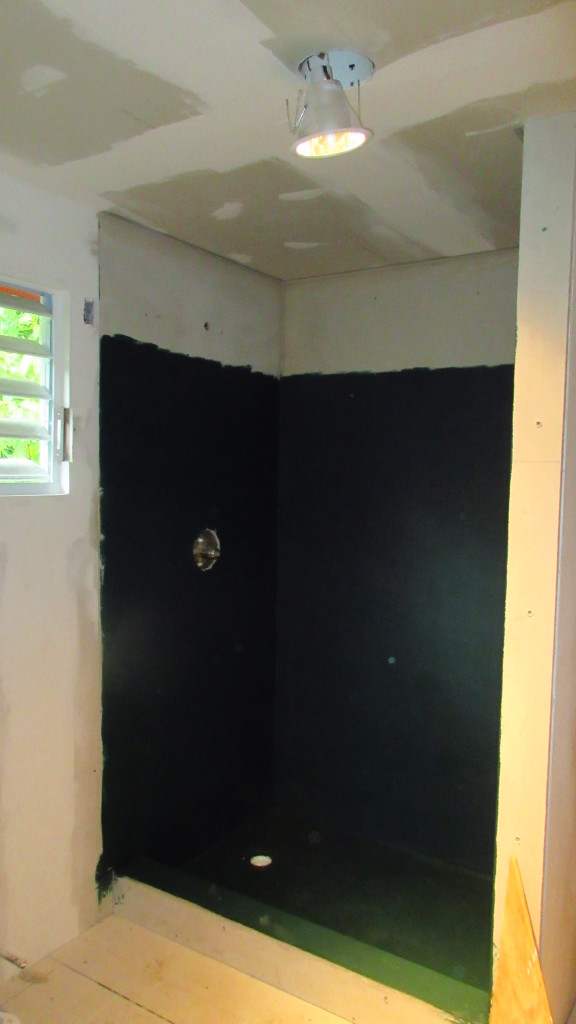
We also used cement board for the shower stall.  Over top of the cement board I used aqua defense, it is a paintable rubber membrane that adheres well to thinset when dry so you can tile over it.  The paintable membrane will keep any moisture from seeping past the grout/tiles and cement board into the wood below.  One thing I have learned is that cement is porous and should be sealed if you want to keep water out.  There is also a 3 piece drain.
Blue bathroom
Green Water-proof Membrane

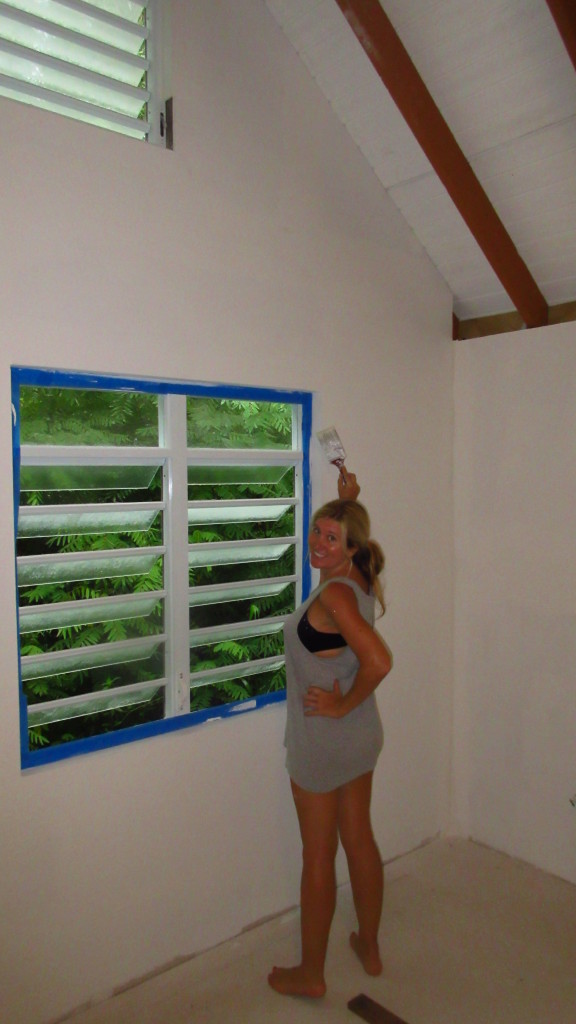
Soon we should receive some tiles.  Until then we will be painting the walls.
Cassie Painting
Cassie Priming the Drywall for Paint

So as you can see, we haven’t JUST been chinchorreando and having fun…We are making really good progress on the cabin too. Now that we can see the walls and floors taking shape we are super stoked to move in!

What do you think of this post?
  • WOW (2)
  • Awesome (15)
  • Interesting (1)
  • Useful (1)
  • Bummer (0)
  • Whoa (0)

Shiny New Penny

We’ve been pretty busy these past few days. We have been enjoying time with new friends, trying new restaurants around town as well as making good progress on our property. Our latest project has been to paint the exterior of the cabana!

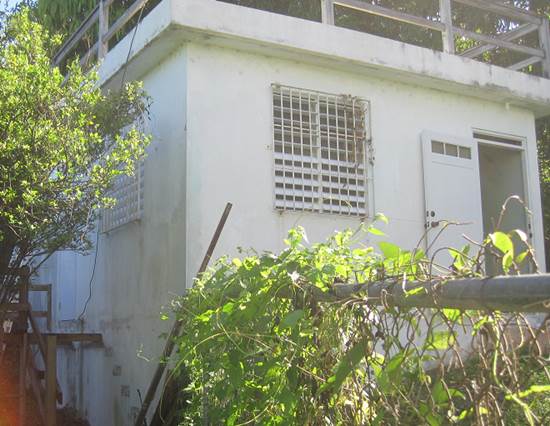
Before Paint
Needed a little refresh -Cabana before

One thing that’s really fun about living here is you can choose really bright colors to match the tropical evergreen and vibrant climate. It is not uncommon to see houses in bright pink, neon green, aquamarines and yellows. I thought a nice orange-red terracotta color might make the plants stand out even more, so at Home Depot we picked up all the supplies needed for this and more projects to come. I chose a color swath sample and looked at the name: Shiny New Penny. I thought that was pretty accurate for how sharp the results turned out.

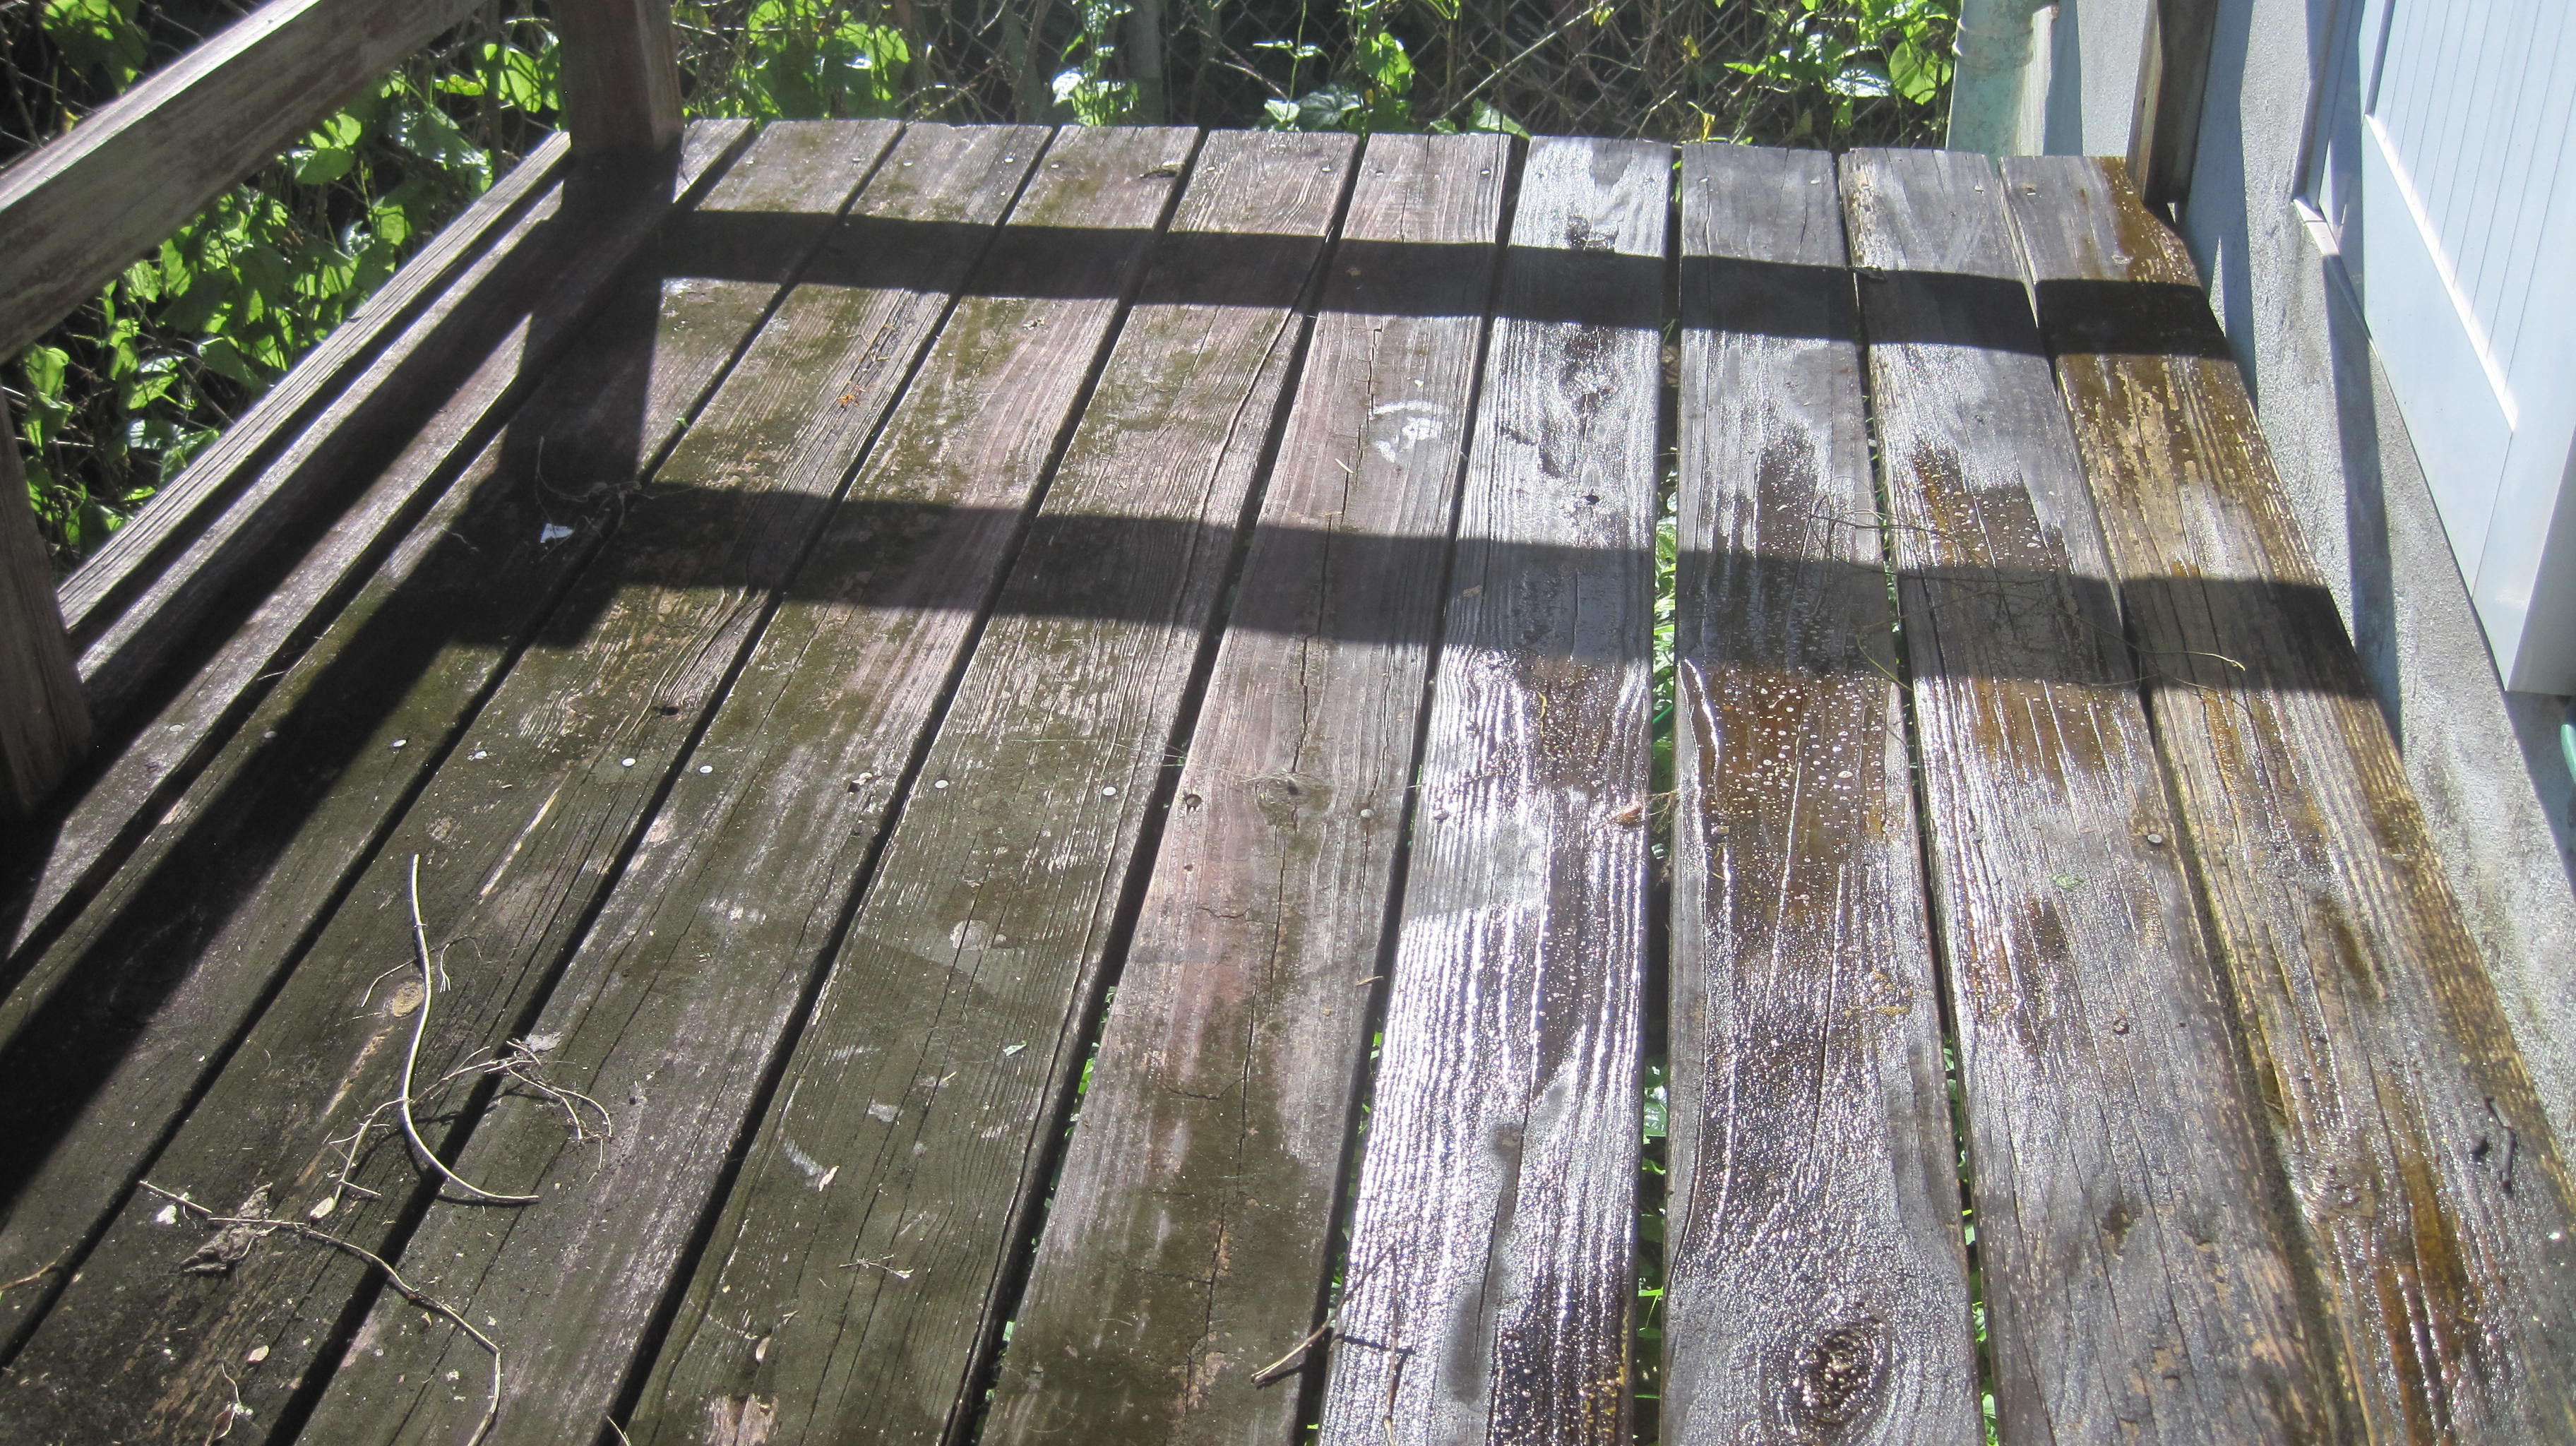
The whole painting project had begun because the small wooden deck on the back side of the cabana had started to become unstable and the stairs were disintegrating, making it unsafe to be out on the deck. Plus, the wood was covered in mossy slime and needed refinished.

Deck Before
Deck before

We figured if we were going to take apart the deck we might as well get the painting started as well. Many projects start with what seems like a simple task and then we realize it will take a lot more to actually accomplish it if we want it done right.

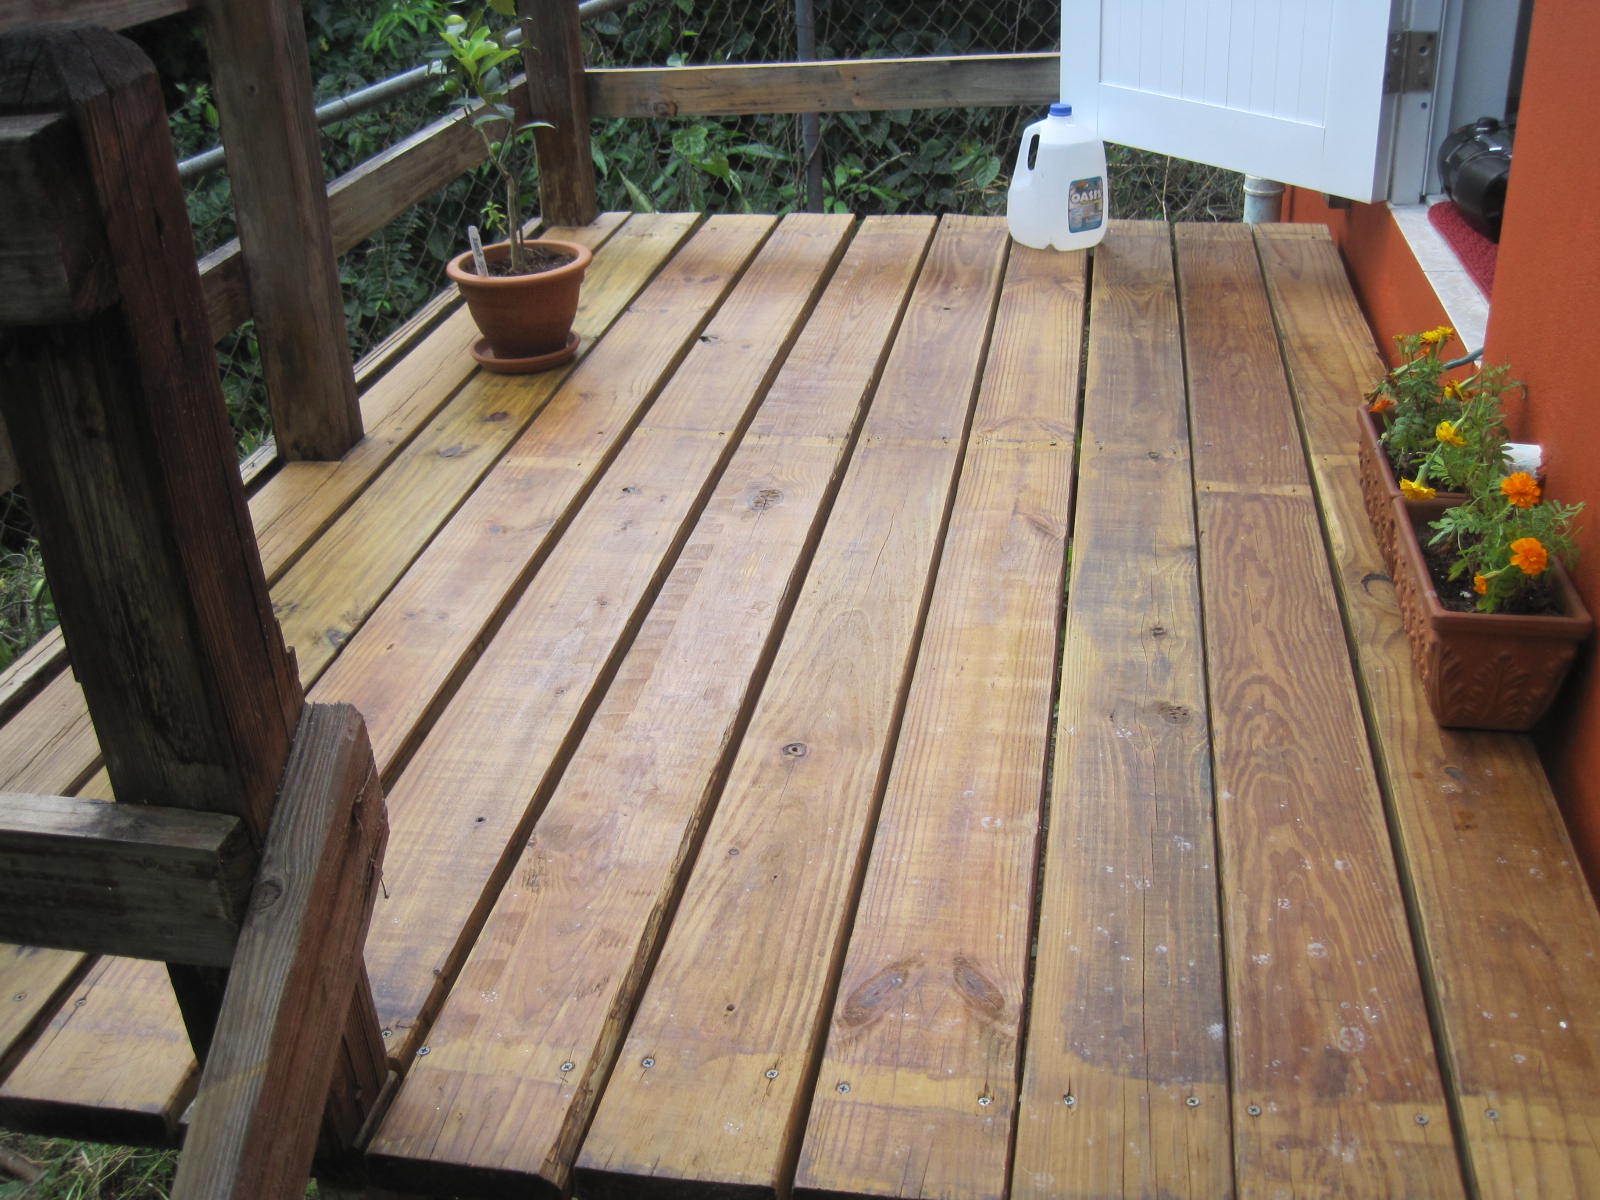
New Deck
Deck after! We were happy to be able to reuse quite a few of the boards

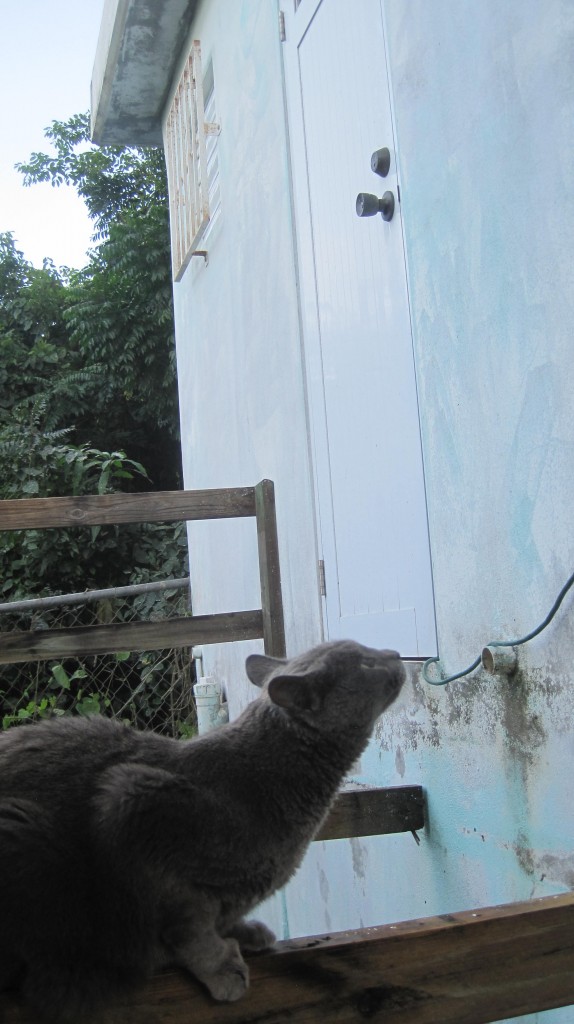
Kitty was not too happy that his favorite lounging spot was out of commission for a while though!

Kitty looking up on deck
Kitty missing his favorite little deck

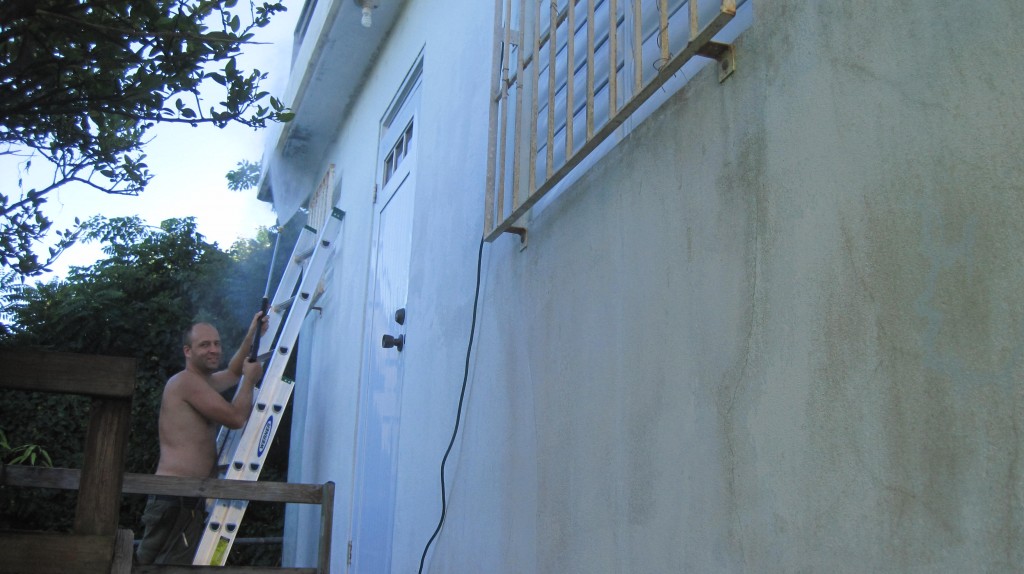
After Britton prepped, sanded and stained/waterproofed the boards and replaced a few of the disintegrated ones, we were able to go on to the next step of painting the house. Britton started by powerwashing the walls and removing the bars on the windows. No one in our neighborhood has the kind of jail bars that this place has on it and we were pretty excited to take them off and make it a little more friendly and inviting of a place. They have served their purpose for the past few years when we weren’t here to watch the property: no one has broken in. But now that we are here full-time it seemed a little ridiculous to live in our own bird cage.

Power washing
Powerwashing the walls prior to paint

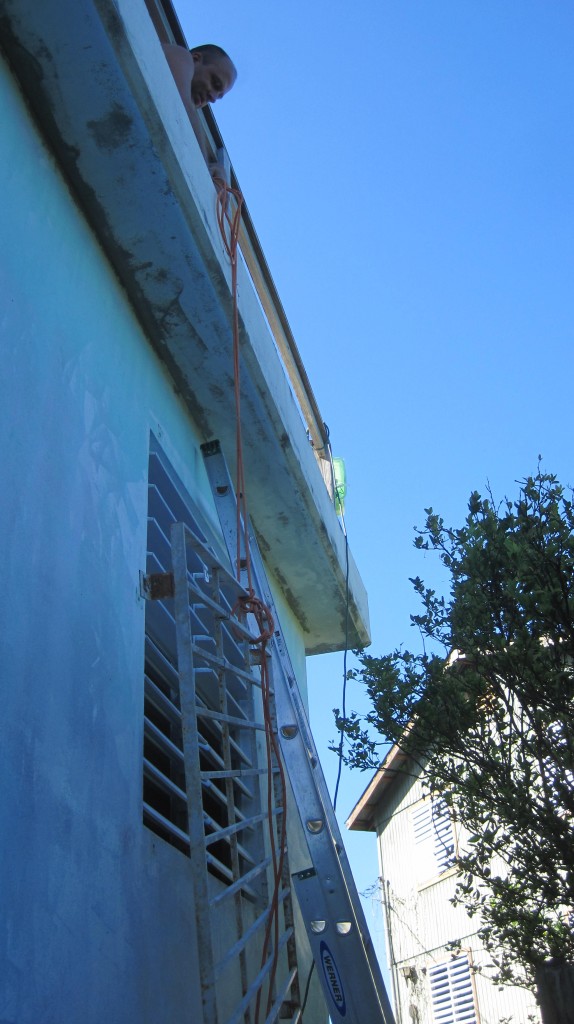
The bars were not easy to come off though. Britton had to file and then clamp the rounded bolt on the outside while I turned the ratchet on the other side (inside the house). Because they were so heavy, he had to carefully hoist them down, but we didn’t have any rope so he used an extension cord!

Removing bars from windows
Removing the heavy bars from the windows with an extension cord!

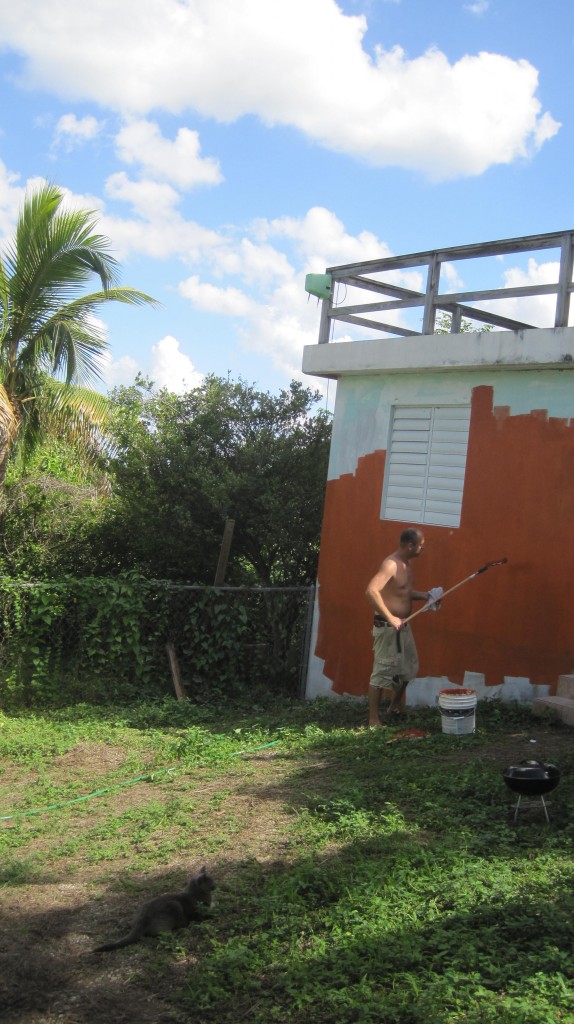
Finally we were able to paint both the side and the front of the house.

Painting house with Kitty
Britton painting and Kitty supervising

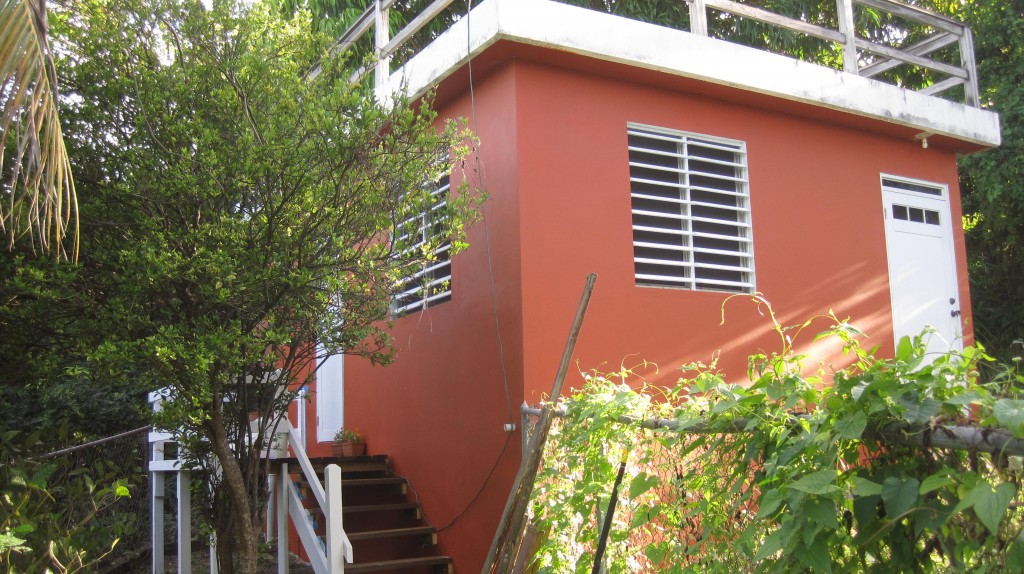
Britton put the deck back on and then I painted the railings white to go with the other white that the trim will be as well as the doors and windows. We often refer to the wood house as our “boat” because we have to basically make it able to withstand constant moisture as you would on a boat. We decided that this little cabana we’ve been living in is the life-raft. And it’s even the right color! And it’s now as pretty as a shiny new penny!

New Paint

We still have two more exterior walls to go as well as the trim, but we thought we’d show you the progress so far! It’s amazing the transformation that a little paint can make!

What do you think of this post?
  • WOW (3)
  • Awesome (15)
  • Interesting (3)
  • Useful (0)
  • Bummer (0)
  • Whoa (0)

Cabana Bathroom

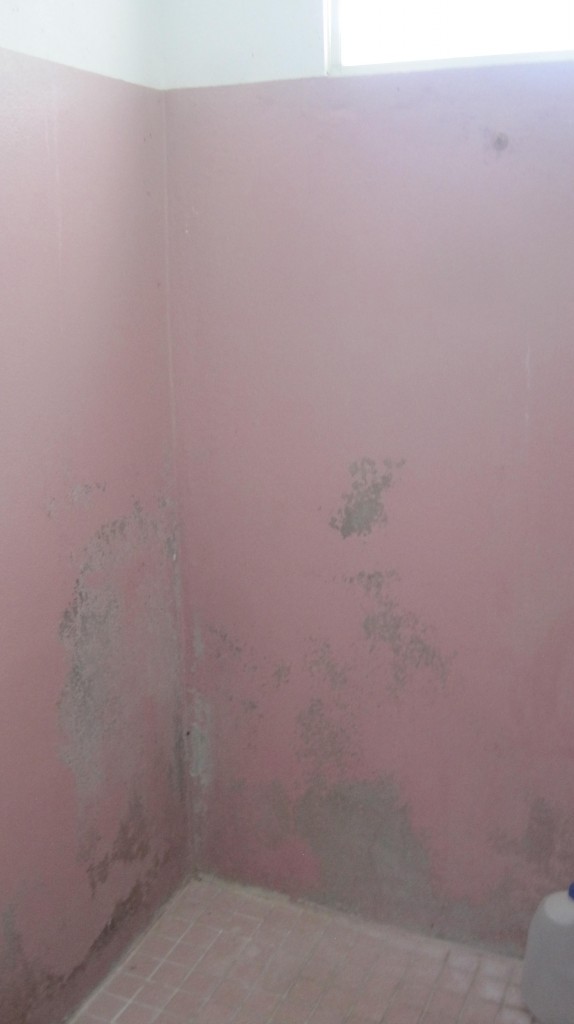
Last week we started the paint and cleanup project for the cabana bathroom. The bathroom was in need of a refresh in a major way. The shower stall was flaking away down to the concrete and there were spider webs in the corners. Plus the pink walls were weird and made it feel like we were in a grimy locker room.

Before Shower stall

It took us about 2 days to paint it since we wanted it to be fully dry and we had to use two to three coats of paint (as a random aside I learned in Home Depot that a coat of paint is a “mano” which more commonly means hand in Spanish).

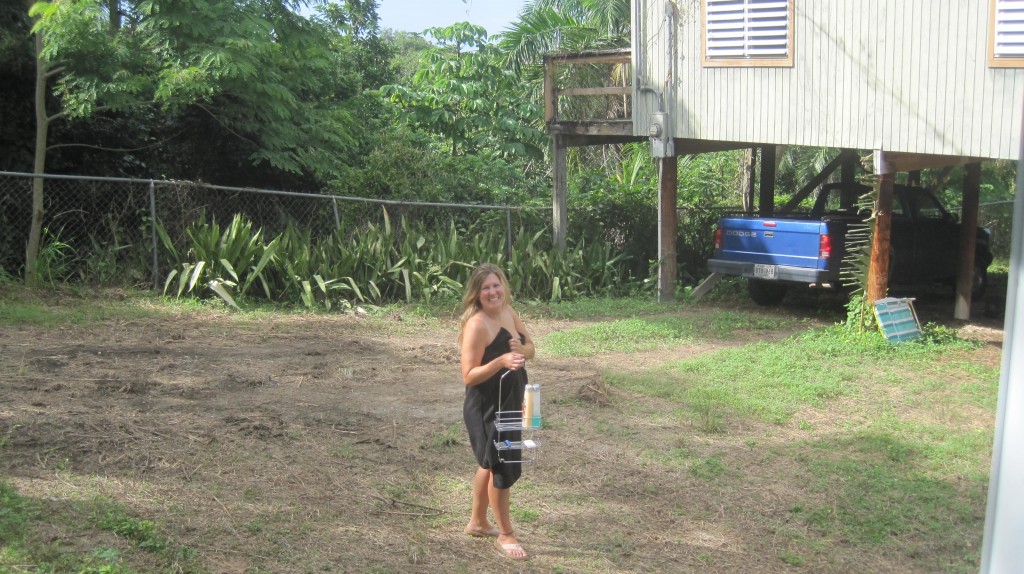
So in the mean time, we had to take a shower outside!

Cassie Shower

Each of us held the garden hose for the other one as we lathered up in the cool water under the palm trees and sunshine. It made me think that an outdoor shower might be kind of nice to have sometime down the line.

Shower View
Outdoor Shower View

After the paint dried, we also hung up a mirror and towel racks. Britton had to use a masonry bit in order to hang these and was careful to try not to hit the water or electric lines.

We would still like to tile the bathroom shower stall (tile here is “loza” which was also new to me, as I would have said baldosa or azulejo) and we have a small shelf to install as well.

The bathroom feels so much cleaner and brighter with a fresh coat of paint and new accessories. Plus Britton and our friend Matt had already installed a new toilet when they were here in January, so it really feels much better now that it flushes without leaking as well.

Before BathroomBathroom after 1
Before and After

The cabana is getting more and more comfortable every day and we have started to move onto fixing the wood house which is just absolutely disgusting right now. So it is good to see the results of this bathroom cleanup to keep us energized in that much larger project.

What do you think of this post?
  • WOW (0)
  • Awesome (6)
  • Interesting (2)
  • Useful (1)
  • Bummer (0)
  • Whoa (0)

La Isla Del Encanto

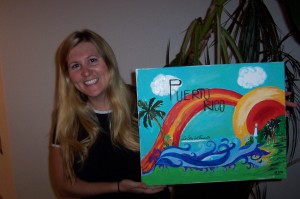
Yesterday I was really feeling yearnings for the enchanted isle of Puerto Rico; the tropical weather, the beaches, the palms, the fruits, the salsa music, everything, so I started doodling while I was on a conference call. I had just finished reading Telex From Cuba (a great book btw) and thought of all the Havana-style designs during the 50’s. I brought home one of my doodles and then proceded to paint a picture. It is really bright and colorful, and kind of fun. Hopefully we can hang it on our wall.

It was interesting because as I was longing for Puerto Rico and painting, Britton received a phone call from Awilda. She ran into someone at the Dept of Natural Resources who may be able to help. She said it is just a matter of doing the work. With an election season, and without greasing palms, it may take a while longer, though. Awilda had talked to my mom about my dad’s health situation and wants him to come down and get checked out by her son or daughter. Awilda’s family is one of most well known in the alternative medicine scene there in PR. It is very cool that we happened to meet her. I think there is definitely a reason for everything. Her son is a chiropractor and her daughter is a naturopathic doctor.
La isla del encanto lives up to its name, and I become more enchanted with it every day.

What do you think of this post?
  • WOW (0)
  • Awesome (0)
  • Interesting (0)
  • Useful (0)
  • Bummer (0)
  • Whoa (0)